Jewelry Findings: What They Are, What They Do, and Where They Go

Do you know what?
When I started making jewelry 20 years ago, as a very confused beginner, I was completely baffled by findings. There were soooooooooooo many of them… what did they do? Where did they go?
What on earth were all these tiny shiny metal bits?
And more importantly… which one’s were I actually meant to use?
So if you’re wondering the same, you’re not alone 🤗. This is where most beginners get stuck.
Not the beads. Not the design. Those pesky little findings!

What are jewelry findings?
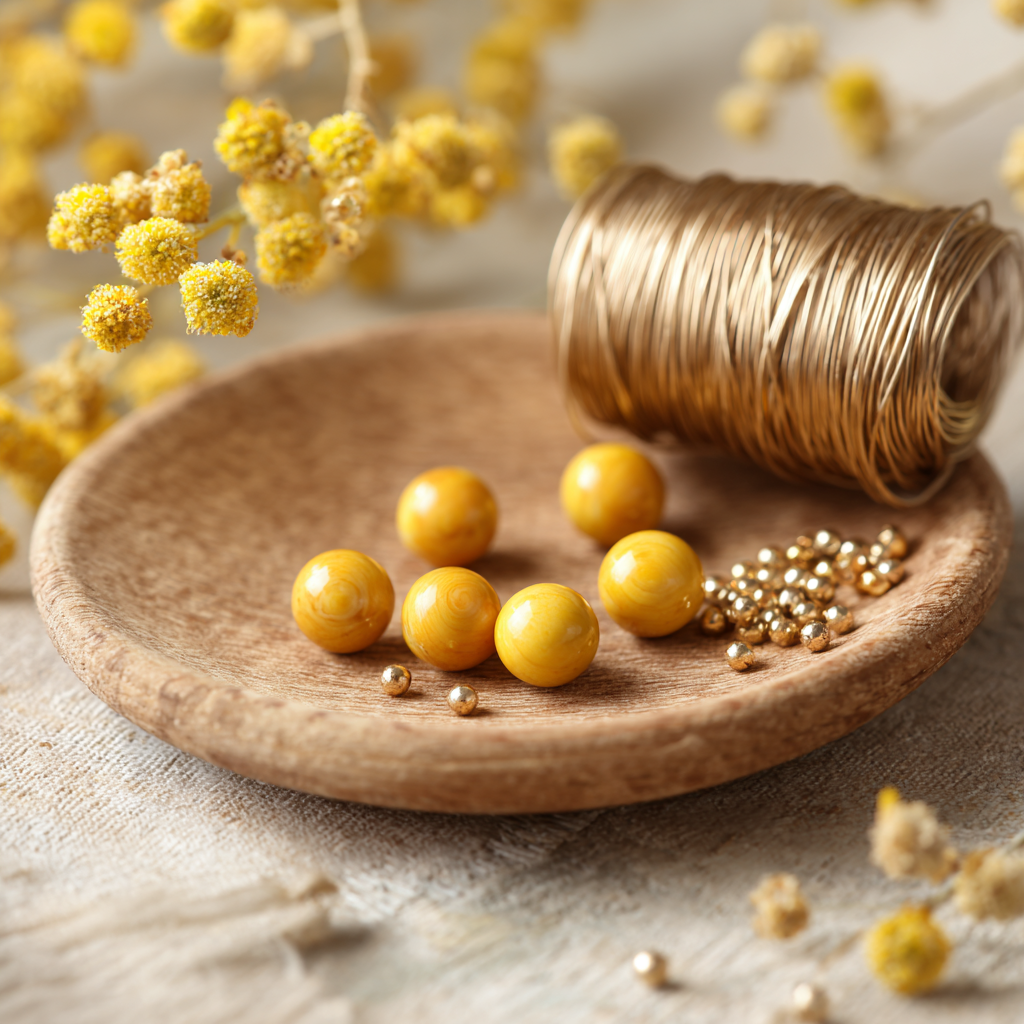
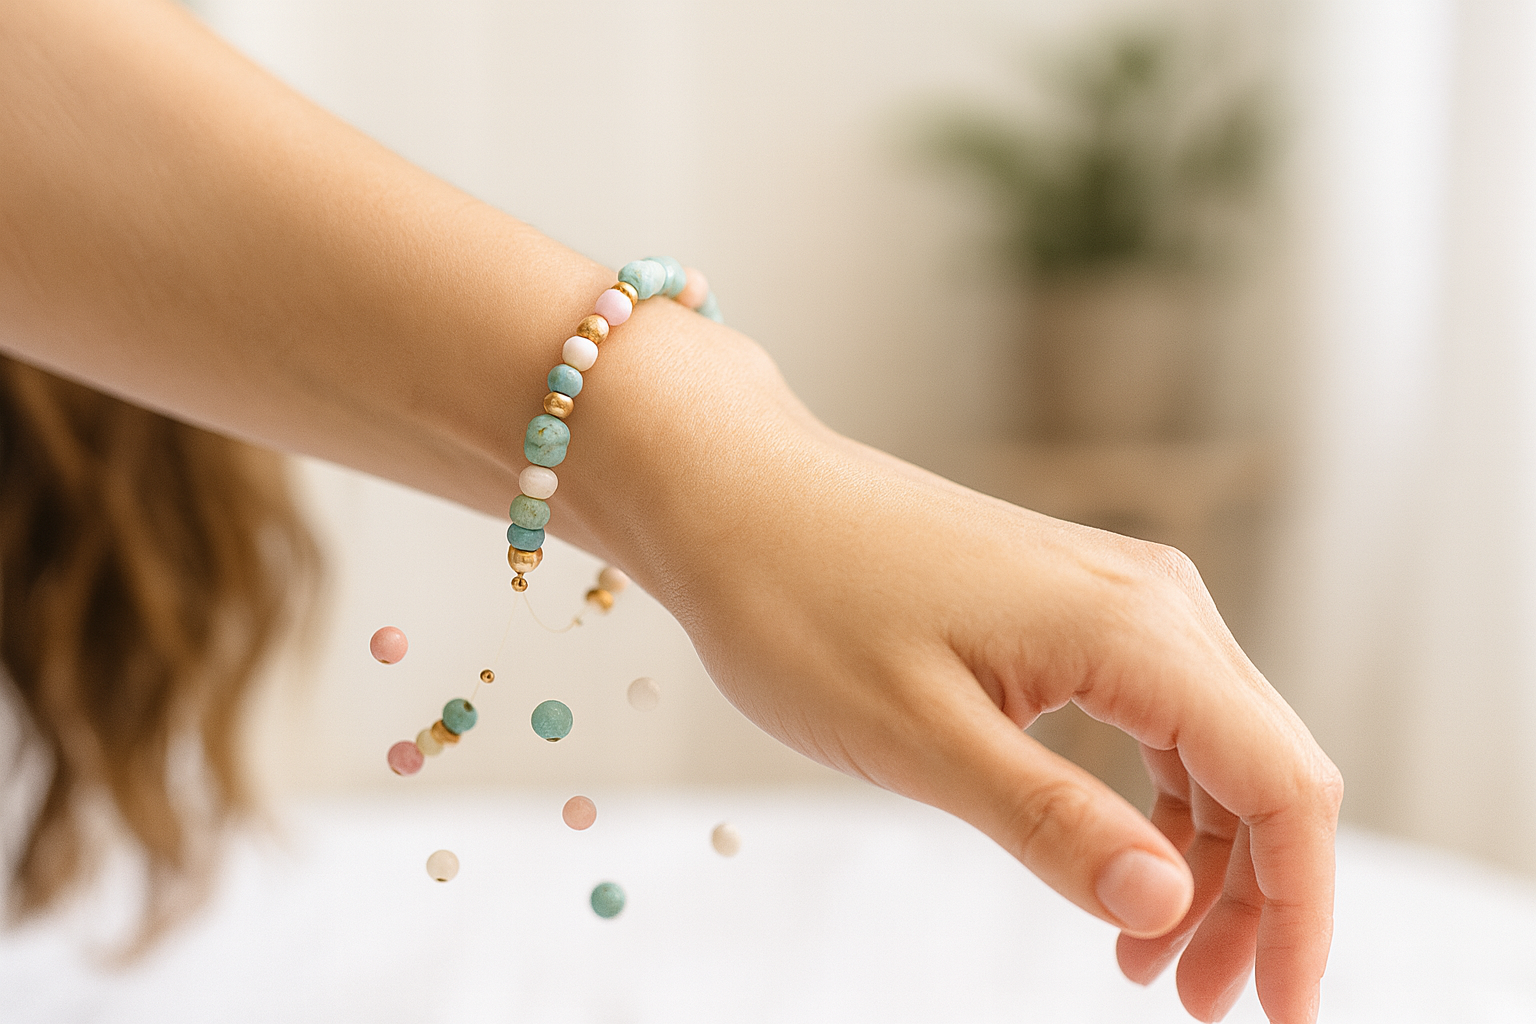
Jewelry findings are the tiny metal bits that don’t look like much on their own, but are responsible for turning a loose collection of gorgeous beads into something spectacular 🥳
They’re the connectors, the fastenings and the neat little finishes… basically all the things that make your pieces stay well and truly together.
The most common jewelry findings?
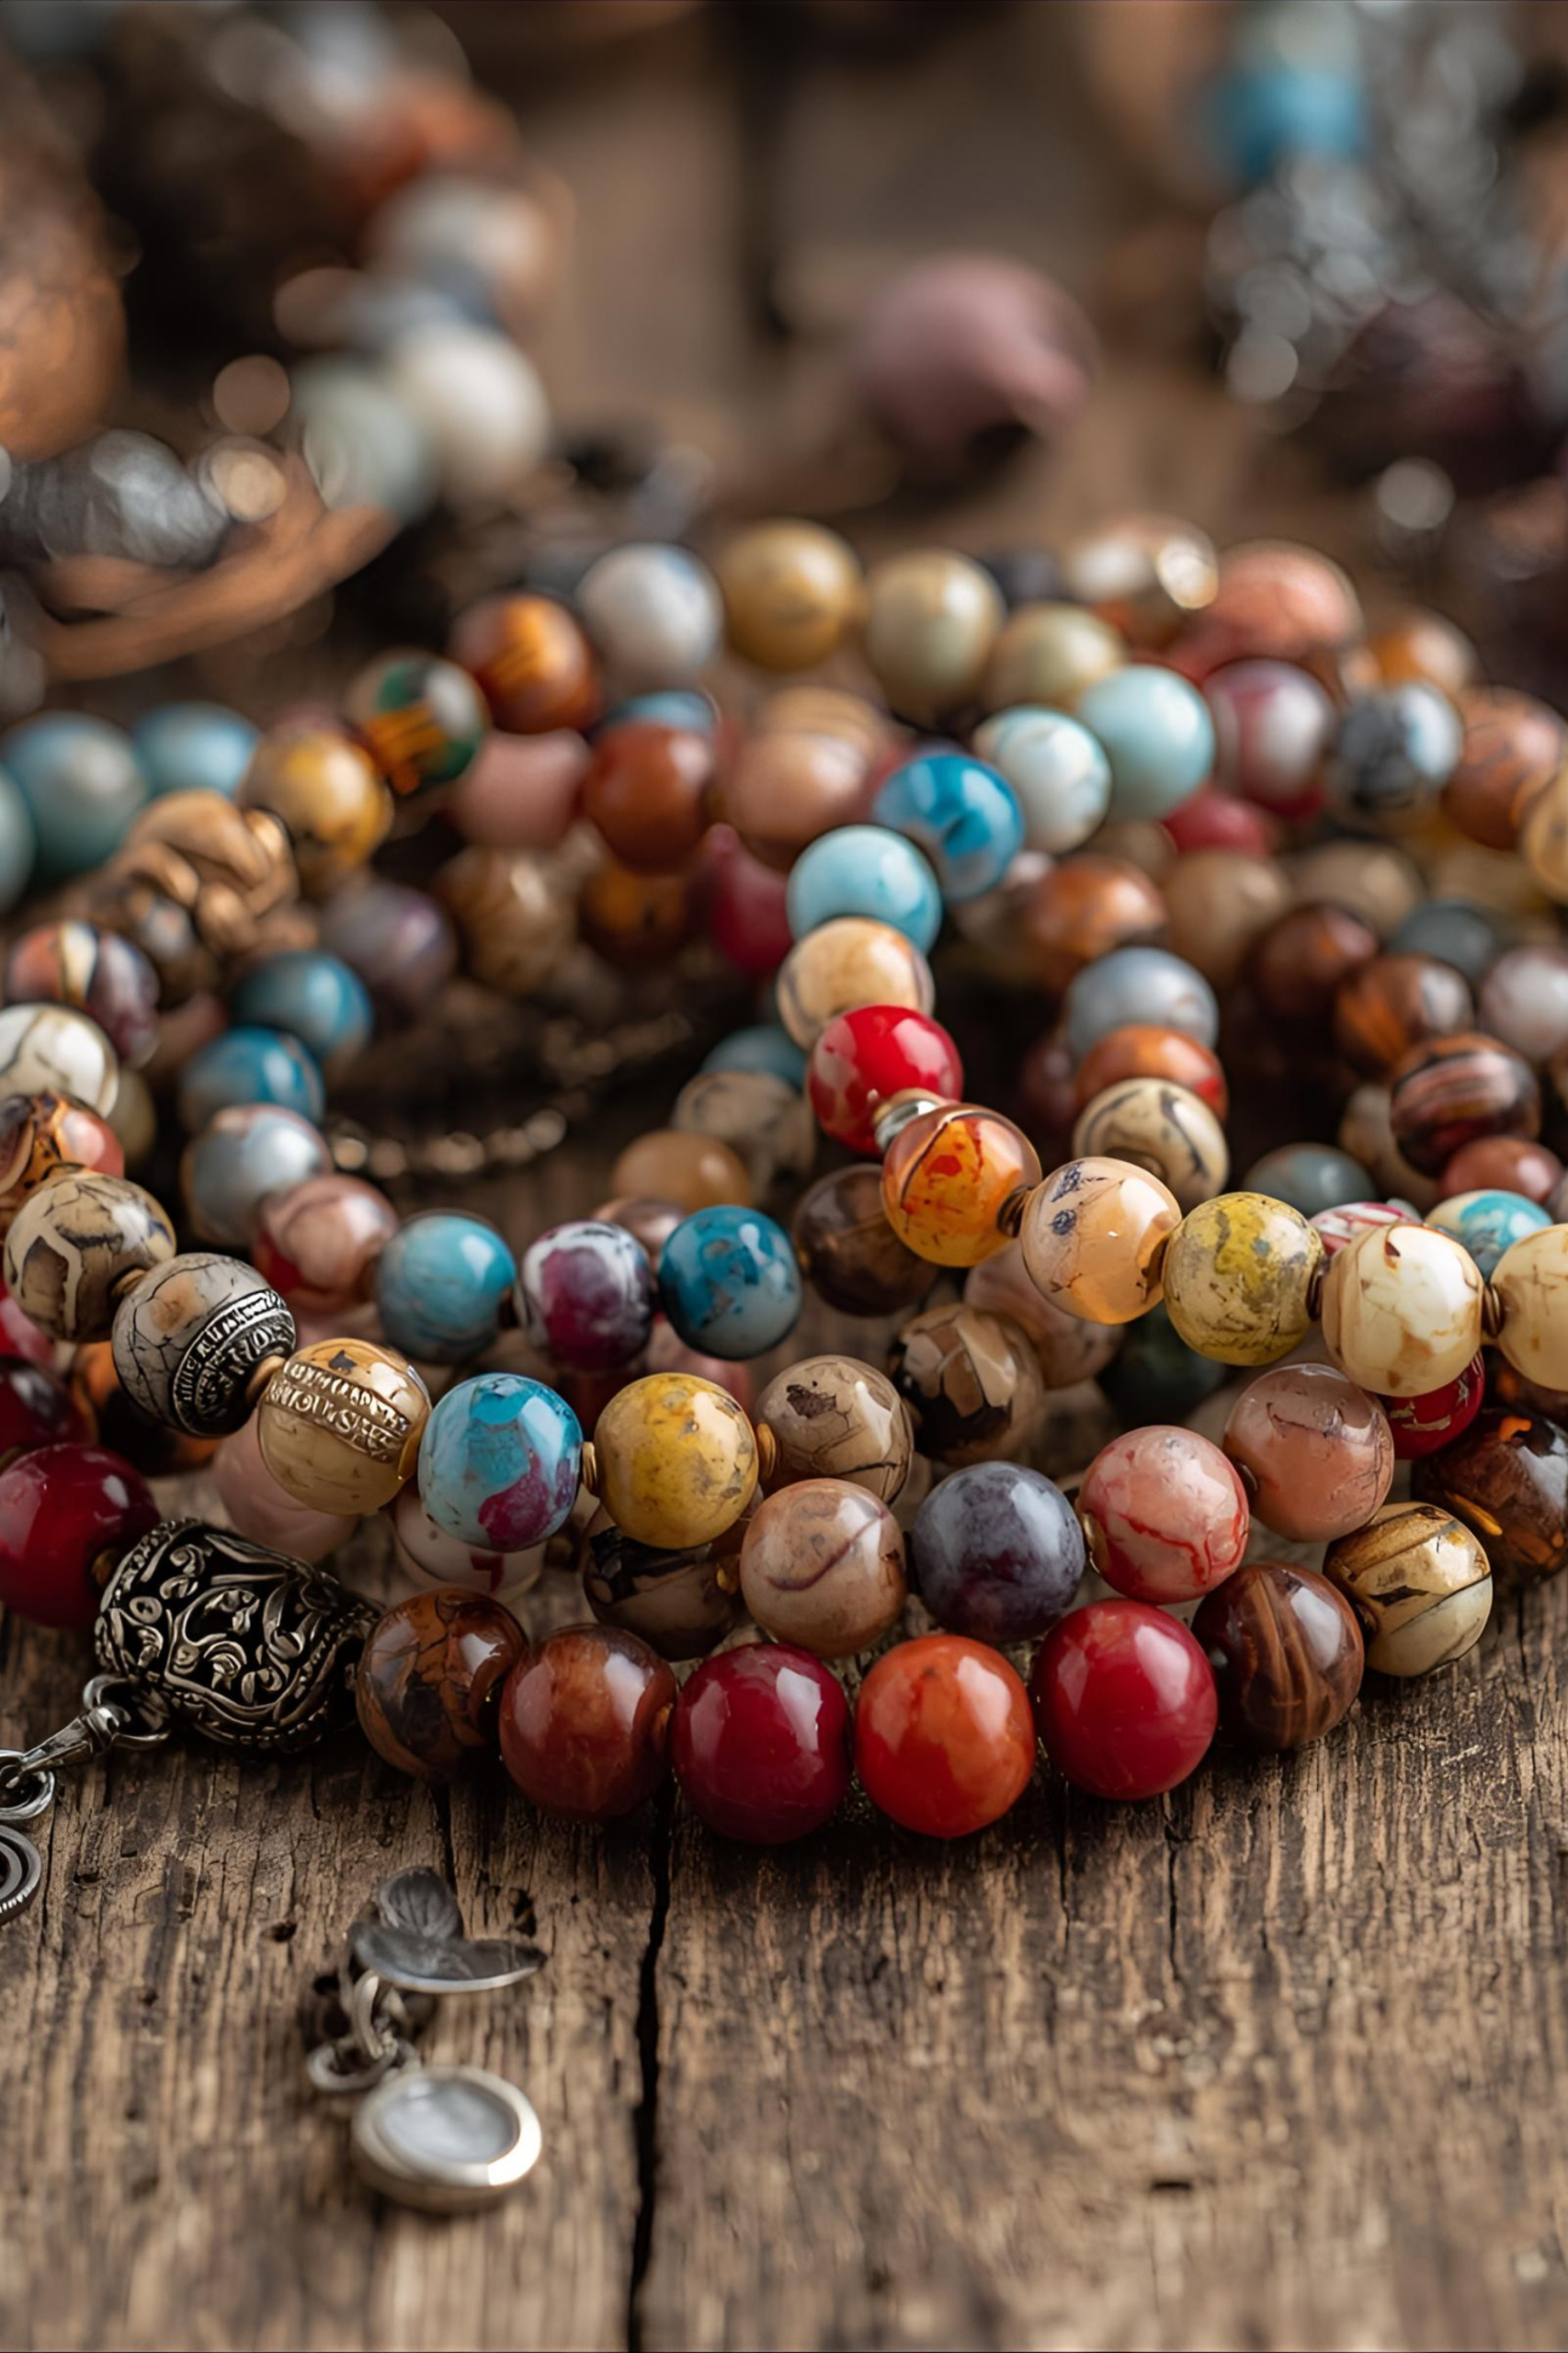
The most common jewelry findings are the small group you’ll end up using again and again in your pieces. There are endless variations out there, but most pieces are built using the same small core findings, used to connect, fasten, and finish your jewellery neatly. Once you get familiar with these, choosing the right version of finding becomes much quicker.
Clasps
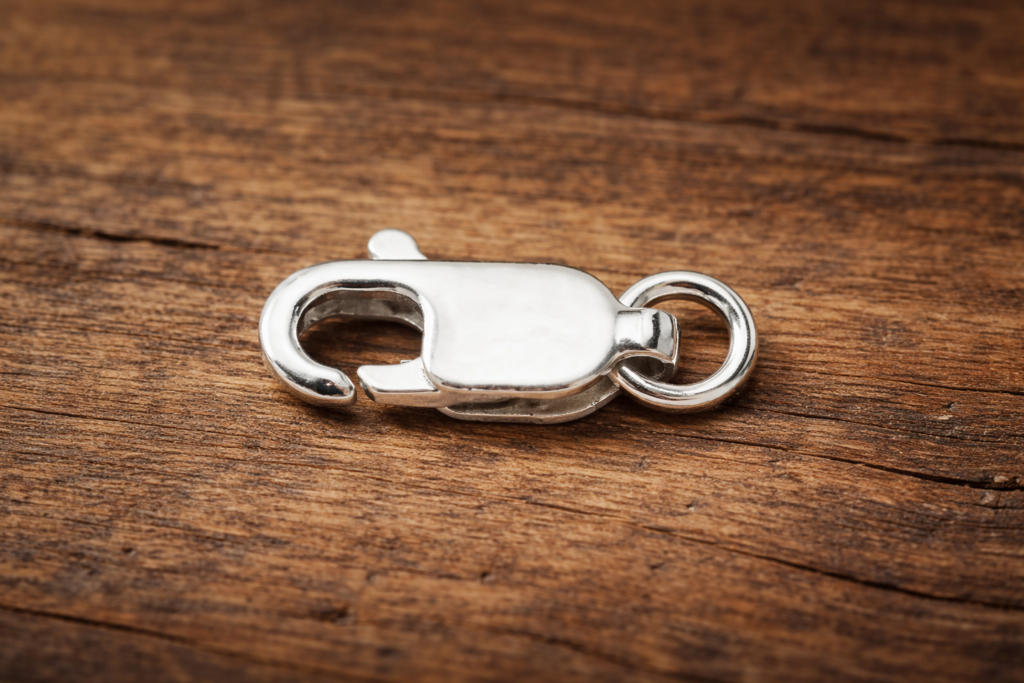
Lobster clasp
A lobster clasp (not sure what lobsters have to do with it 🤪) is a secure, easy-to-use fastener with a spring-loaded arm that opens and snaps shut to fasten your jewelry. Used for necklace and bracelet closures. They come in all sorts of sizes.
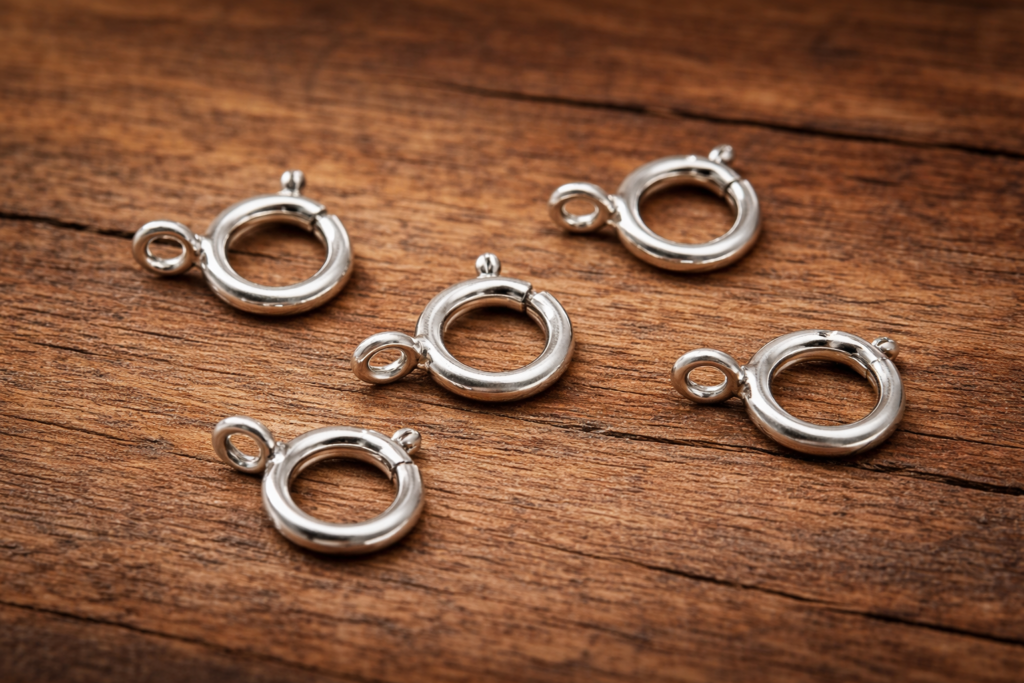
Spring clasp
A spring clasp is a small circular fastener with a spring-loaded lever that opens and closes to securely connect your jewelry pieces. Used for necklace and bracelet closures.
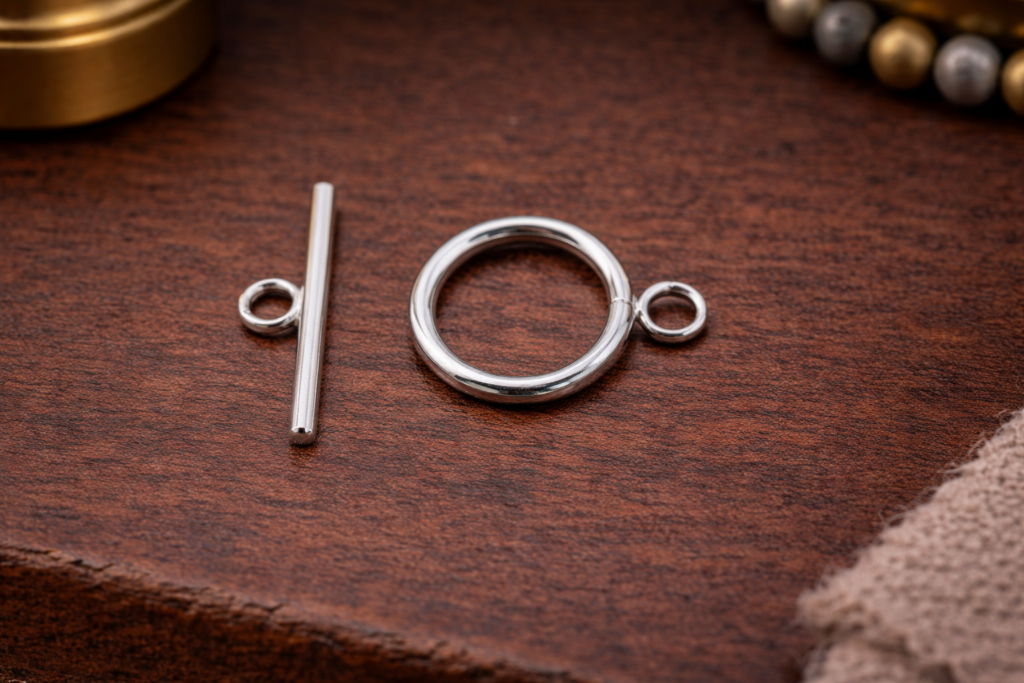
Toggle clasp
A toggle clasp is a simple fastener made of a bar and ring, slide the bar through the ring to secure your piece, making it easy to use and ideal for bracelets or chunkier designs, and adds a more premium finish.
Connecting Pieces
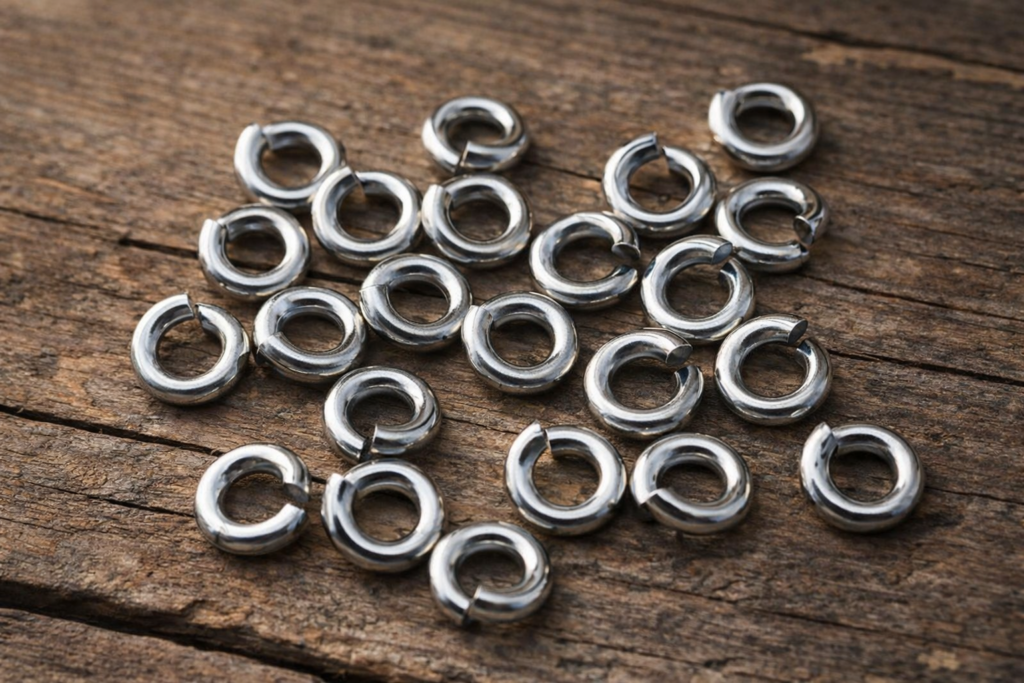
Jump Rings
A small metal loop with a cut in it (open jump ring), or the ring can be soldered closed (a closed jump ring), used to connect different parts of your jewelry, like attaching a clasp, charm, or pendant. They come in all sorts of sizes and shapes.
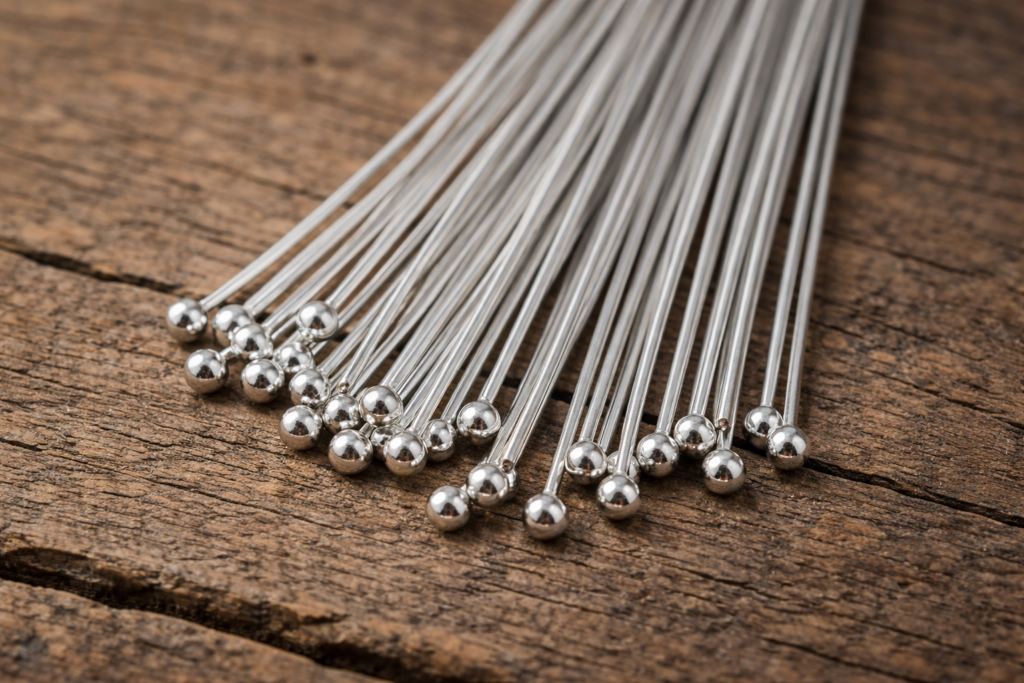
Headpins
Headpins are used to hold beads in place when creating beaded dangles or drops, with the ball acting as a stopper.
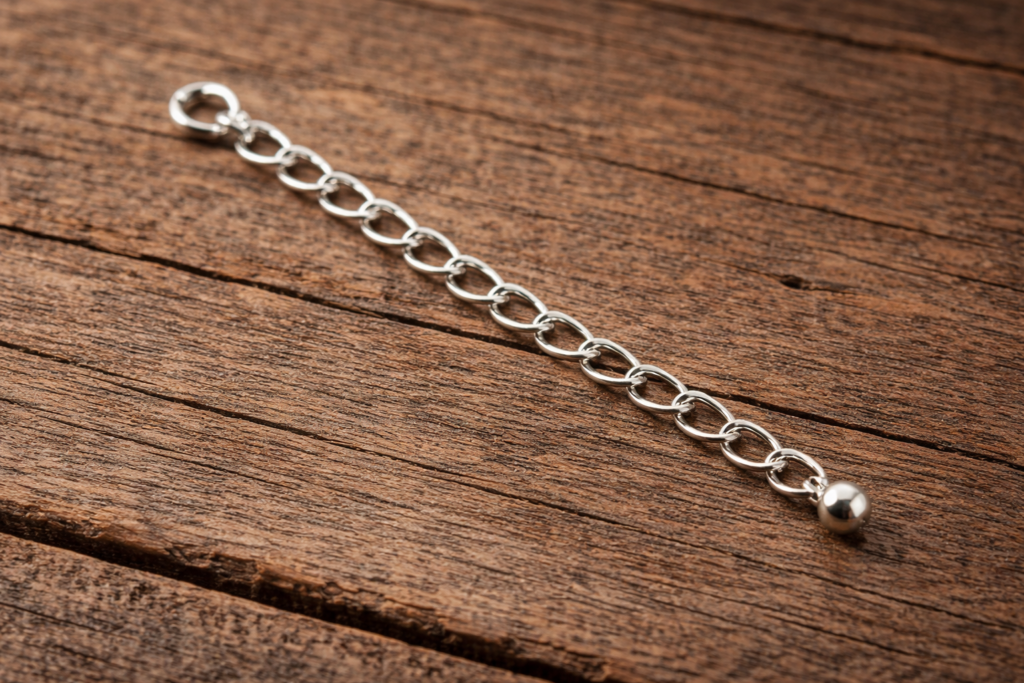
Extender Chain
An extender chain is added to the end of your bracelet or necklace, attaching next to the clasp to give adjustable length so the wearer can fasten it tighter or looser for the perfect fit.
Finishing pieces
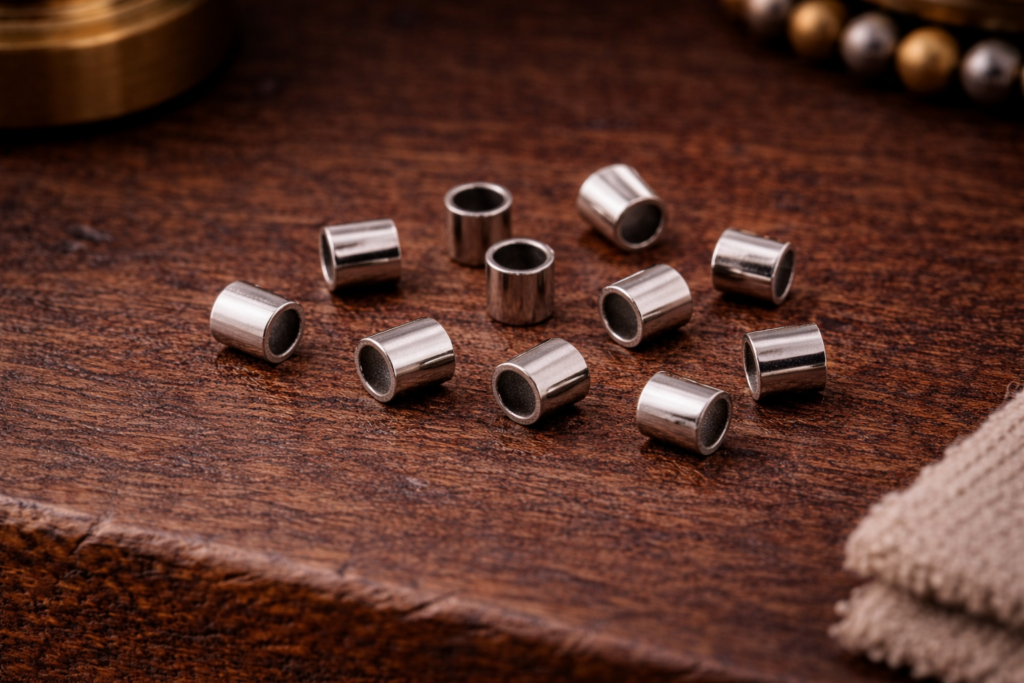
Crimp Bead
A crimp bead is a teeny tiny metal tube that you gently squash onto your wire to hold your beads securely in place.
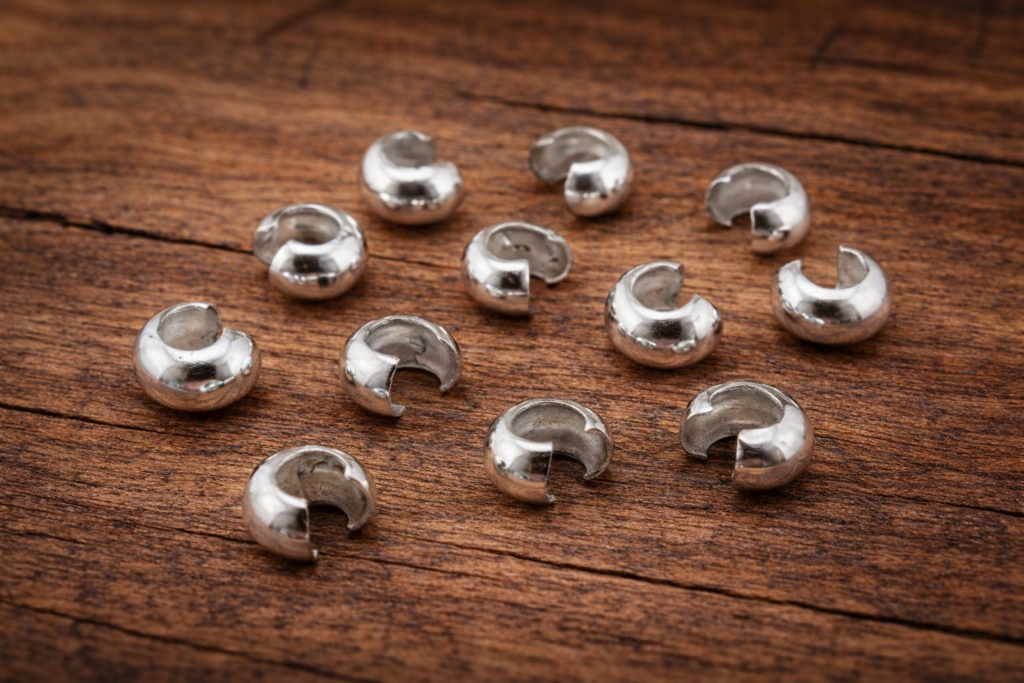
Crimp Bead Cover
A crimp bead cover is placed over an ugly flattened crimp bead and gently closed to hide it, giving your design a neat, polished, bead-like finish.
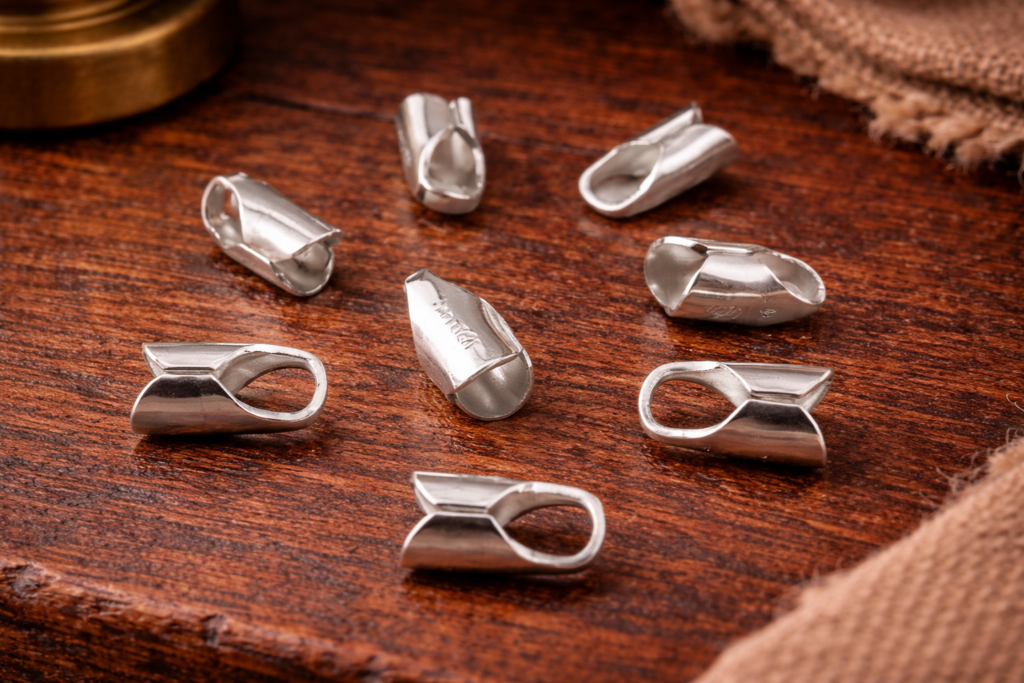
End Cap
Round end caps are used to neatly finish the ends of cord or chain, creating a smooth, polished end that you can easily attach to a clasp or connector.
What findings do beginners actually need?
When you’re starting out, you don’t need everything. You just need the right basics.
- jump rings in varying sizes, (4mm, 6mm, 8mm)
- headpins
- clasp
- crimp beads
- ear wires
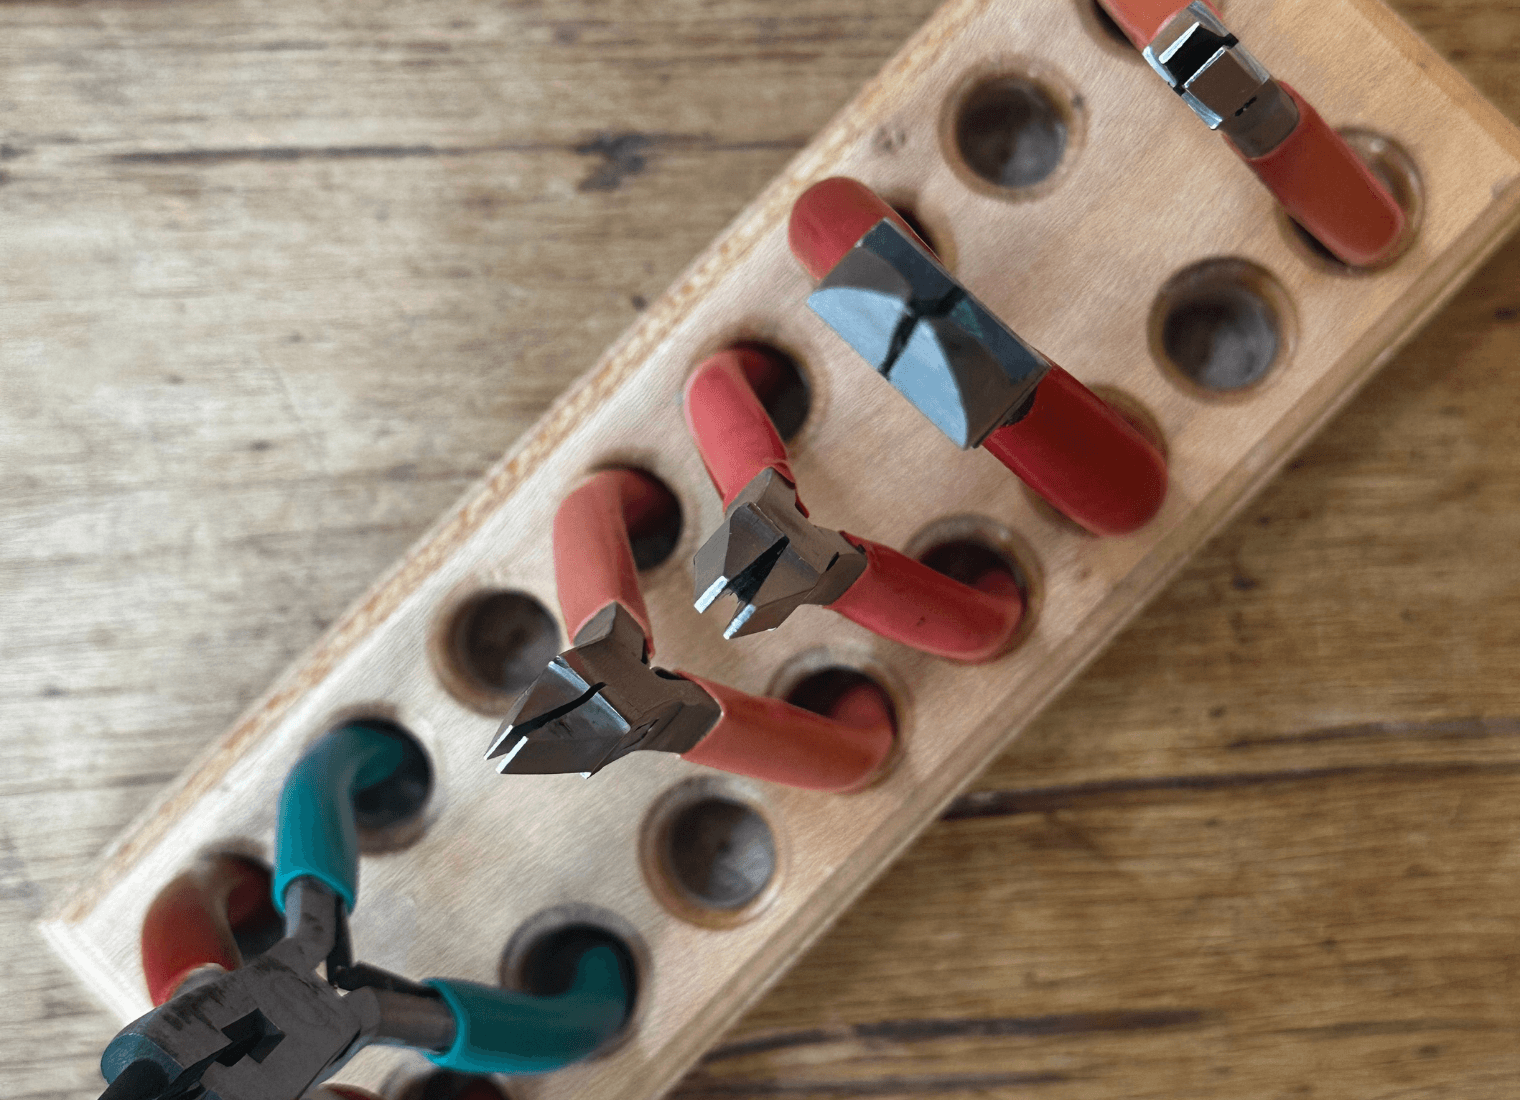
Common beginner mistakes
As you start making more pieces, you’ll probably realise that those beginner jewelry kits (great for practice, by the way) don’t quite cut it when it comes to quality findings. Most are plated, lightweight, and not really designed for pieces you want to sell or wear long-term.
A few other common mistakes to watch out for:
- Using the wrong size or thickness of jump rings (which can throw off both the look and strength of your piece)
- Not securing crimps properly, leading to pieces coming apart
- Choosing cheap findings that tarnish quickly and dull your design
- Rushing the finishing touches, which is often the difference between a piece looking homemade and truly handmade
- Mixing findings from different suppliers, which can lead to slight colour differences and an uneven finish
These are all easy fixes once you know what to look for, and getting them right makes a huge difference to your final piece.
If you’re still looking at findings thinking ‘I sort of get it, but not really…’
I’ve put together a FREE visual guide showing 50+ different findings – what they are, what they do, and where they actually go (with pictures of course!) 🤗. Download it here.


RELATED READS
Why Your Jewelry Still Looks ‘Homemade’
Putting on weight
How to use wire guardians
Metal types for jewelry making