Jewelry elastic troubleshooting
Nifty fixes for stretch bracelets –
from elastic snapping, stretching & slipping knots
related reads
How to make simple stretch bracelets
The humble stacking bracelet recipe
Best glue for stretch bracelet knots
Best pliers for beginner jewelry makers

When all you hear is… ‘It’s broken again’.

Cheap elastic was always the culprit of snapping stretch bracelets for me in my early days, but how I handled and finished the bracelets mattered just as much. Here’s how I fixed the most common stretch bracelet dramas that I encountered…
1. Your elastic stretches & your bracelet looks all gappy
Once your bracelet is made and being worn, you may find after a few wears your elastic starts to stretch and the beads start to look gappy and you can see more elastic, like the elastic has become longer.
How to fix it
Once you’ve cut your elastic when making the bracelet, give it two or three gentle tugs to take out that first bit of slack. This stops the bracelet from slowly stretching out on the wrist later. This is called pre-stretching. Also, educate the wearer – dont pull on the wrist, roll on the wrist! Finally ensure it’s the right size for the wearer.
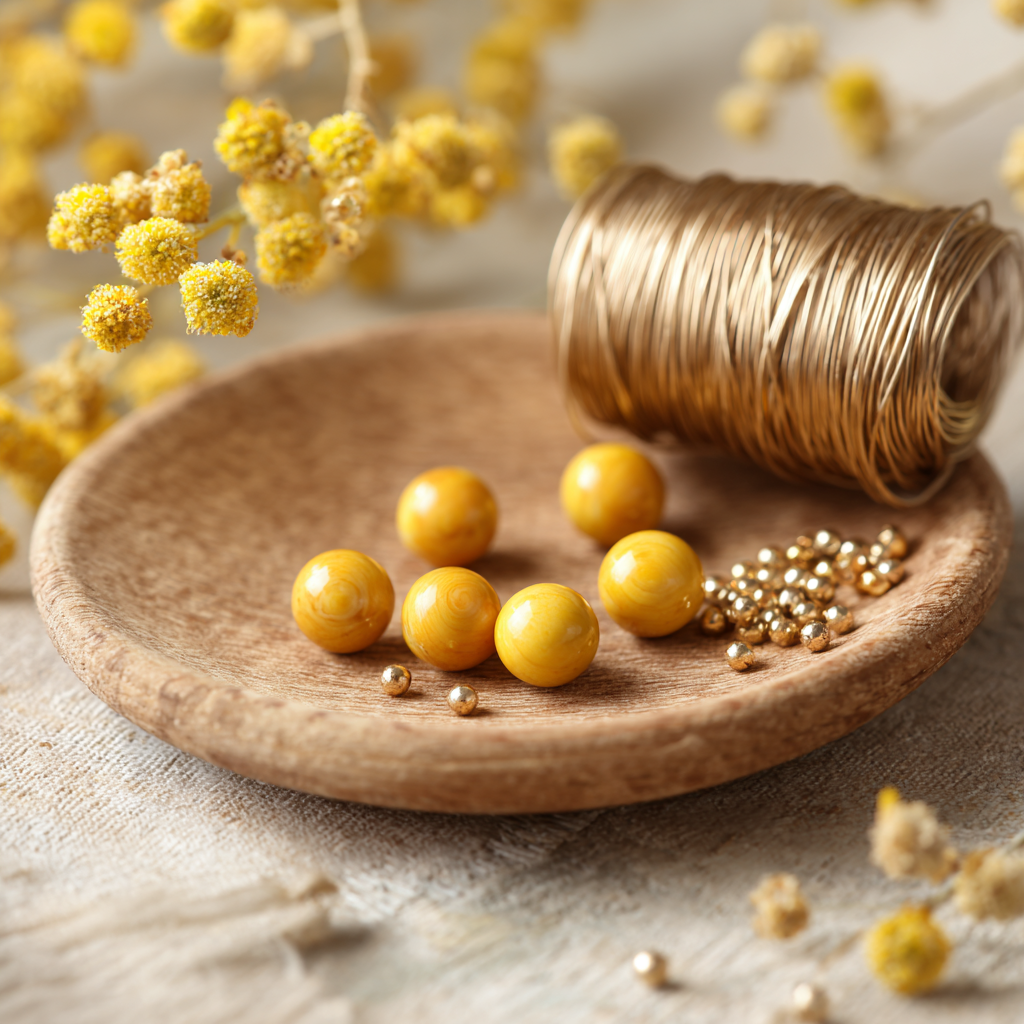
2. Your bracelet looks wobbly after making
The bracelet on the left looks very wobbly or bunched compared to the bracelet on the right.
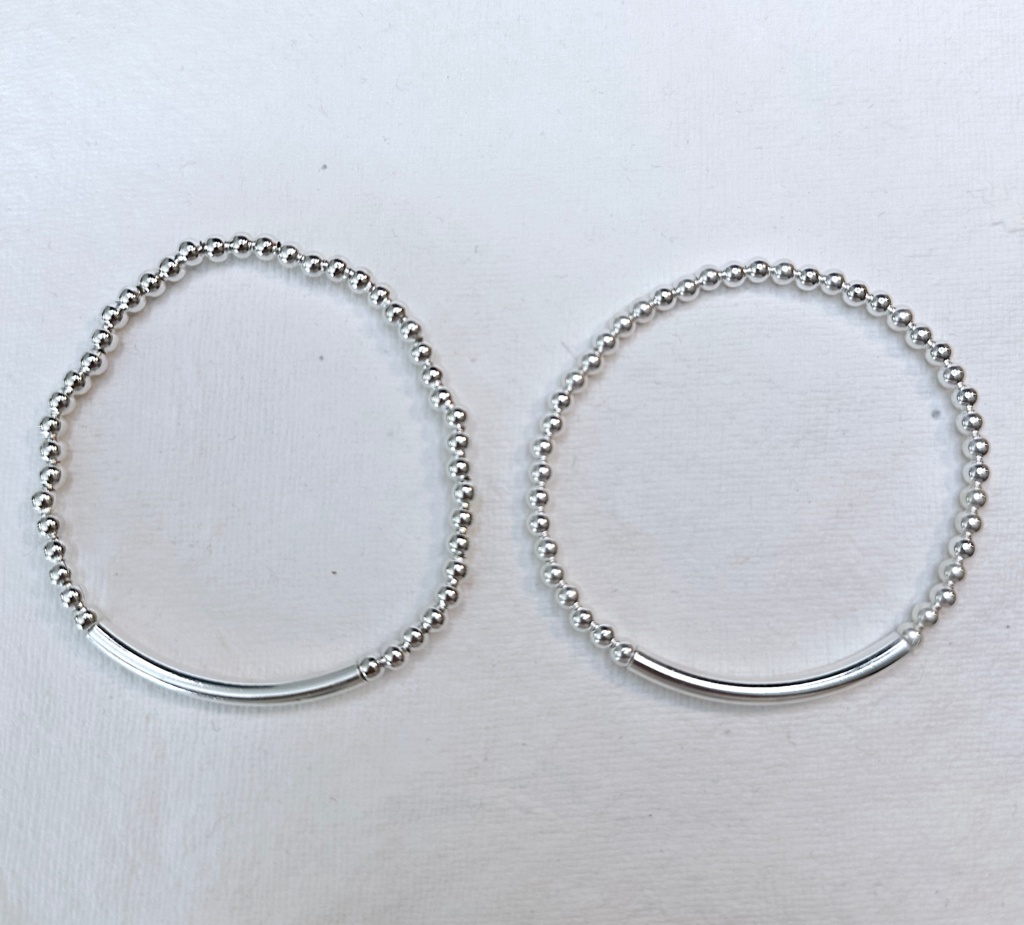
How to fix it
It all comes down to your bead hole to elastic ratio. I know… not something you’d expect to be a thing 😮
But if your bead holes are quite large and you use a thin elastic, the beads won’t sit snug. They’ll move around and create those little gaps along the bracelet.
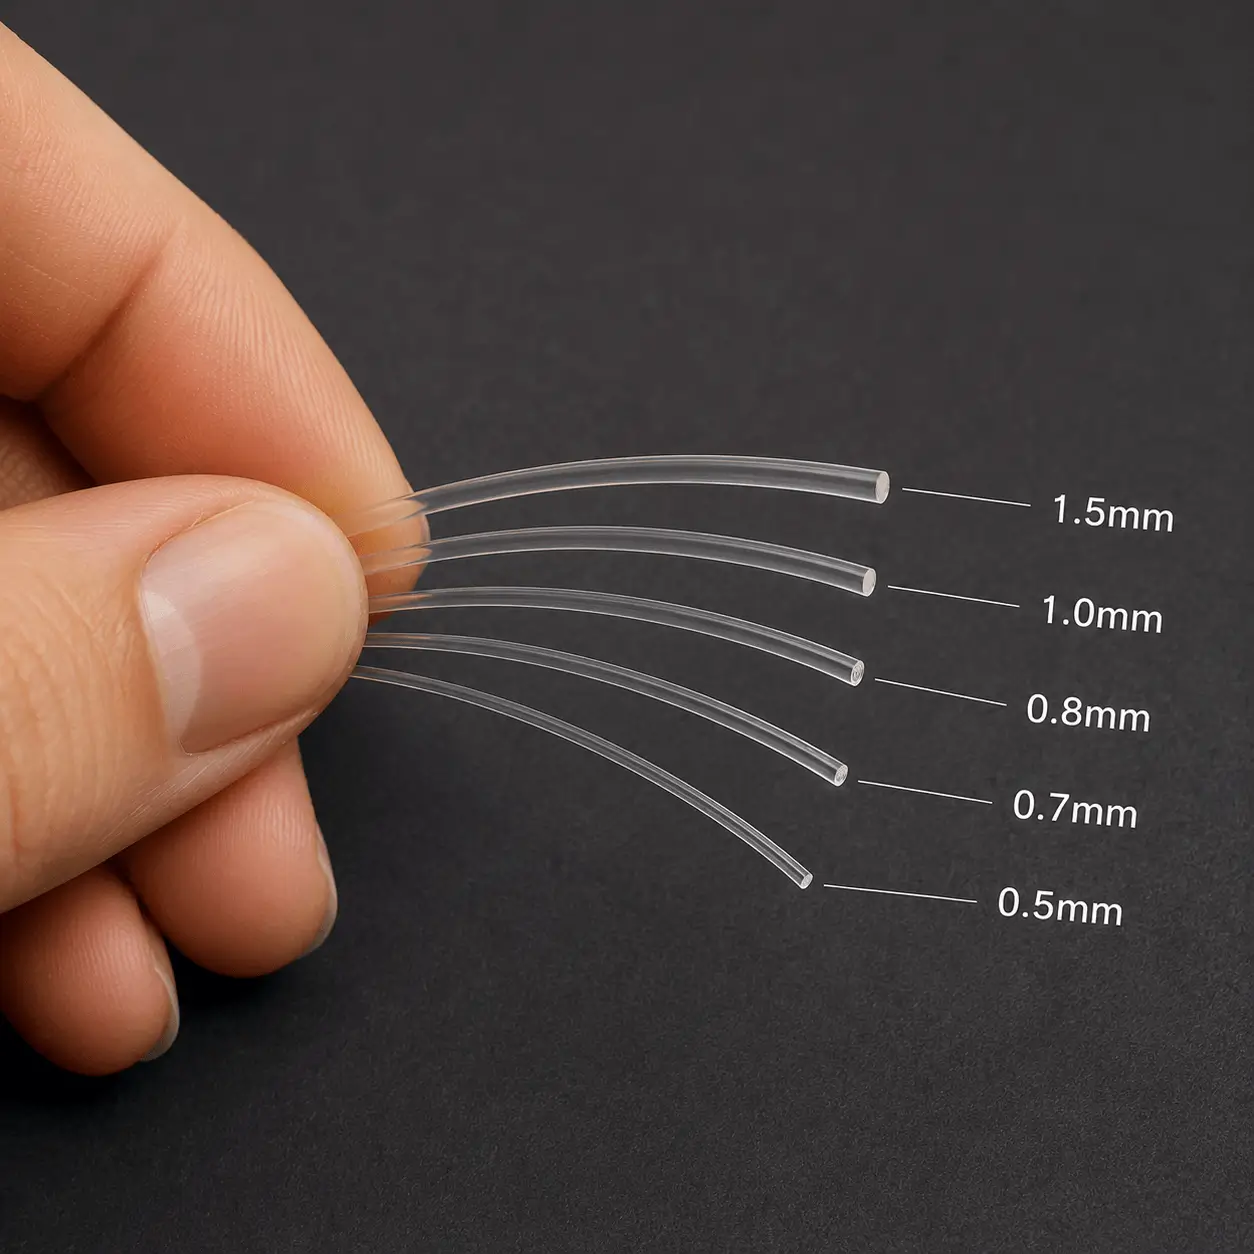
The fix is simple: choose an elastic that’s as close as possible to the size of your bead hole.
For example, the 4mm beads in the photo above have a 1.1mm hole, so I use a 1mm elastic. It fits nicely, holds everything in place, and gives you that smooth, professional finish 🤗
Still got wobbly beads?
Choosing the right elastic thickness is one of those small refinements that can instantly make a stretch bracelet feel stronger, more balanced and far more professional. If you’re not sure which thickness to use, my article below will walk you through it.
→ Learn how to choose the right elastic thickness
3. Your knot keeps opening or slipping
You’ve made your masterpiece but your knots are moving, opening or just slowly slipping. It’s a real disaster, but one of the most common.
How to fix it
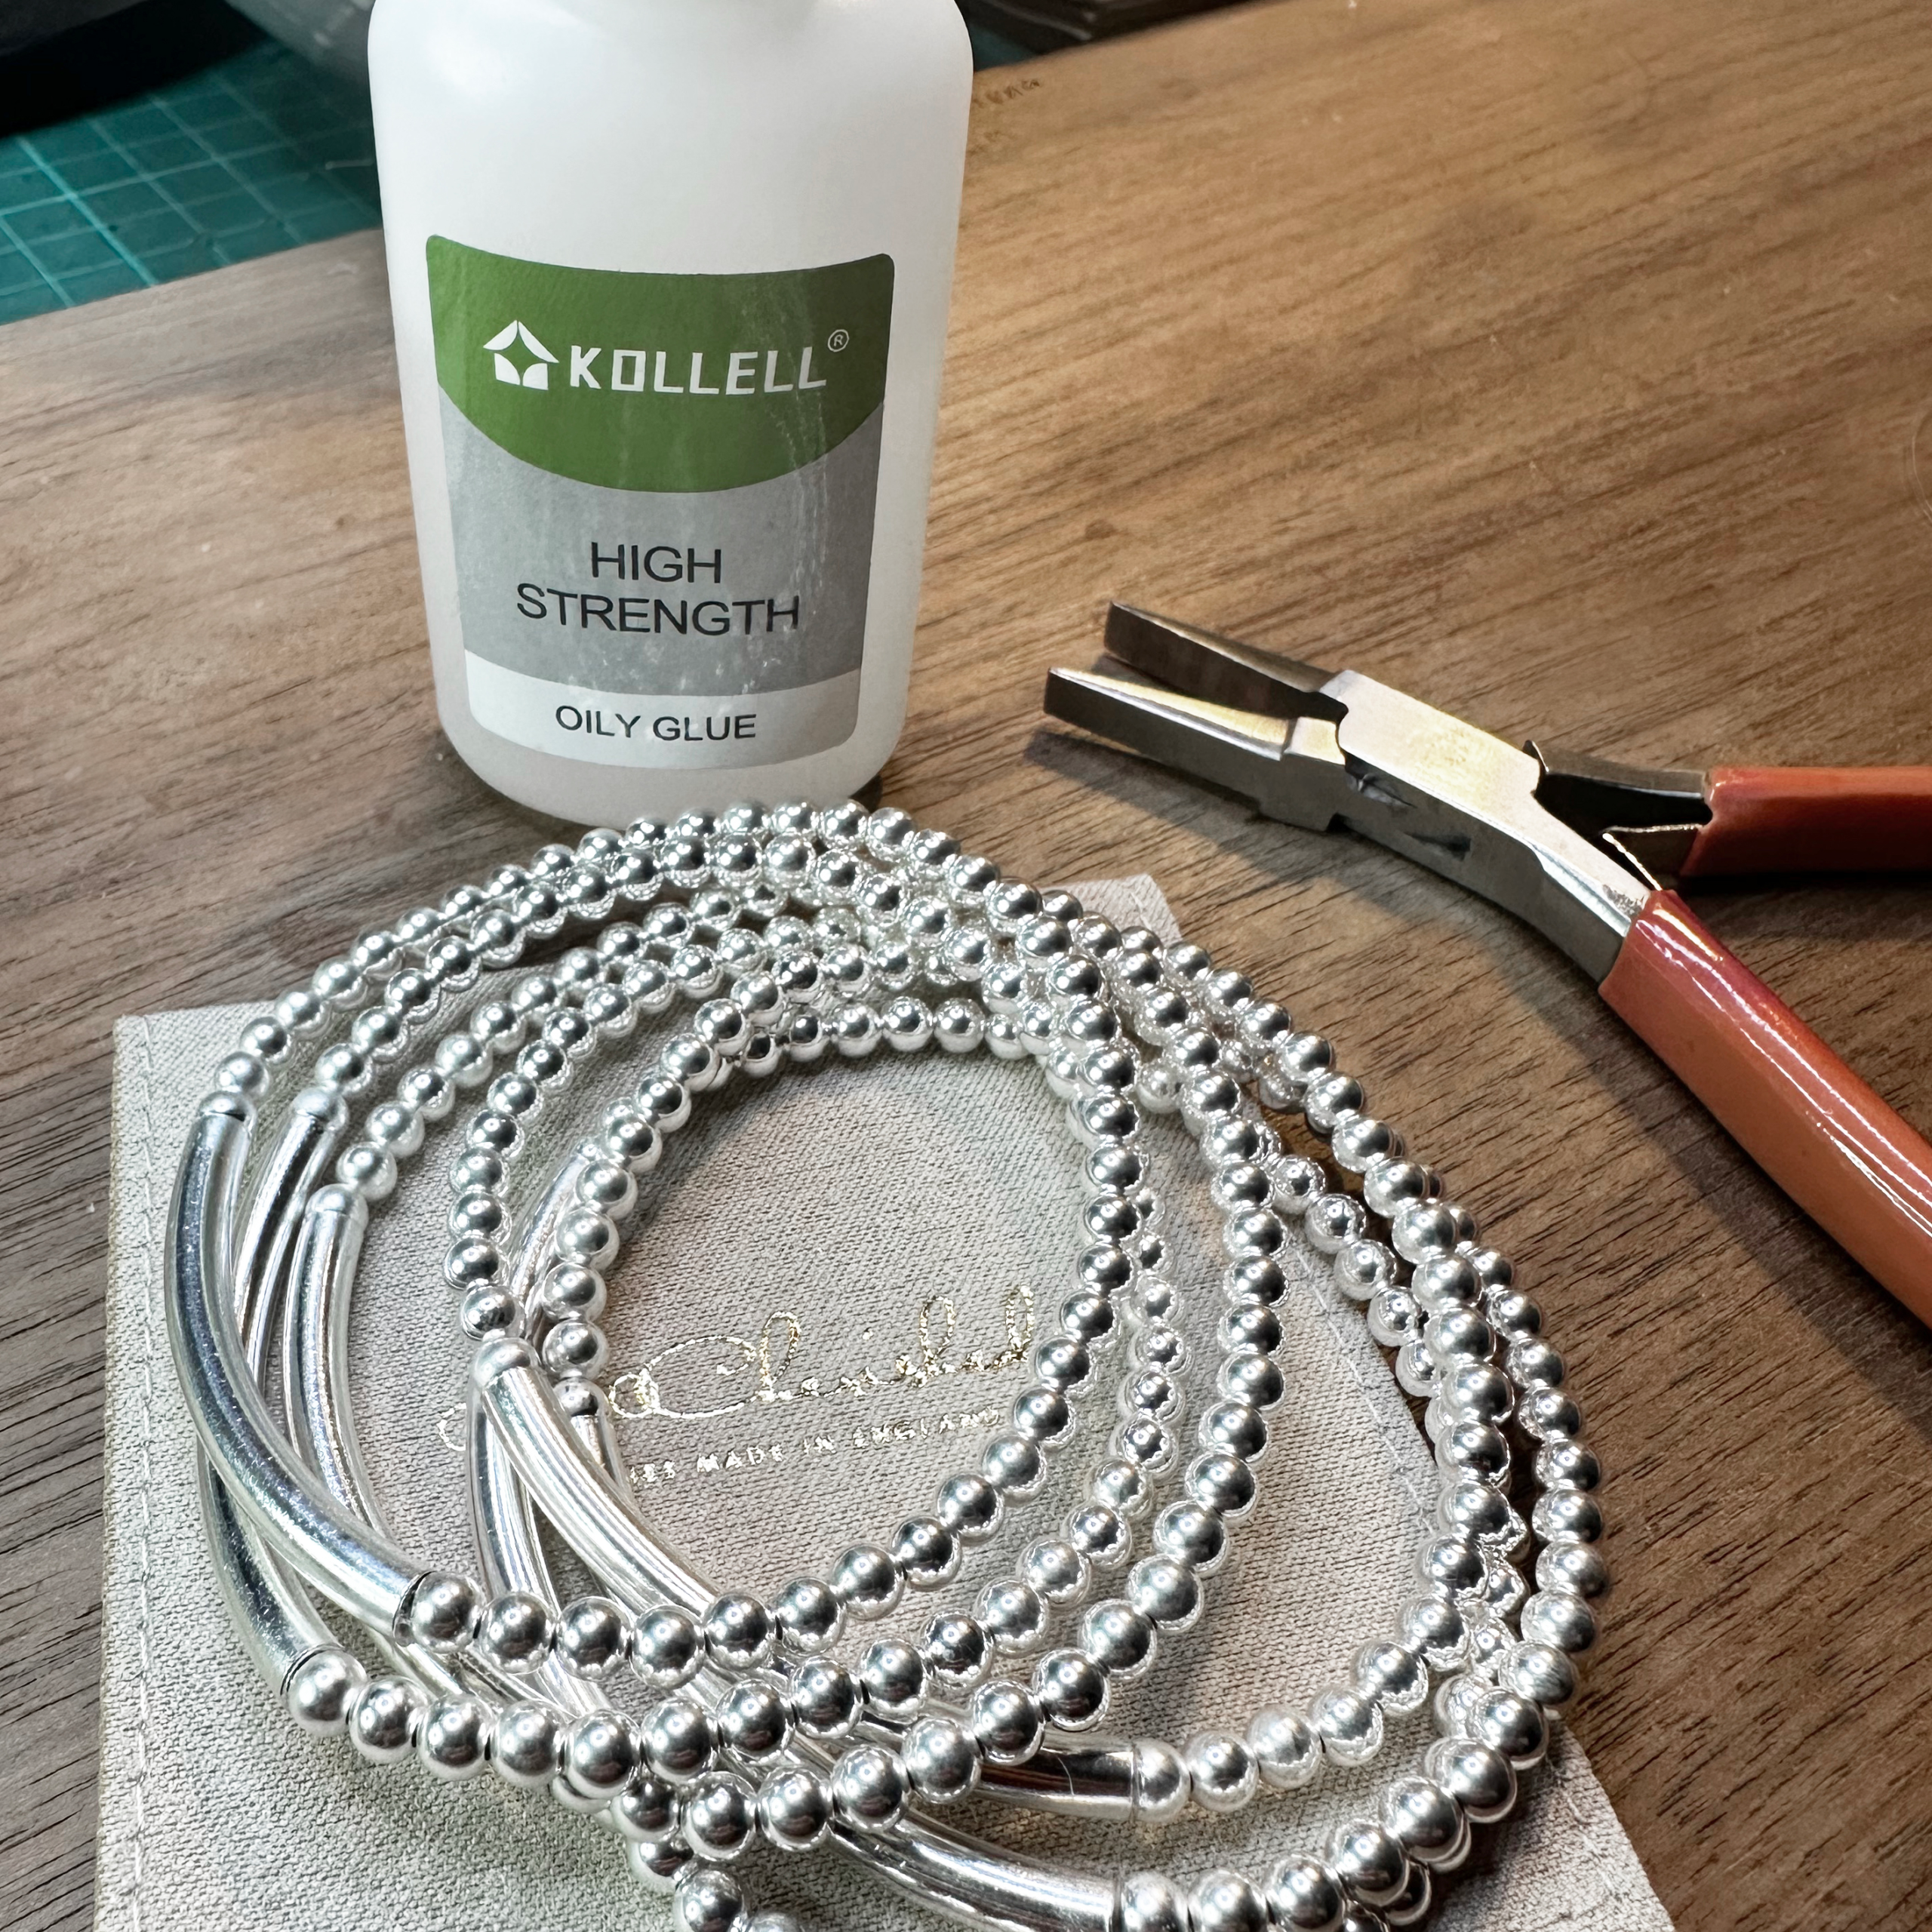
I use a teeny tiny drop of high strength glue on my knots. And I just use two simple standard knots, nothing fancy. This is the high strength jewelry glue I use daily. I use the tiniest amount of glue on the knot. But always give it overnight to dry. Then your knot’s not going anywhere!
4. Your elastic snaps
Using a better-quality elastic isn’t just about durability, it’s about reputation to. Cheap elastic’s often snap, stretch out, or turn brittle within weeks, which is the fastest way for a customer to lose trust in your work. When you’re making stretch bracelets commercially, that’s the last thing you want.
Reliable, high-quality elastic holds its shape, keeps the knots secure, and gives your bracelets the kind of longevity people remember. It’s one of the smallest upgrades with the biggest impact you can do.
How to fix it
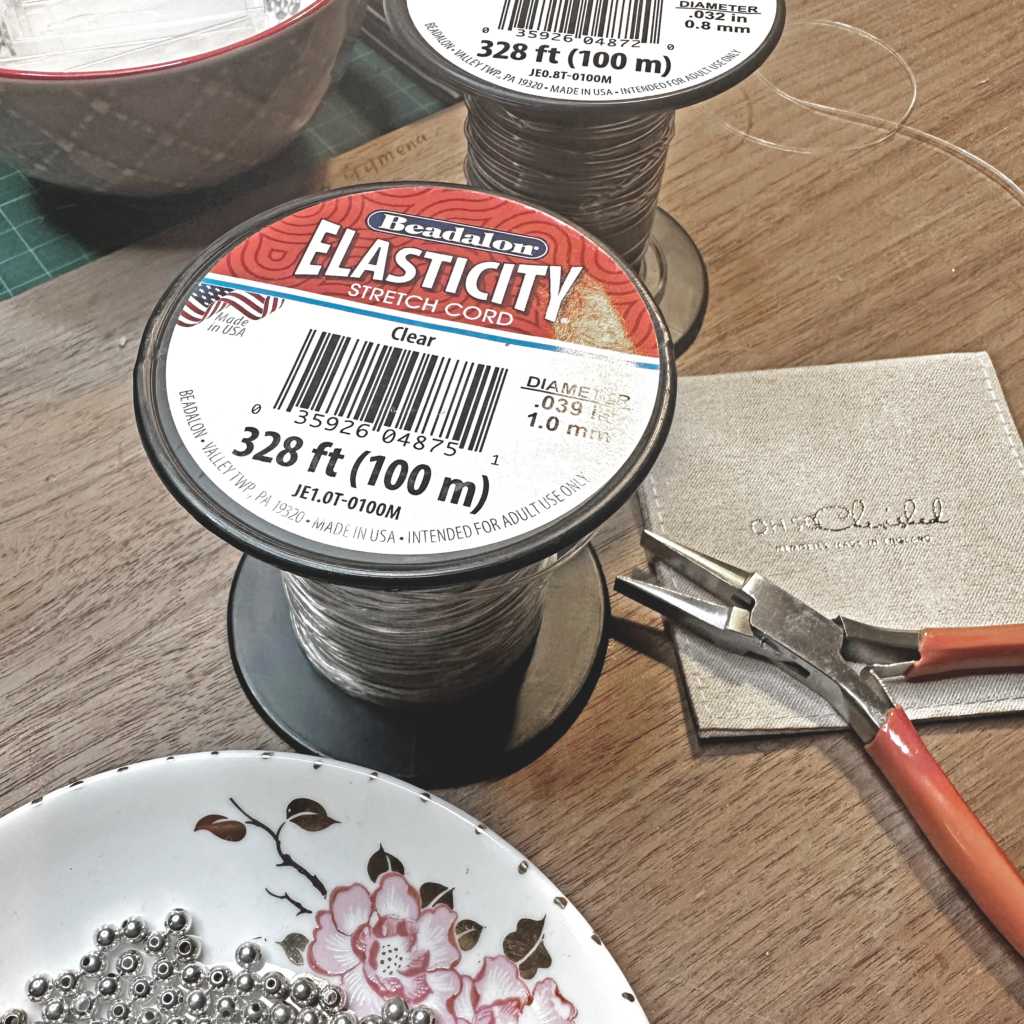
I personally use Beadalon Elasticity Elastic for all my stretch bracelets. For me, it’s the best elastic cord I’ve worked with, and one I confidently recommend. Here Amazon have a small 5m reel why not give it a try on your next stretch bracelet.
Over the years, I’ve tested everything from cheaper imports to other well-known brands, and this is the one I keep coming back to. It’s reliable, consistent, and incredibly strong, more like a rubber band than a flimsy thread. My prefered thickness is 0.8mm or 1mm for my stretch bracelets.
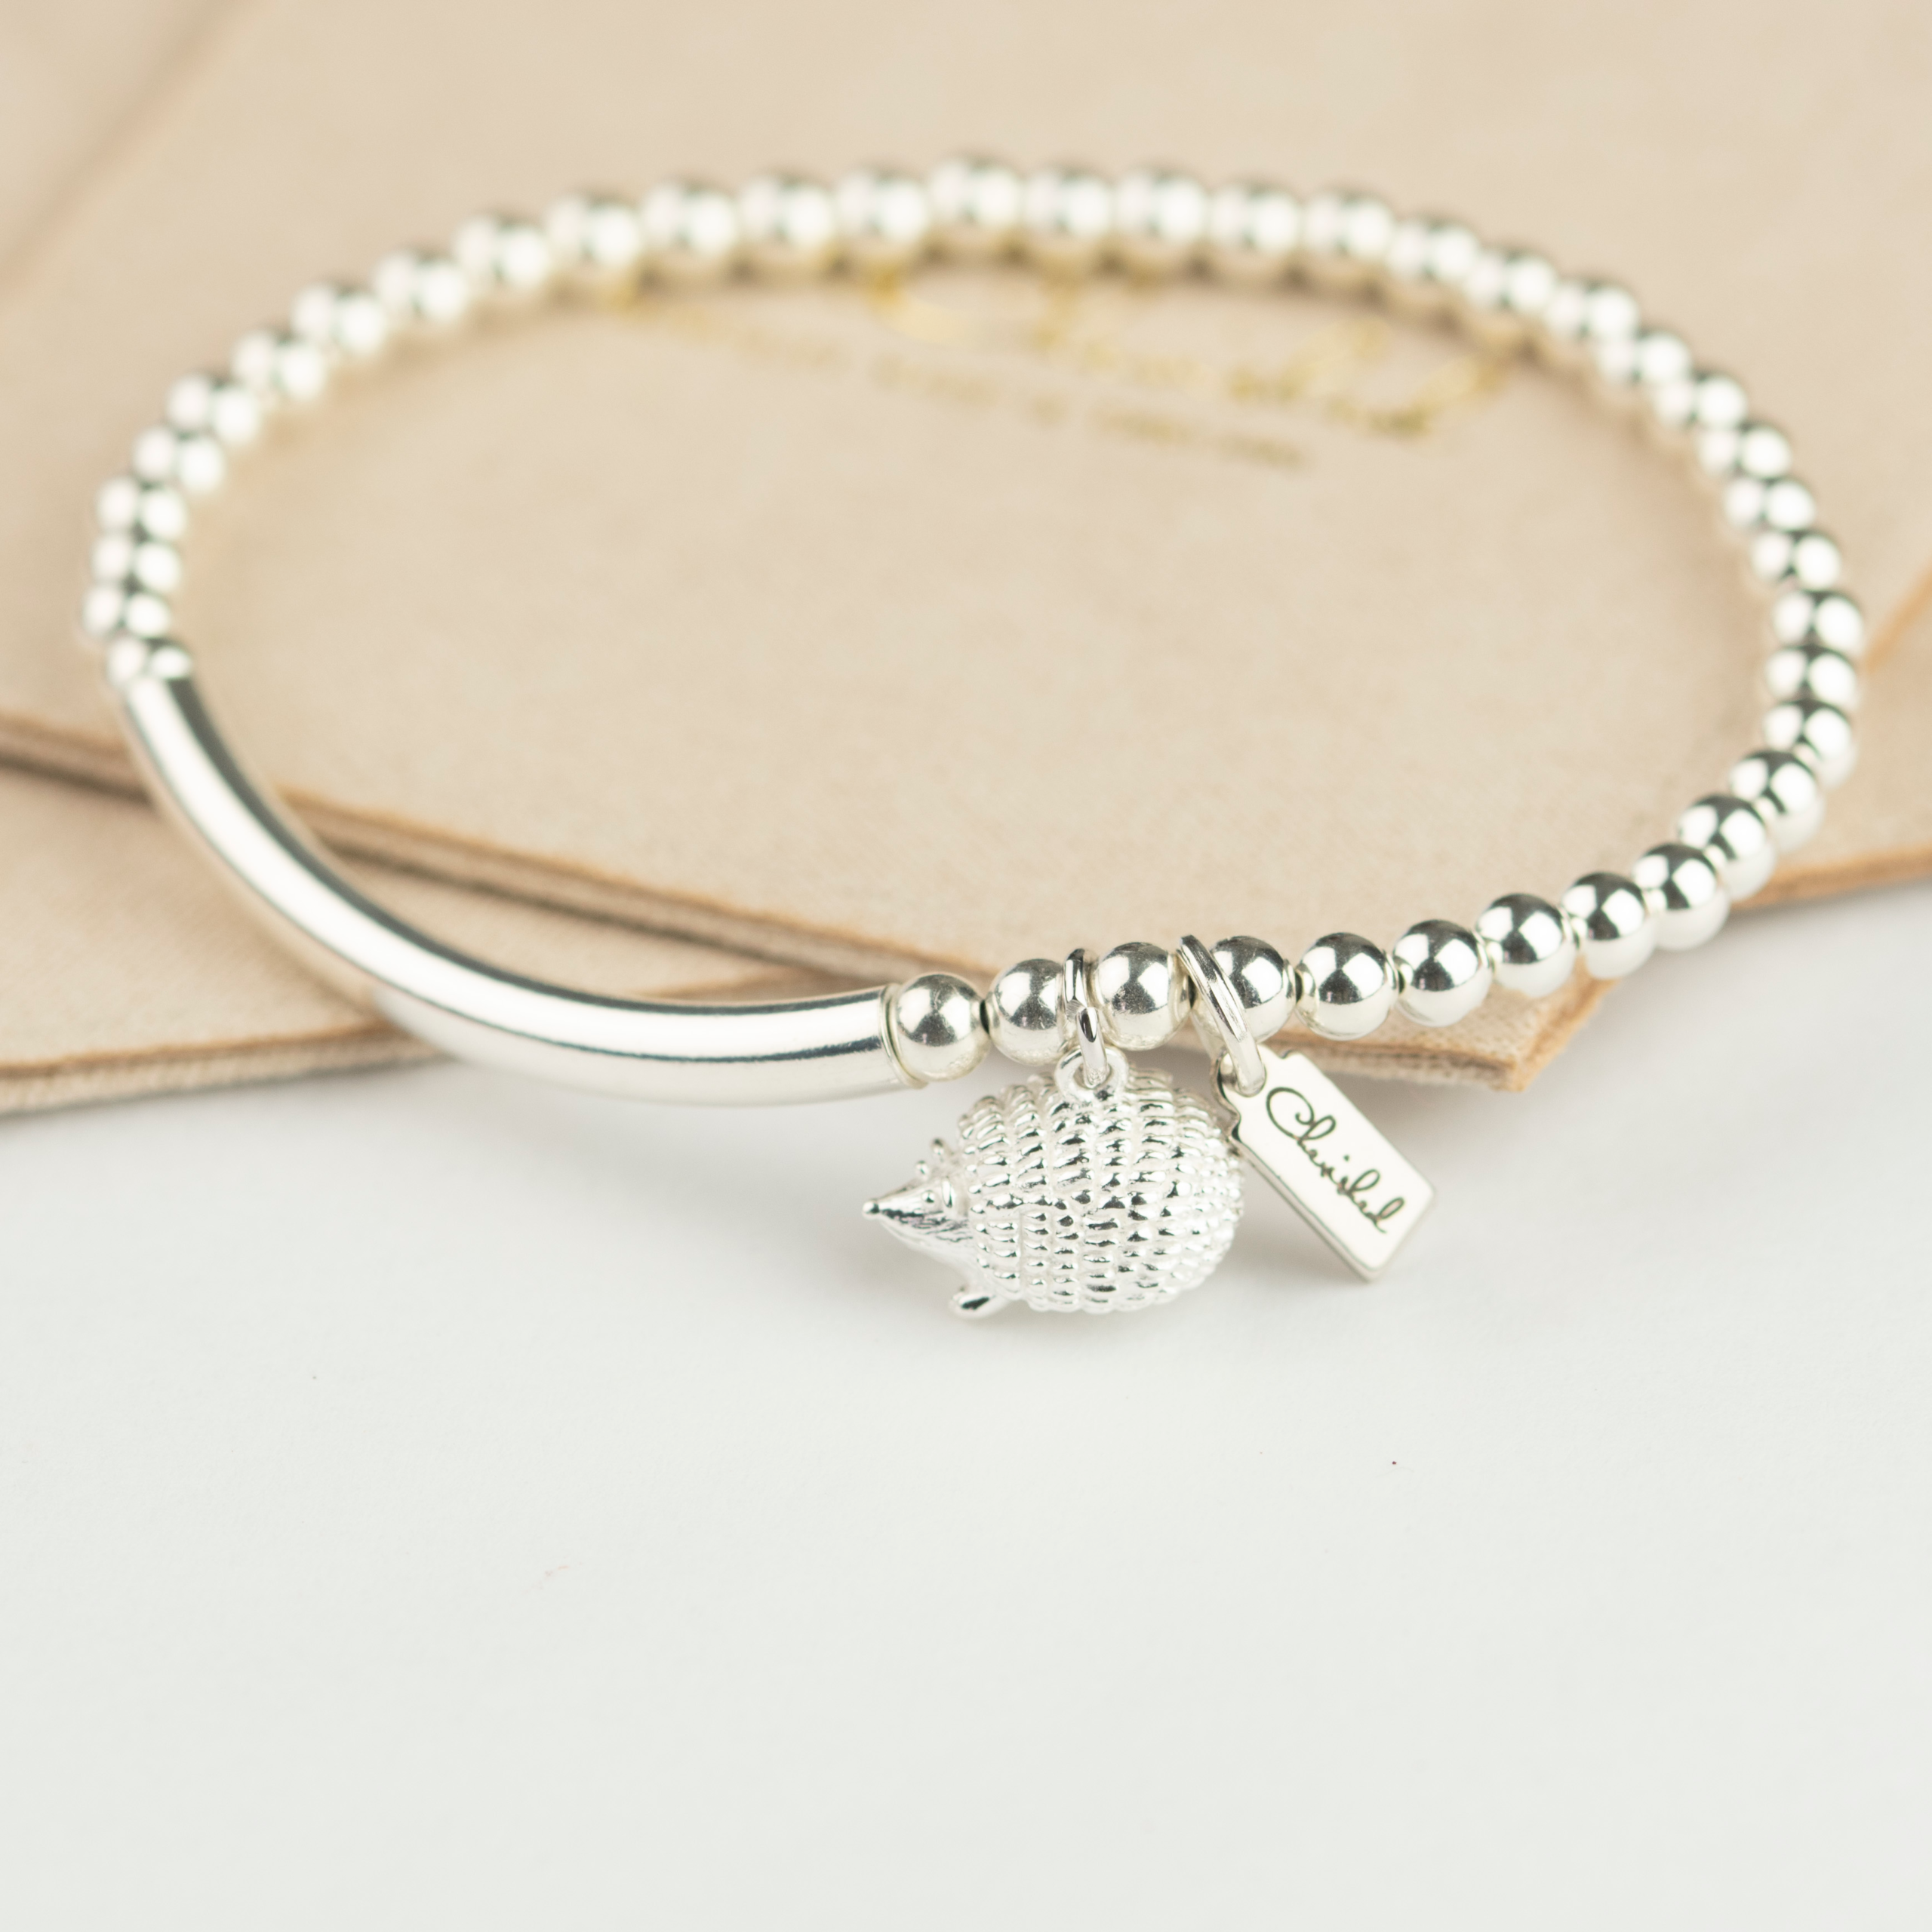
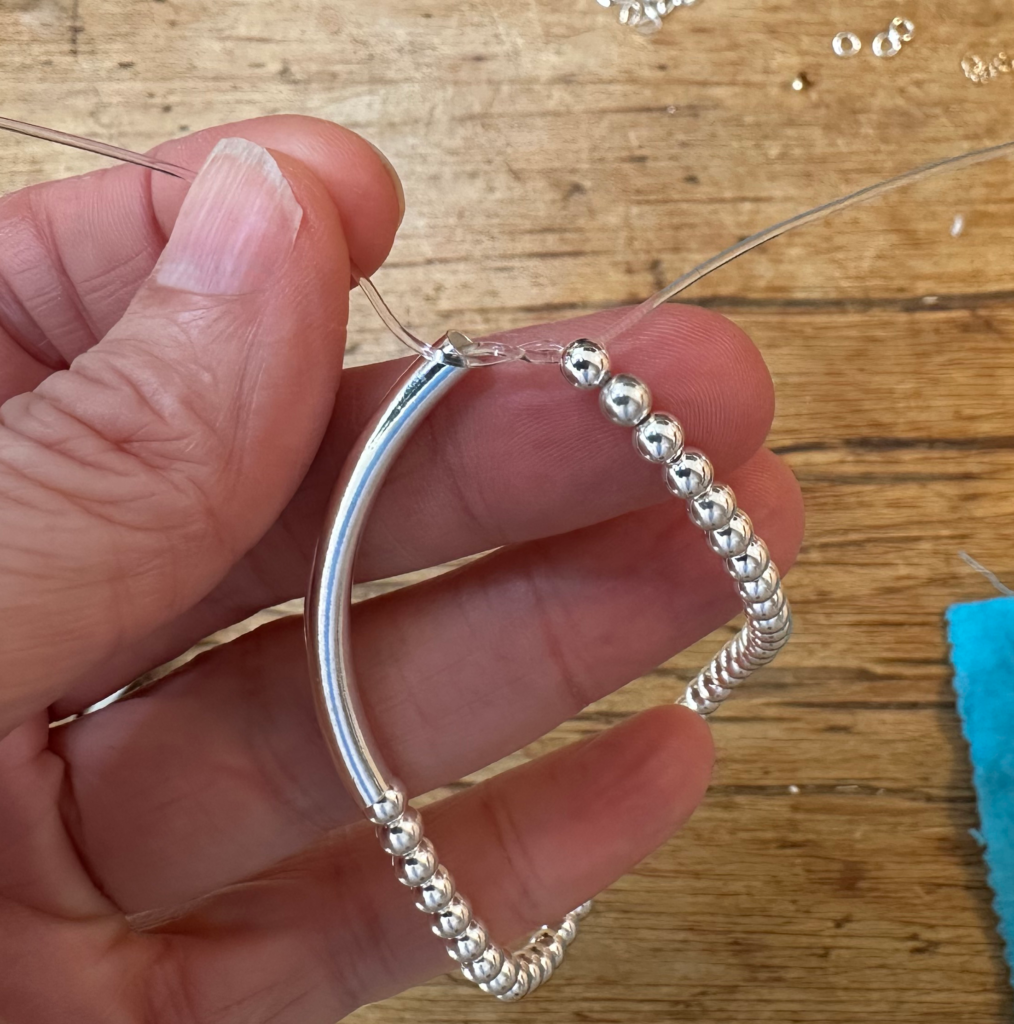
5. Your knot won’t stay in the bead hole
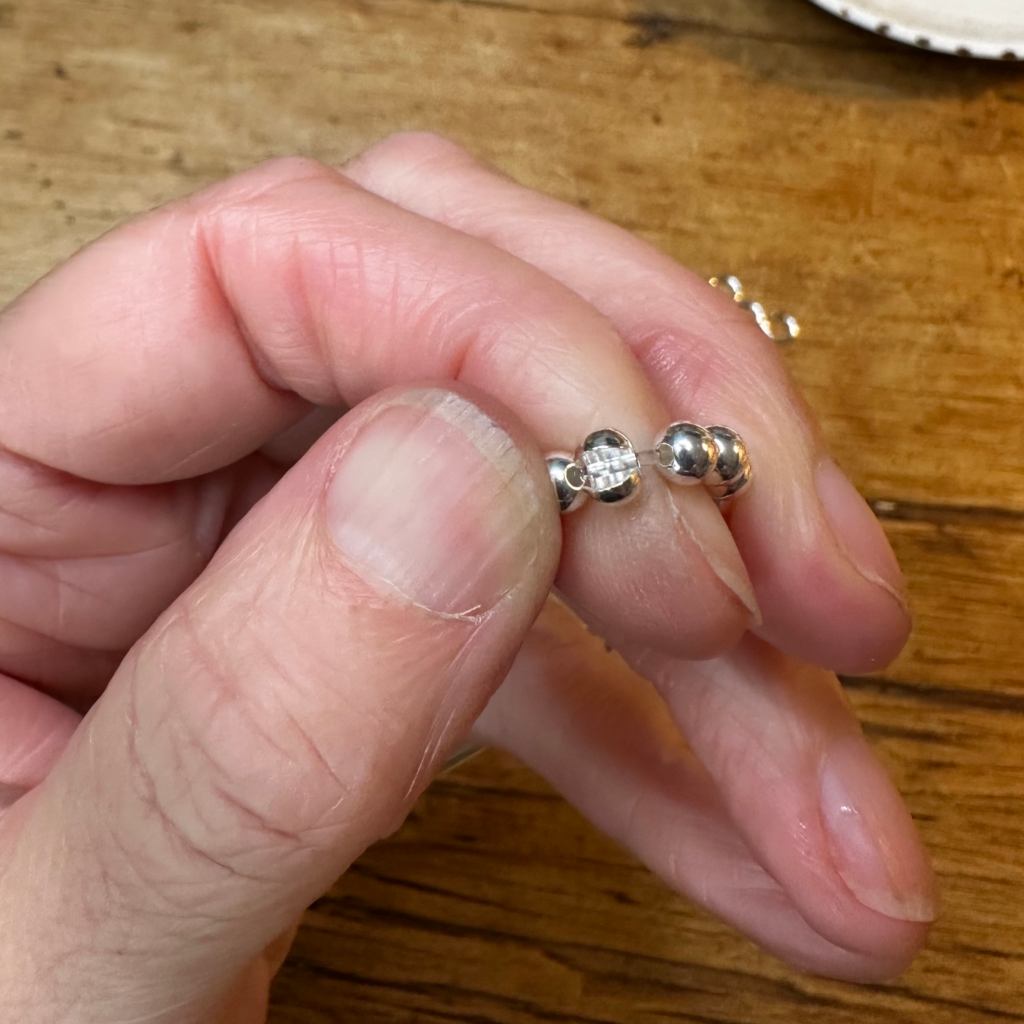
It can be tempting to tuck the knot into a bead and hope it stays hidden, but in reality, it rarely hold in place. Over time, it can work its way back out, leaving the knot visible and the finish looking a little untidy.
A better approach is to focus on securing the knot properly first, then covering it neatly (rather than relying on the bead hole to hide it).
How to fix it
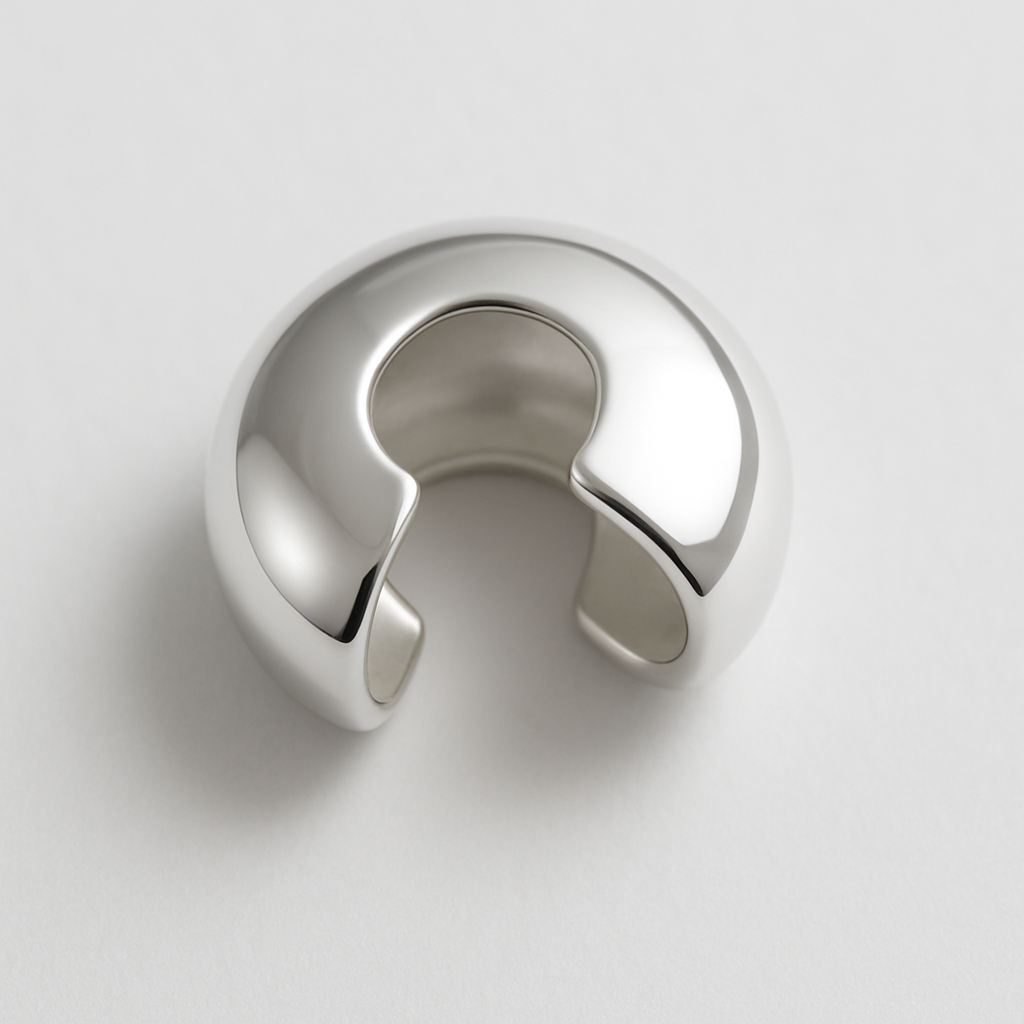
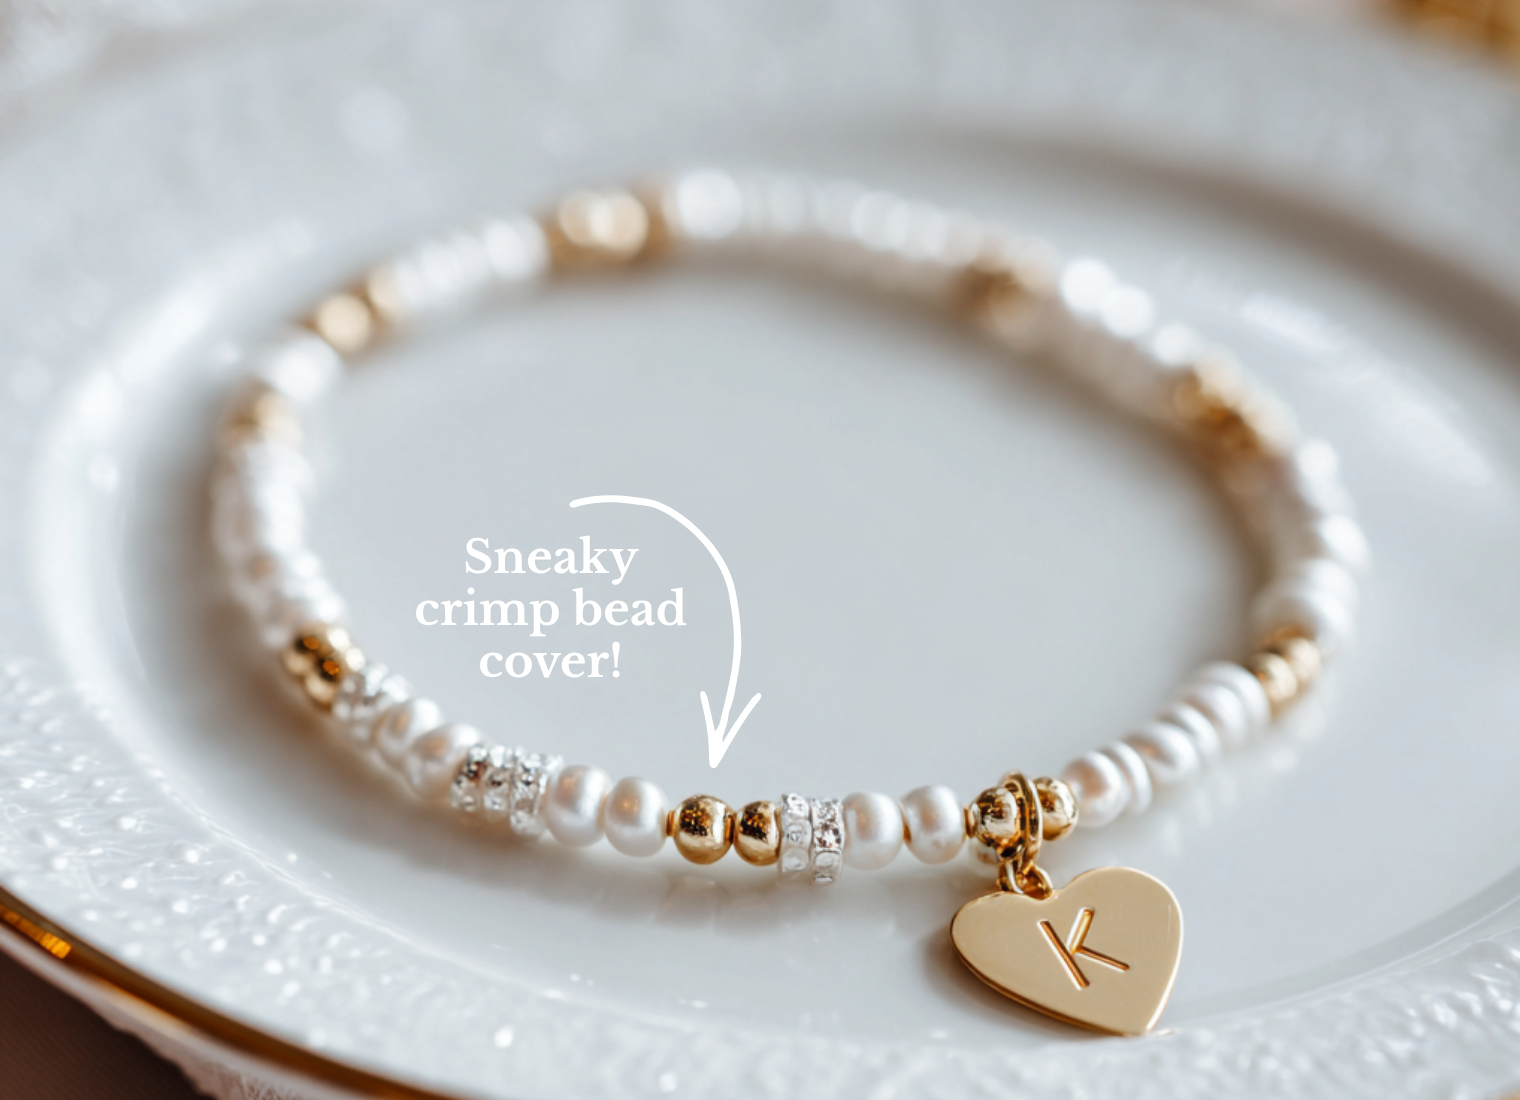
On my stretch bracelets I always incorporate a little crimp bead cover (shown below), these come in all sorts of sizes, 4mm, 5mm, 6mm crimp bead covers – available here if you want to give them a try. Any stretch bracelet can incorporate one into the design. Even if you are using coloured beads it will be a nice little end finish. Simply glue your knot with the tiniest spot of glue, once dry (overnight), snip off your excess elastic down to the knot. You can then pop your crimp bead cover over your knot and close it together using your square nose pliers, it will then just look like a lovely little bead. Awesomely sneaky! 🙌
Cause for concern? Crimp covers on elastic – yes or no?
It’s a fair question, and one worth getting right as it’s controversial. I’ve covered this properly in my crimp cover post, where I show you exactly how to use them (and when not to) so your bracelets stay strong and beautifully finished…always! ☺️
Now remember to incorporate these techniques into your stretch bracelets to make them stronger and more reliable in the future.

You’ve just seen 5 ways to improve your bracelets, this checklist pulls everything together + adds a few extra tips...

related reads
How to make simple stretch bracelets
The humble stacking bracelet recipe
Why Some Stretch Bracelets Look Professional (And Others Don’t)
Best pliers for beginner jewelry makers
Heads up! – I’ve included Amazon affiliate links in this post. If you choose to buy the same products as me through them, I may earn a teeny weeny commission (no extra cost to you though).