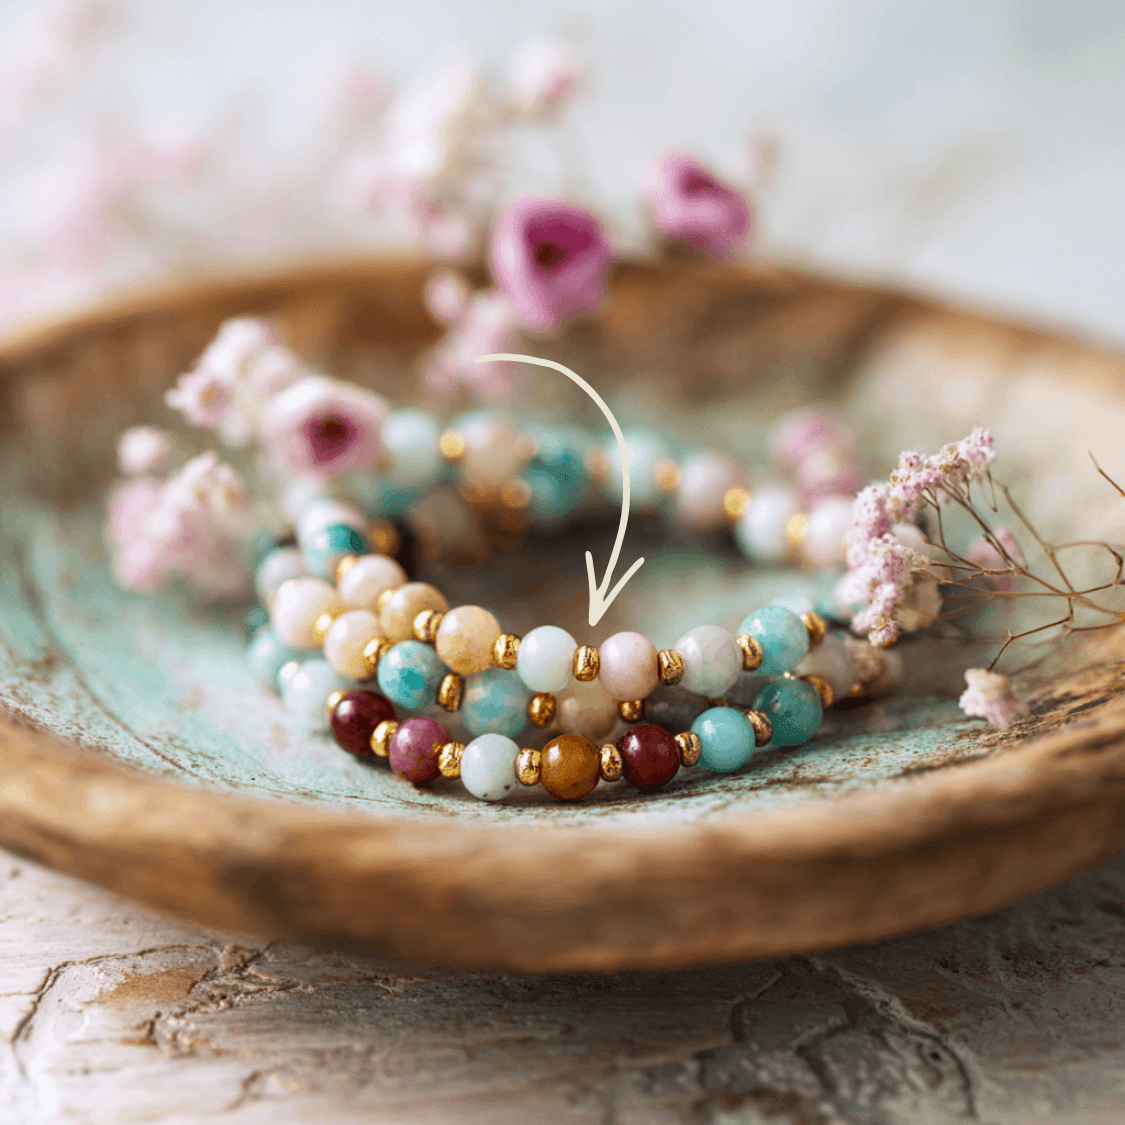
5 Common Beaded Bracelet Problems
The most common wire bracelet mistakes + how to actually fix them
When all you hear is… ‘It’s broken again’.

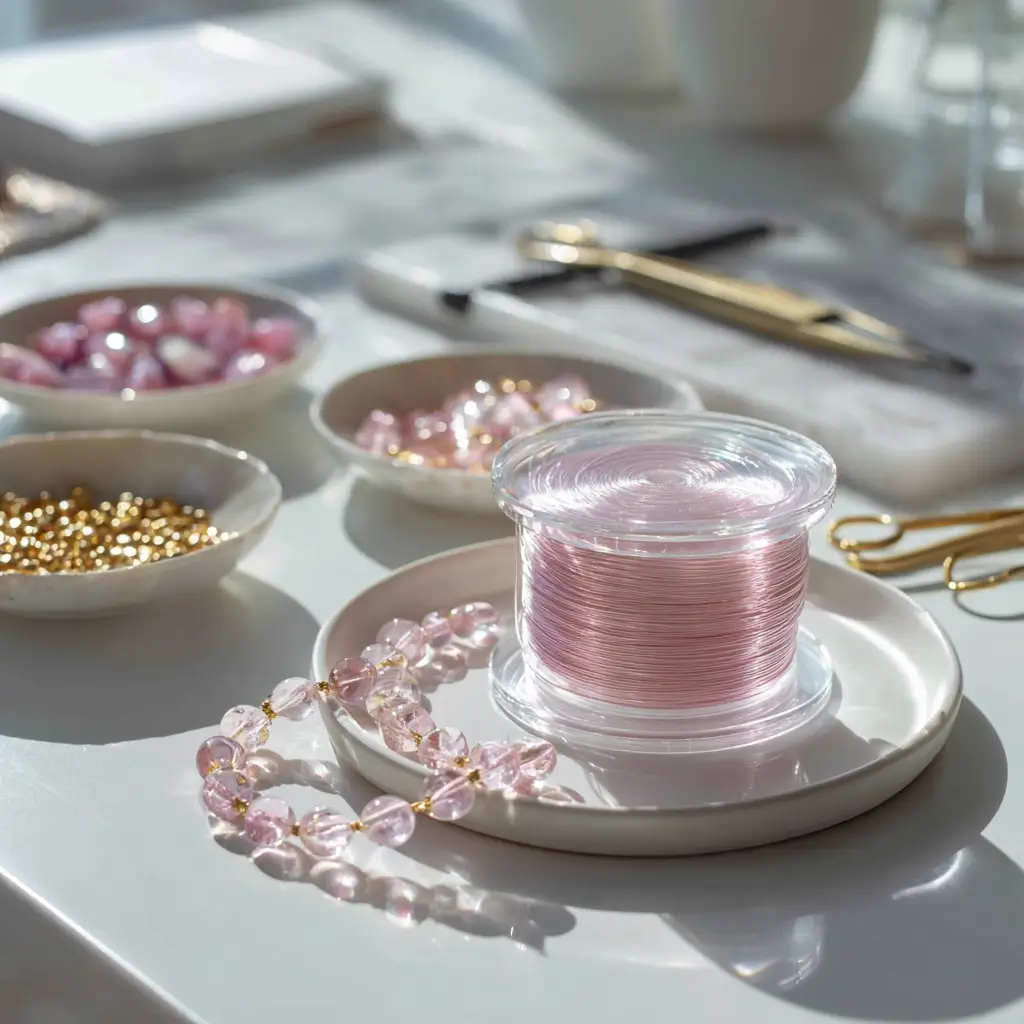
Cheap wire was always the culprit of snapping wire bracelets for me in my early days, but how I handled and finished the bracelets mattered just as much. Here’s how I fixed the most common wire bracelet dramas that I encountered…
1. Why does my beading wire kink so easily?
Because beading wire isn’t designed to handle sharp bends or repeated tweaking, it’s strong, but not that forgiving. The moment you bend it too tightly (especially near a crimp) or keep adjusting the same spot, the internal strands weaken… and that’s when the kink shows up and refuses to leave.
How to fix it
Once a kink’s there, I’m afraid it’s not going back to its former glory 😬, the wire’s structure has already been compromised. The best fix is to trim back to a clean section and rework it, rather than trying to force it straight (which usually makes it worse).
2. Why does my beading wire break so often?
Most often it’s down to over-crimping (crushing the inner strands), sharp-edged beads slowly sawing through it, or repeated bending in the same spot (classic near the clasp). Add in lower-quality wire into the mix, and it’s basically hanging on by a thread… until it isn’t 😬
How to fix it
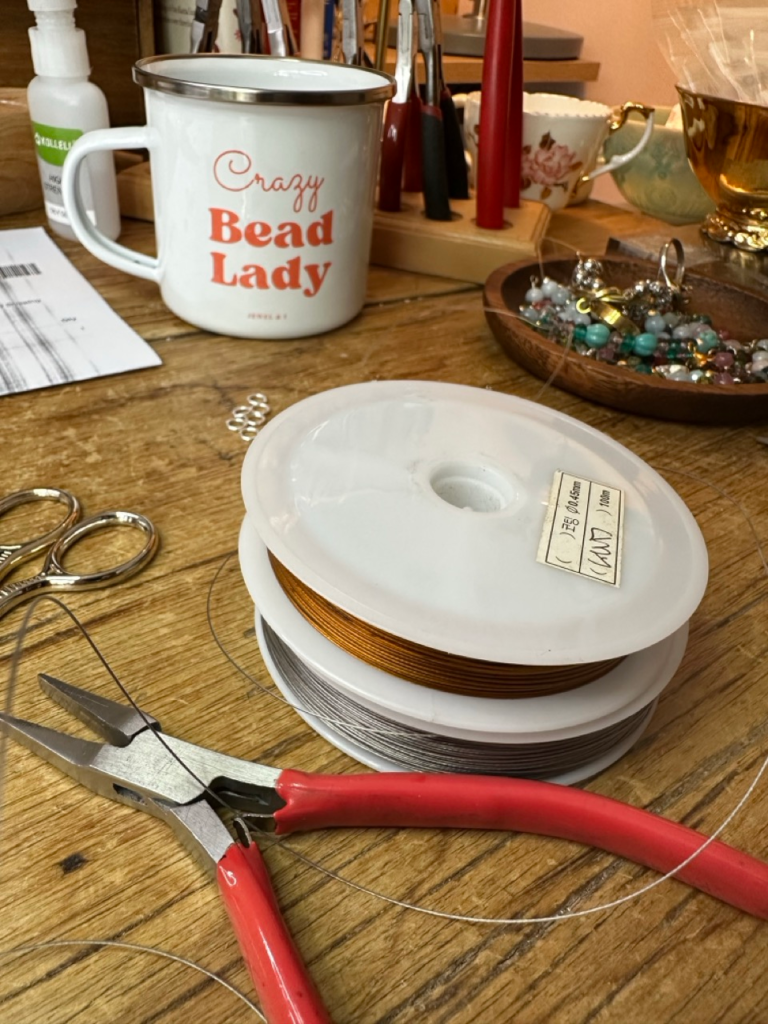
I went through a lot of beading wires in my early days… and a fair few disasters to go with them. In the end, I stopped trying to make cheaper wires work and went looking for one that actually wouldn’t let me down.
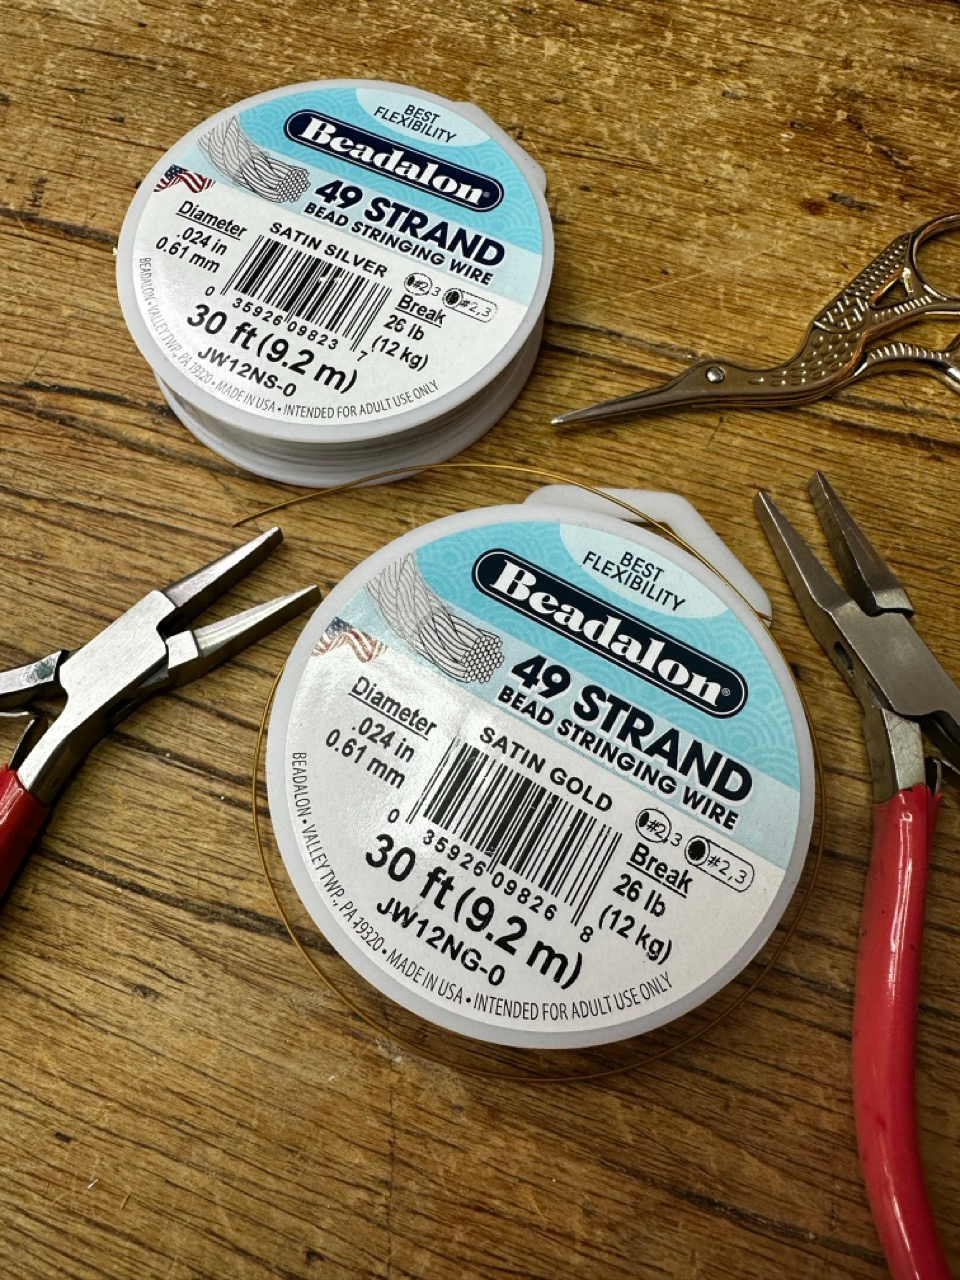
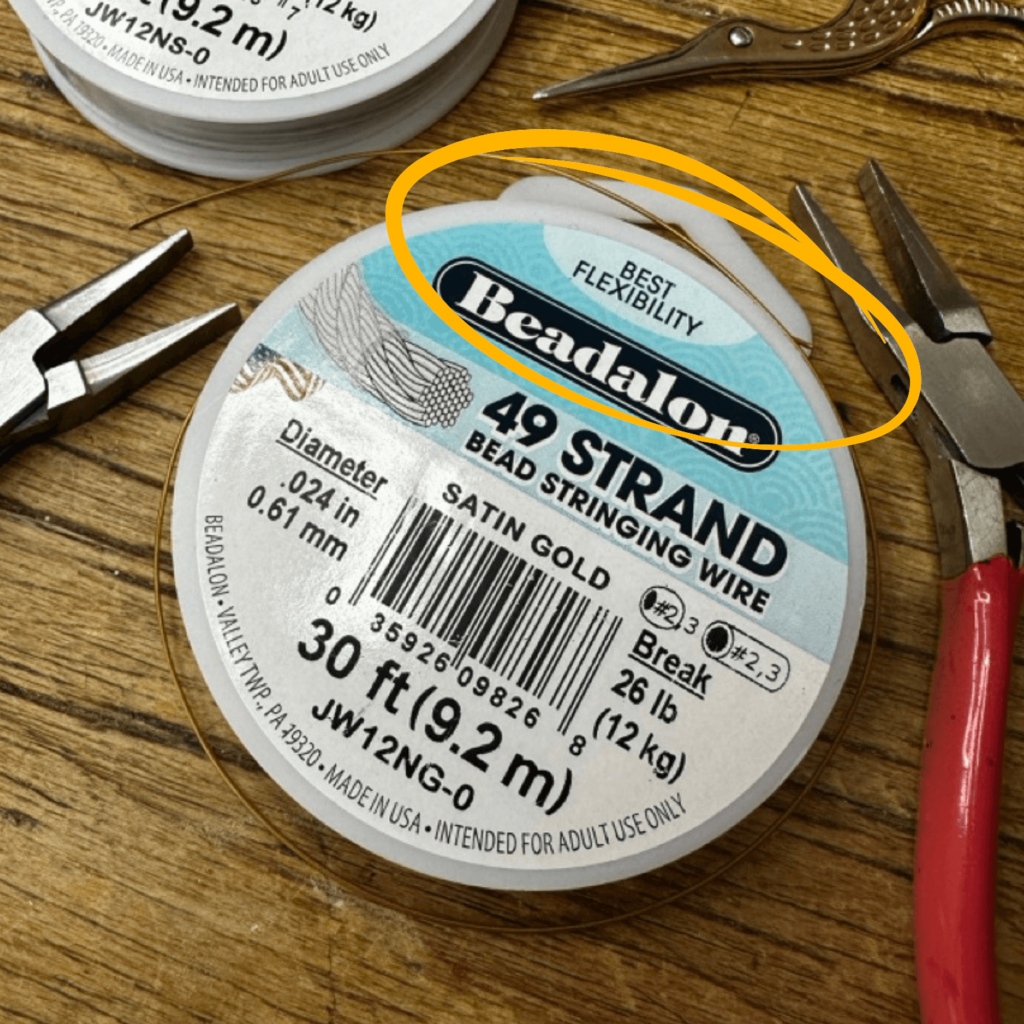
After plenty of trial and error, I landed on Beadalon 49 Strand Beading Wire, made up of 49 tiny strands twisted into one. It’s incredibly strong but still flexible, which means pretty much zero fraying, snapping, or stress around crimps. AND… drum roll….it doesn’t kink!
Yes, it’s a bit more expensive than the budget options… but it really does last, and for me, it’s been worth every penny. Honestly, I can’t remember the last time I had a wire bracelet come back broken.
3. My bracelet looks and feels stiff
You’ve made your masterpiece but your bracelet just looks and feels tight, stiff or rigid.
How to fix it
Poor drape is usually caused by stiff wire, tight stringing, or both. If you’re not quite sure what ‘drape’ actually means yet, I explain it properly in my article on jewelry drape here – it’s one of those little details that instantly changes how professional a bracelet feels.
- Give those beads a bit of breathing room – leave the tiniest bit of space either end of your bead area, I only mean 1mm no more, 1mm is all you need.
- Choose a flexible wire (this makes a bigger difference than you think)
- Once it’s made, if it still feels a bit tight, I gently ease the beads to loosen it up. Using Beadalon 49 Strand Wire means there’s just enough flexibility to do this, even after it’s finished and clasped.
A good bracelet should curve with the wrist, not fight it. If it’s sitting straight when it’s off the wrist… that’s usually your clue something needs loosening up.
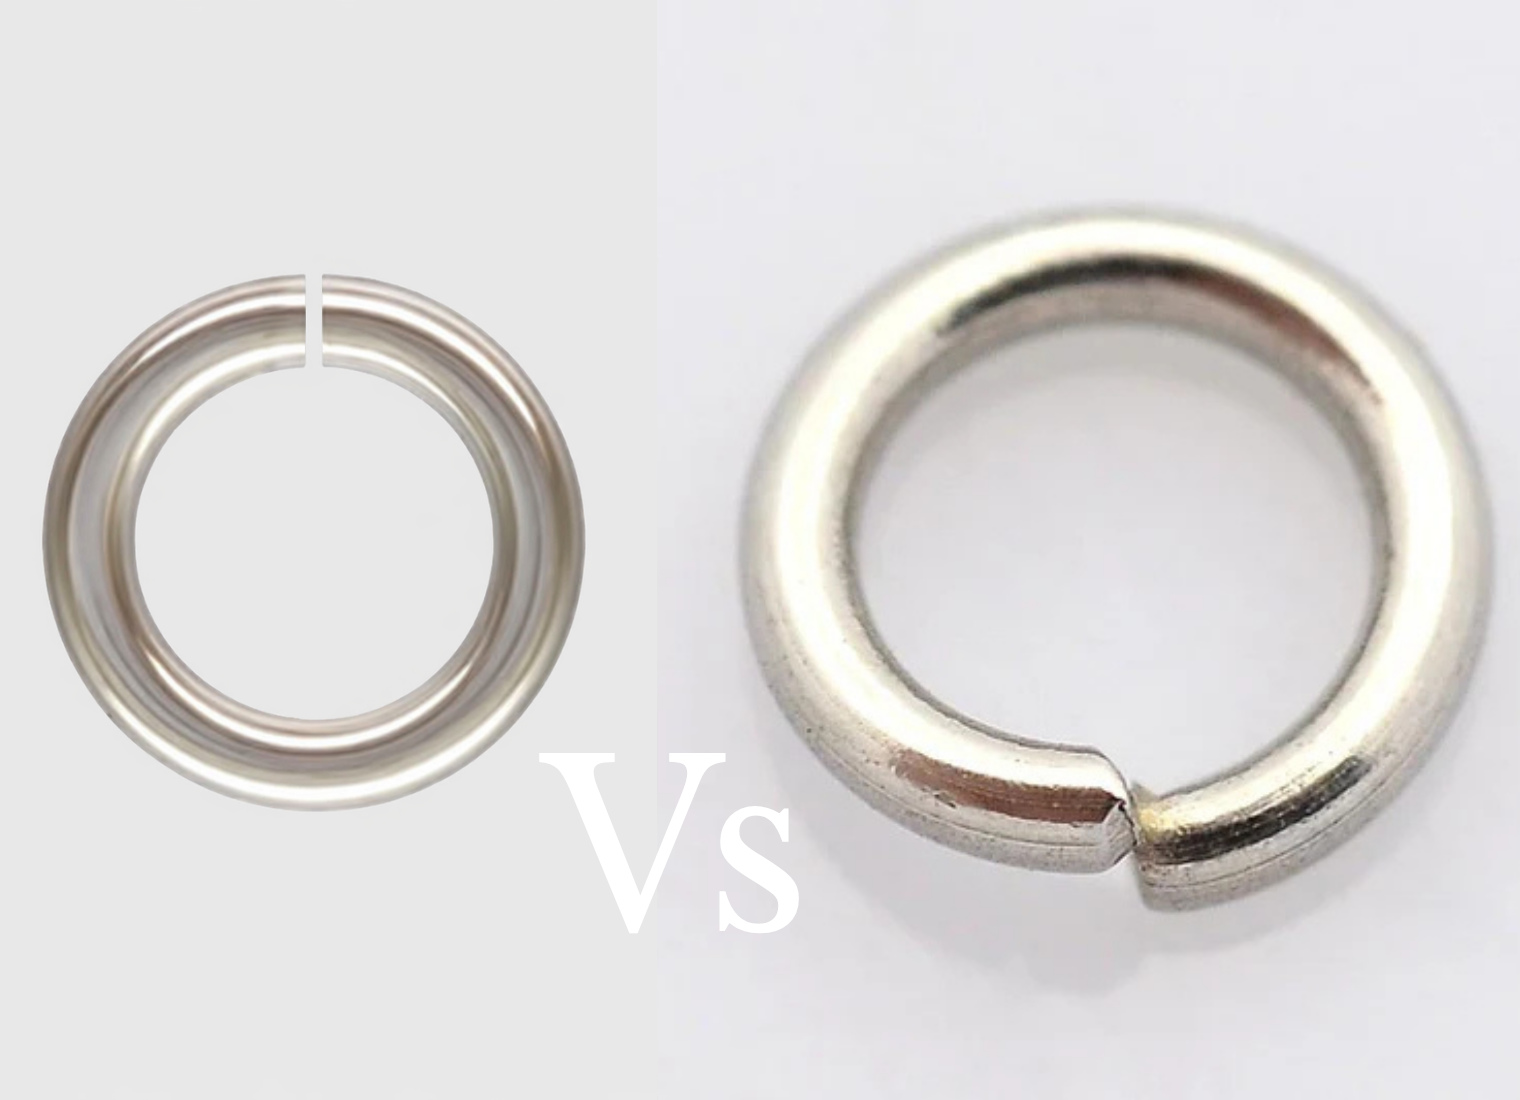
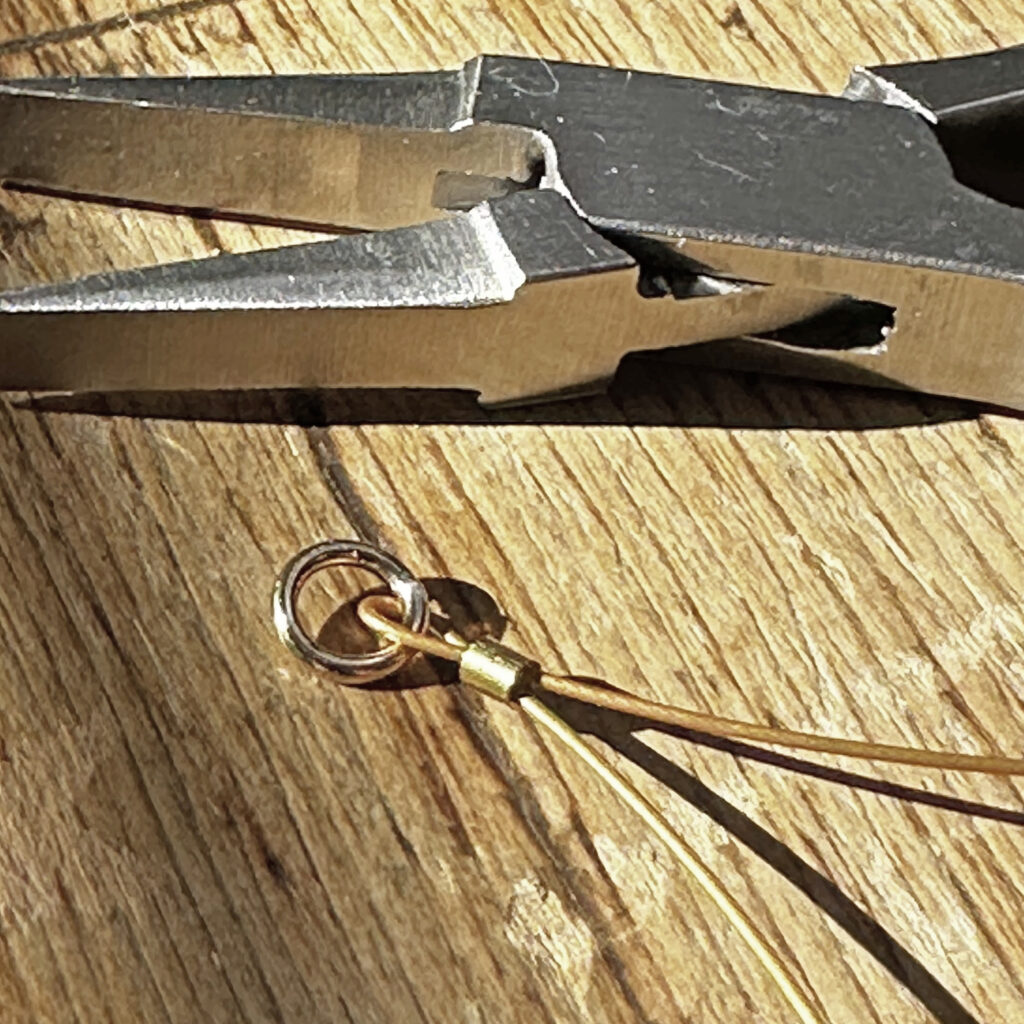
4. Crimp beads look ugly
Yep! they really do. That’s why I like to cover mine.
How to fix it
Crimp beads are not here to be admired…they’re there to be covered. So cover them. Pop a crimp bead cover over the top (see below). Gently close it into a neat round ball using your square nose pliers. It instantly takes things to a clean, professional finish, which is really what we’re after 😄

5. Getting the bracelet length right
You finish making your bracelet, but the size has come out a tiny bit too big/small.
This usually comes down to measuring incorrectly.
How to fix it
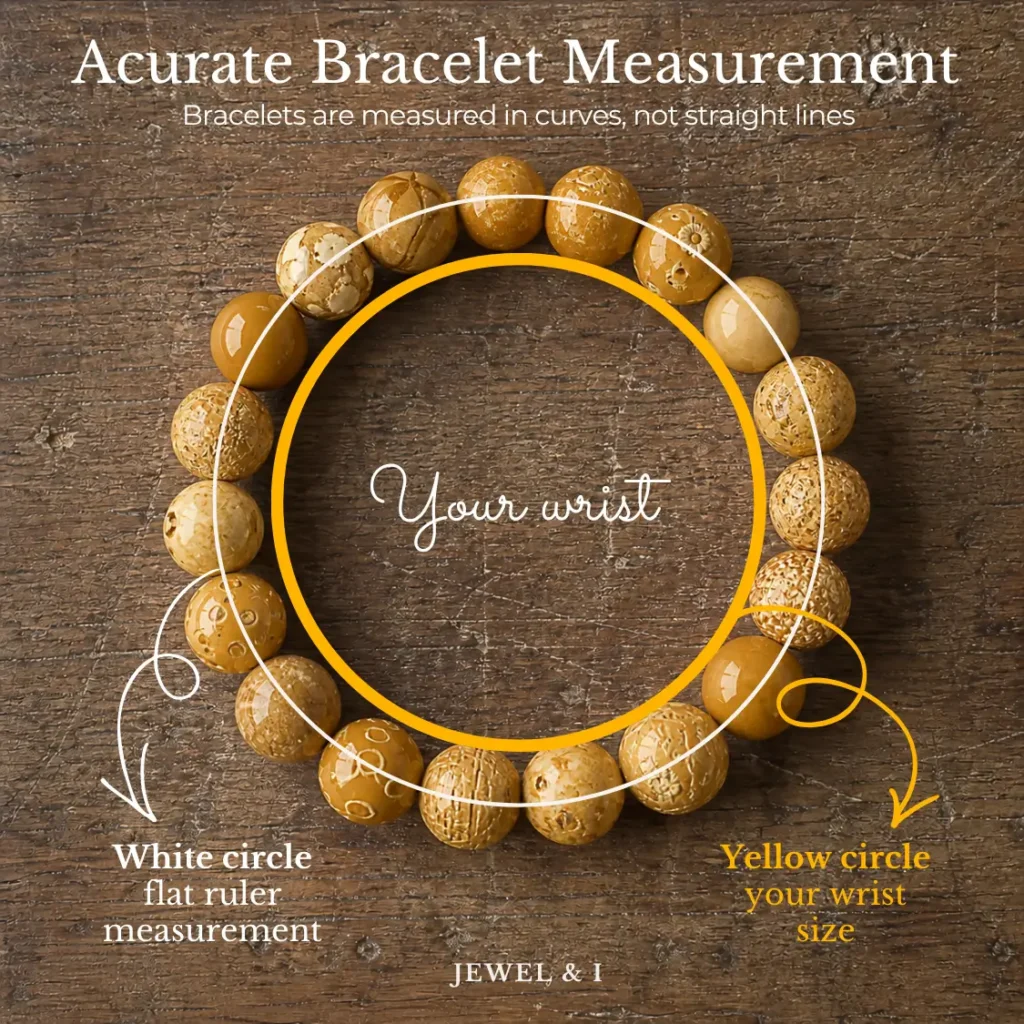
Start by understanding this one key thing: Measuring a bracelet flat on a ruler isn’t the same as how it fits on a wrist.
When beads curve around the wrist (especially larger ones), the inside circumference becomes smaller than the flat measurement. So what looks like the ‘right length’ on the table can end up feeling too tight when worn.
So what should you do instead?
Start with a proper wrist measurement, then build from there. Using a simple wrist measuring tool (or even a strip of paper), measure the wrist and add your comfort allowance:
- +1cm for snug
- +1.5–2cm for a standard fit
- +2cm+ for looser styles
This gives you a much more accurate starting point than using a ruler.
Helpful tools (especially if you’re starting out)
If you want to make life easier, there are a couple of beginner-friendly tools that really help 😅
- A wrist measurer – gives you an accurate wrist measurement every time
- A bead board – lets you lay out your design to a target circular length
Then, if needed, you can alway add an extender chain to your design (2–4cm) to fine-tune any fit.
Want to learn more about measuring your bracelets? I’ve put together a dedicated guide to help you measure bracelet sizes accurately every time. Click here.
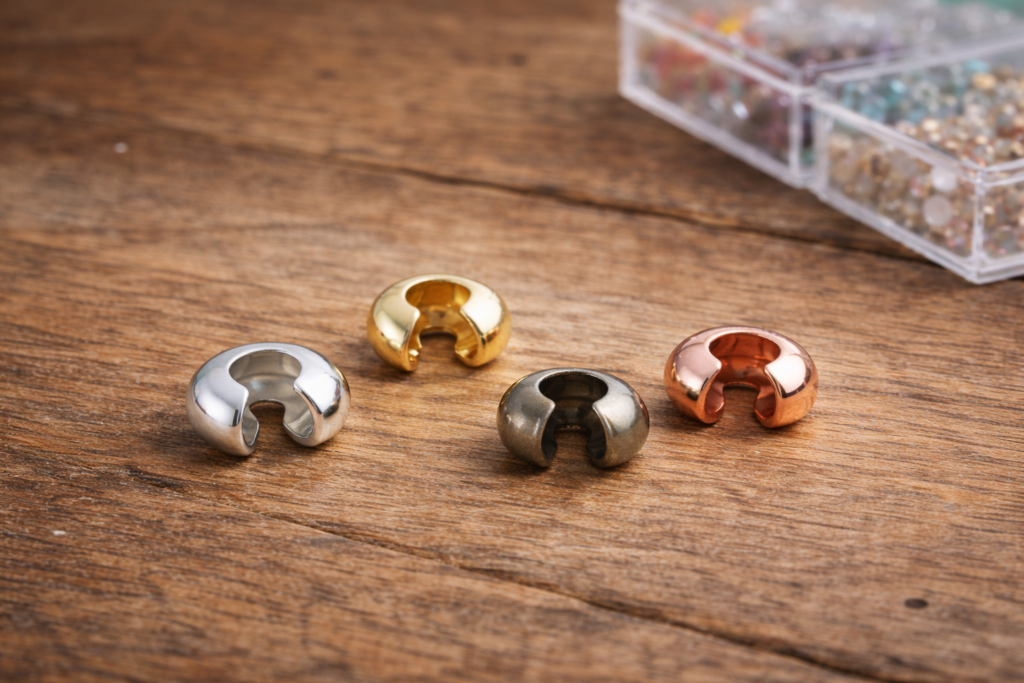
6. Why does my bracelet always snap at the ends?
Because the ends take all the pressure. Every time the bracelet moves, the wire is rubbing against the clasp or jump ring, and over time, that constant friction slowly wears it down until it gives up… usually right when you least want it to 😬
How to fix it
Protect your wire where it’s most vulnerable. Use wire guardians (aka wire protectors) at the clasp area. They create a smooth curve for the wire to sit in, instead of it rubbing directly on the metal. This reduces friction and stops the wire from snapping. A small detail, but it makes a huge difference to how long your bracelet lasts, and they look good too!


I do hope these 6 points have helped. Now remember to incorporate these techniques into your wire bracelets to make them super stronger and more reliable in the future.

If your bracelets are nearly there… but not quite… I got you!
subscribe below for my Refinement Checklist and we’ll sort those little niggles out.

related reads
Why every jewelry collection needs evergreen pieces
Upgrade your stretch bracelets
Why Your Jewelry Isn’t Selling (+ how to fix it)
Best pliers for beginner jewelry makers
Heads up! – I’ve included Amazon affiliate links in this post. If you choose to buy the same products as me through them, I may earn a teeny weeny commission (no extra cost to you though).