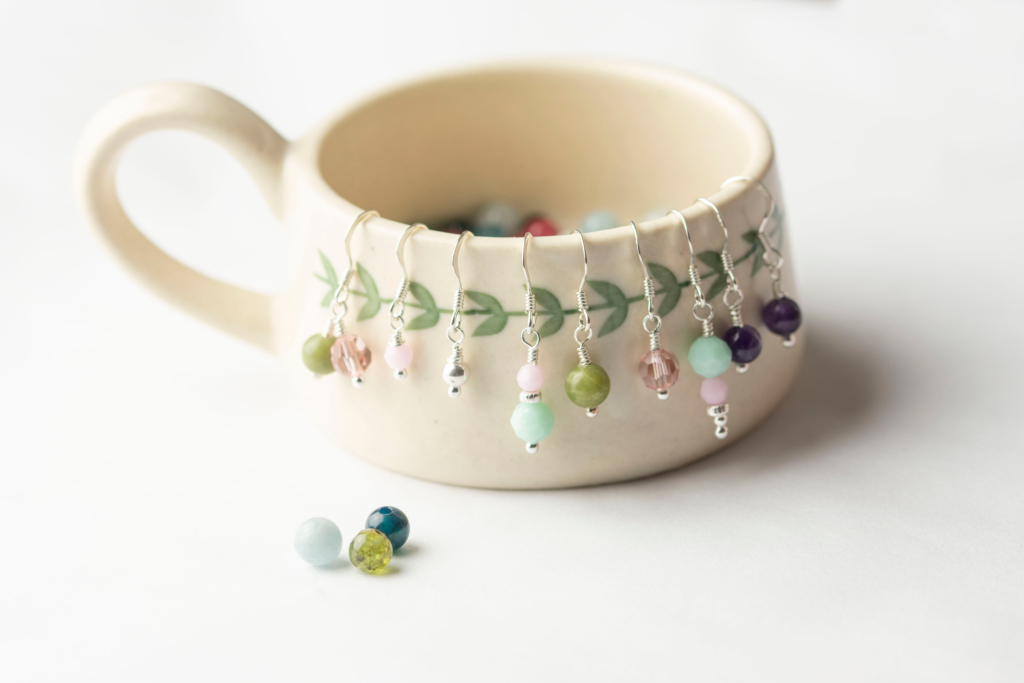
Droplet gemstone earring recipe
Learn to wire wrap in 3 minutes!
If you’ve ever looked at dainty droplet earrings and thought, they must require high-level jewellery skills, relax – these are wonderfully easy once you crack the simple wire-wrapping trick at the top of the bead. Once you’ve got that tiny little twist mastered, you’ll go wild earring making! You’ll be raiding your bead stash like a woman possessed – crystals, pearls, gemstones, charms – nothing will be safe!

| Skill level: Easy (once you’ve grasped the wrapping) 🤪 | Time: 5 Minutes | Style: Classic |
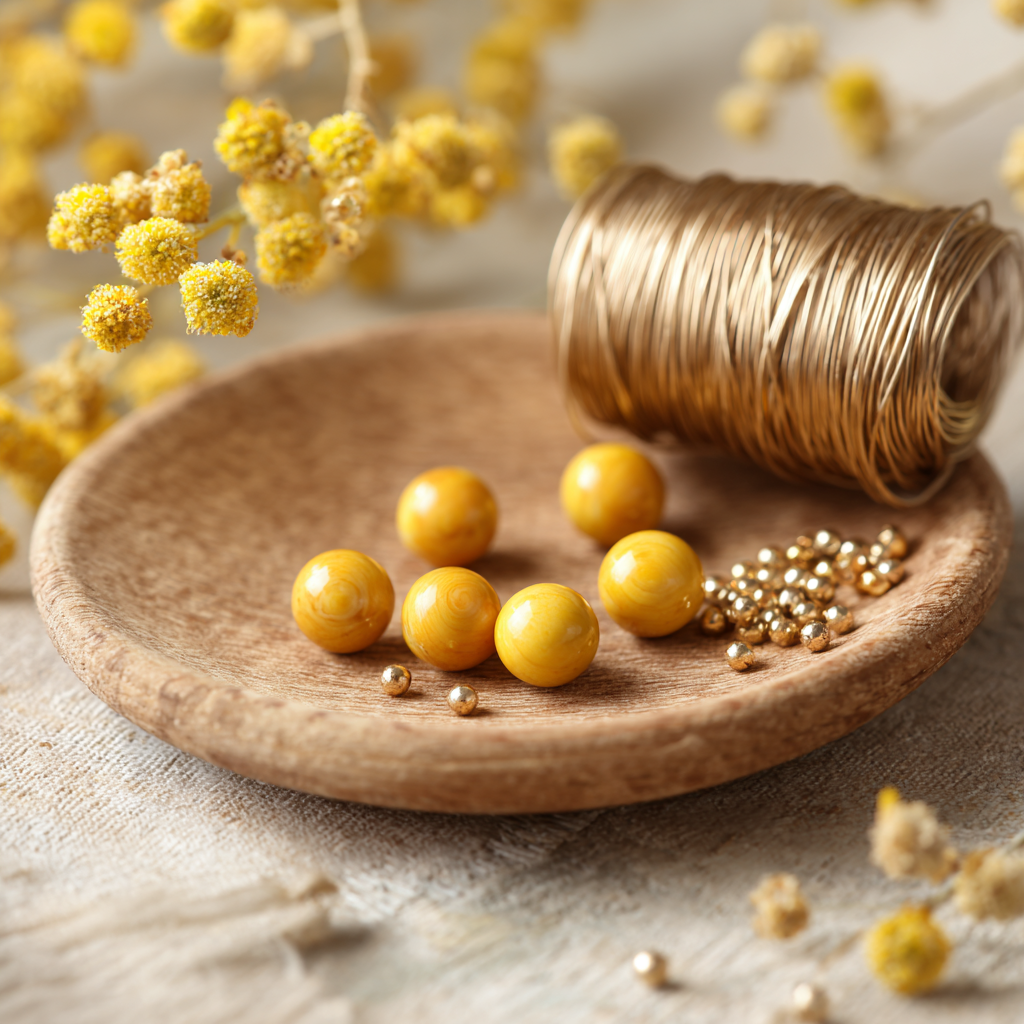
Ingredients
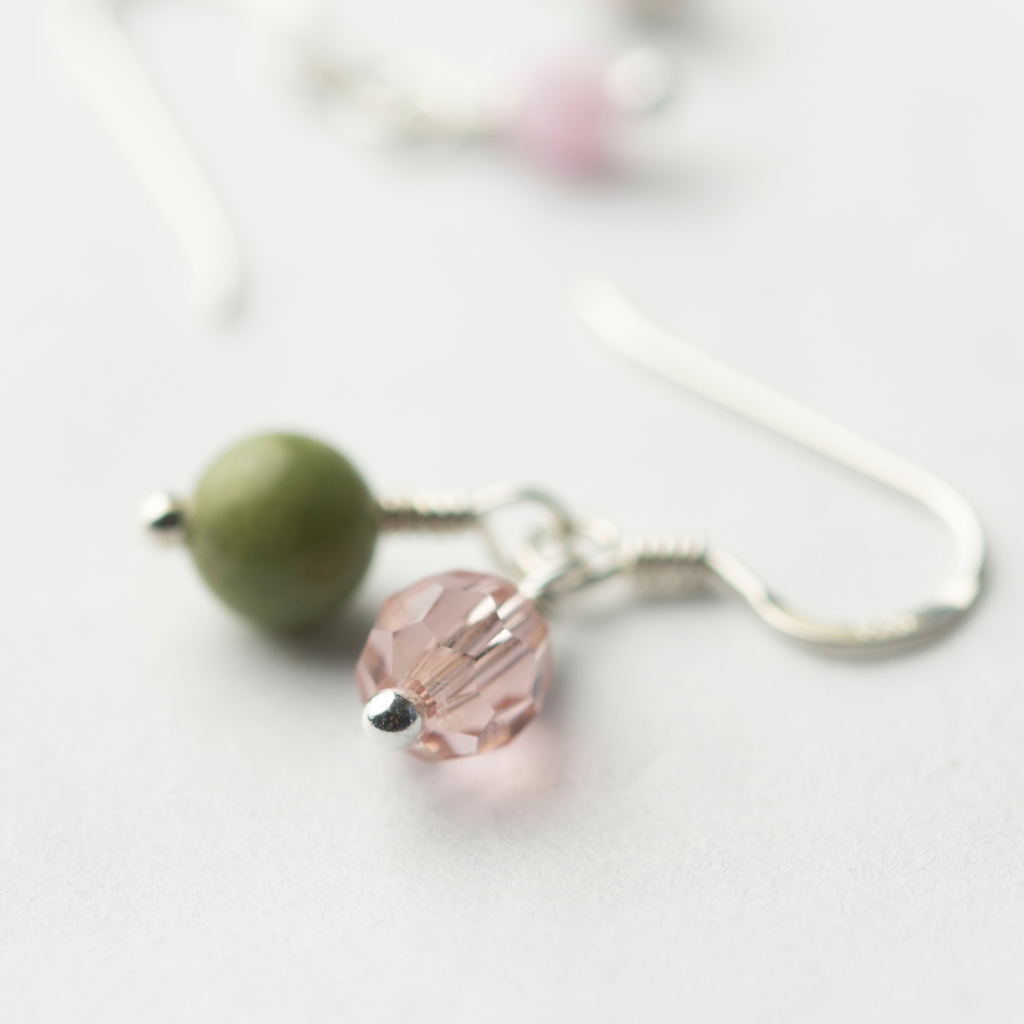
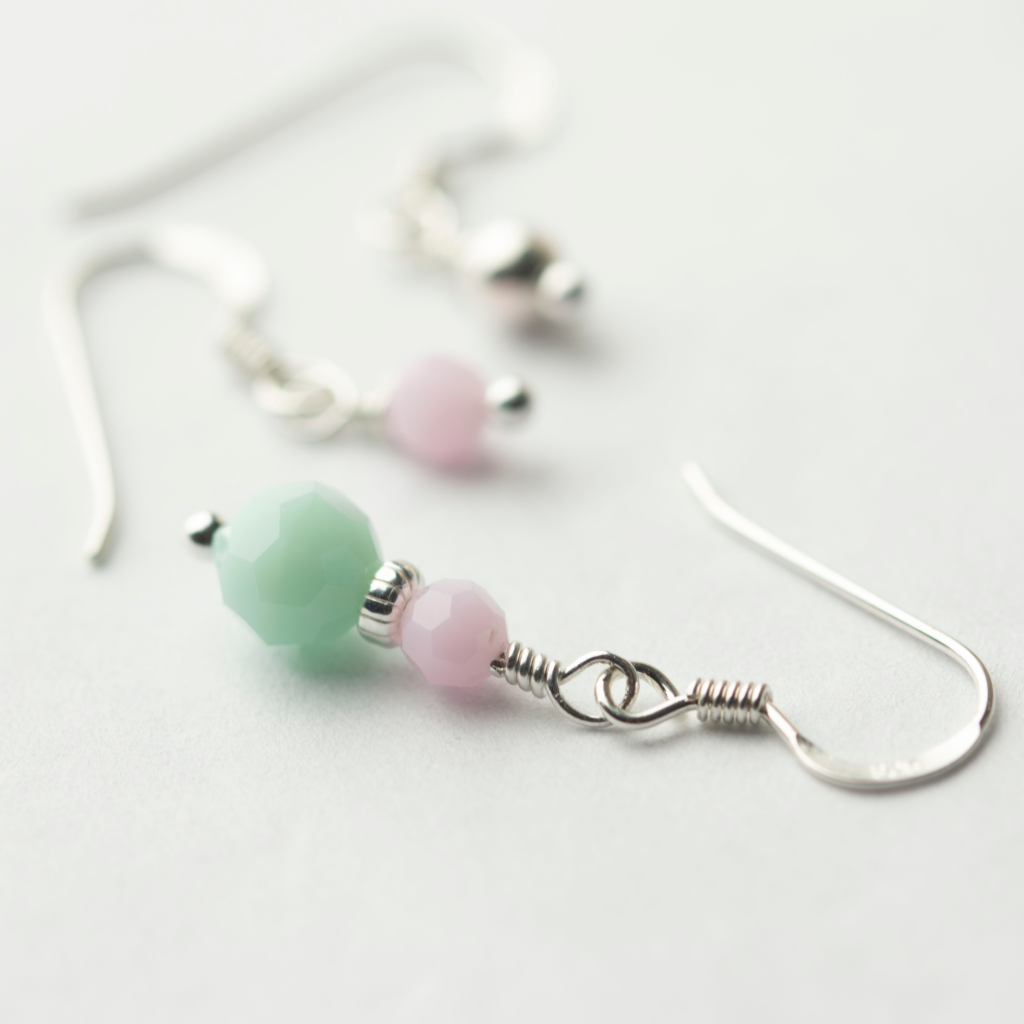
- x2 6mm gem stone beads of your choice
A beautiful set OR A smaller string - x2 38mm (or simular length) sterling silver ball headpins
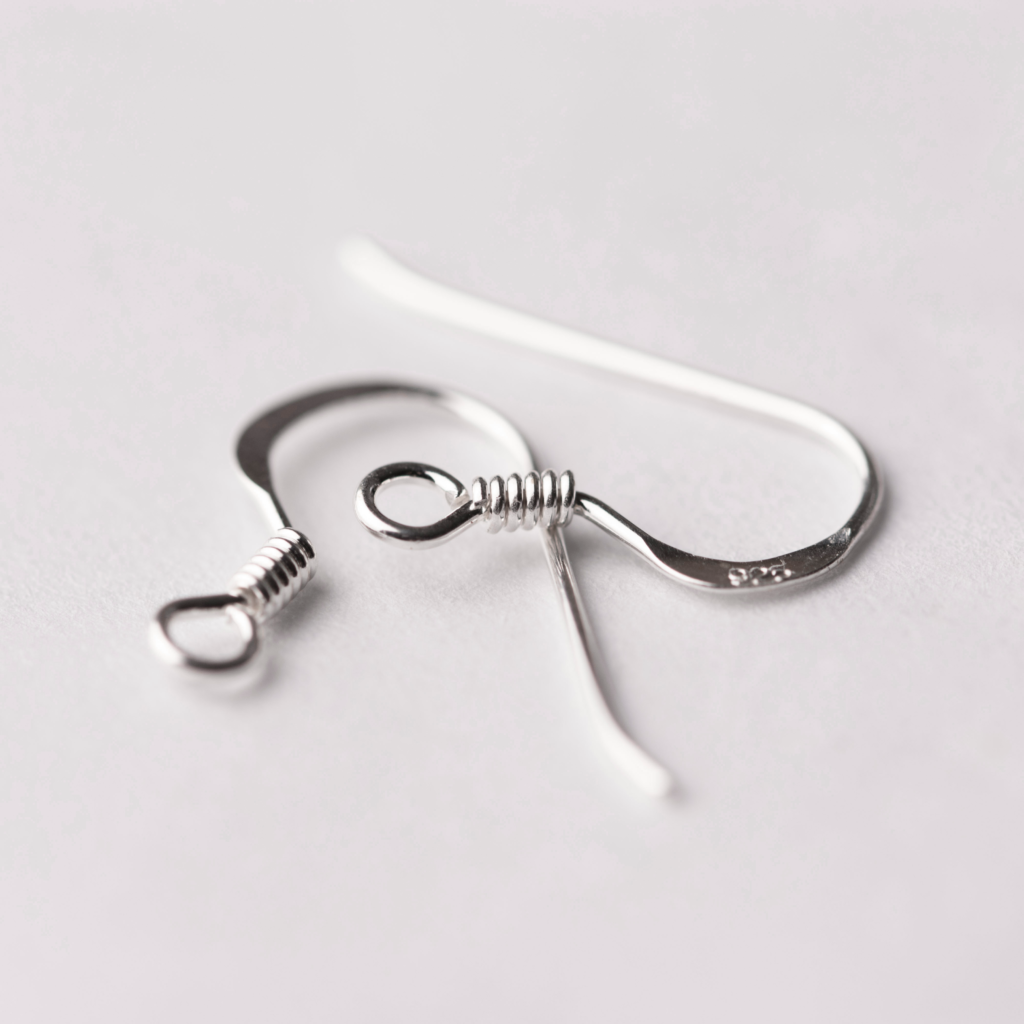
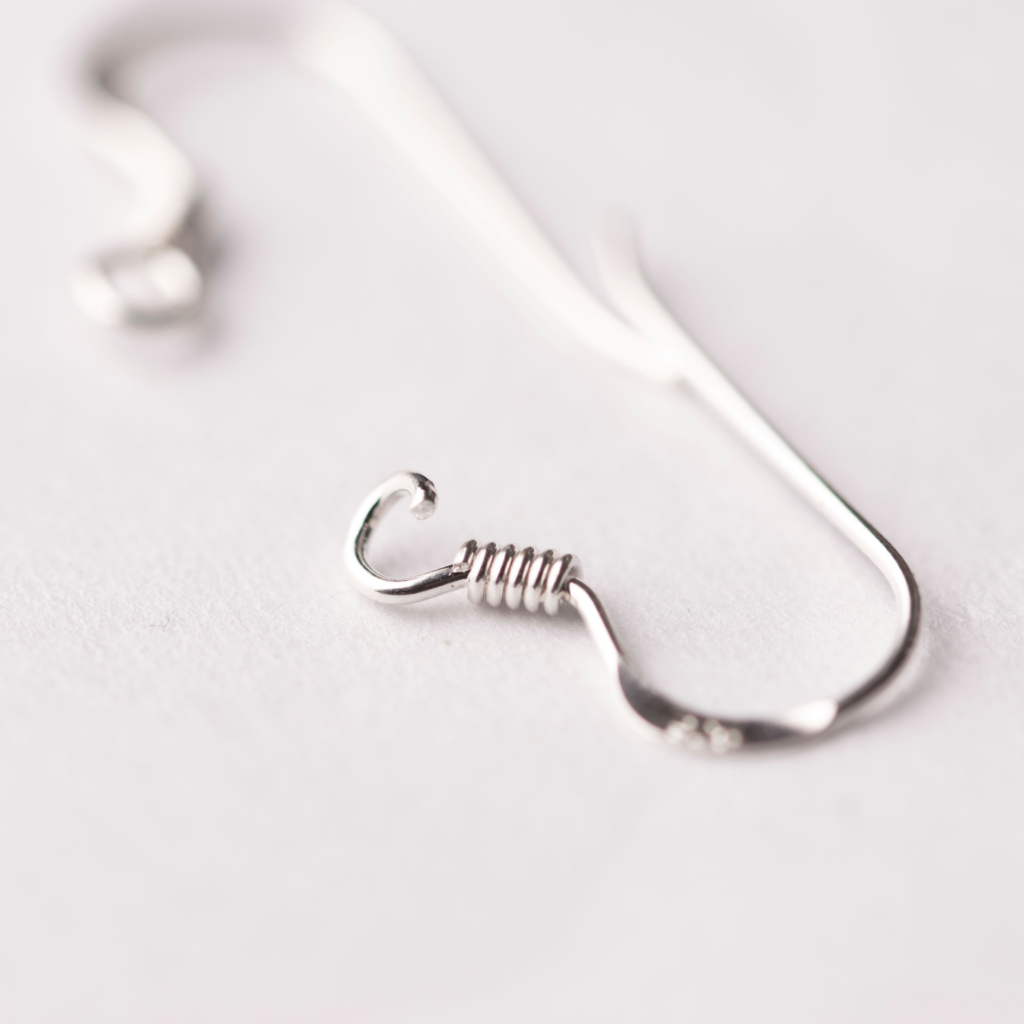
- x2 Sterling silver fish hook earring with spring
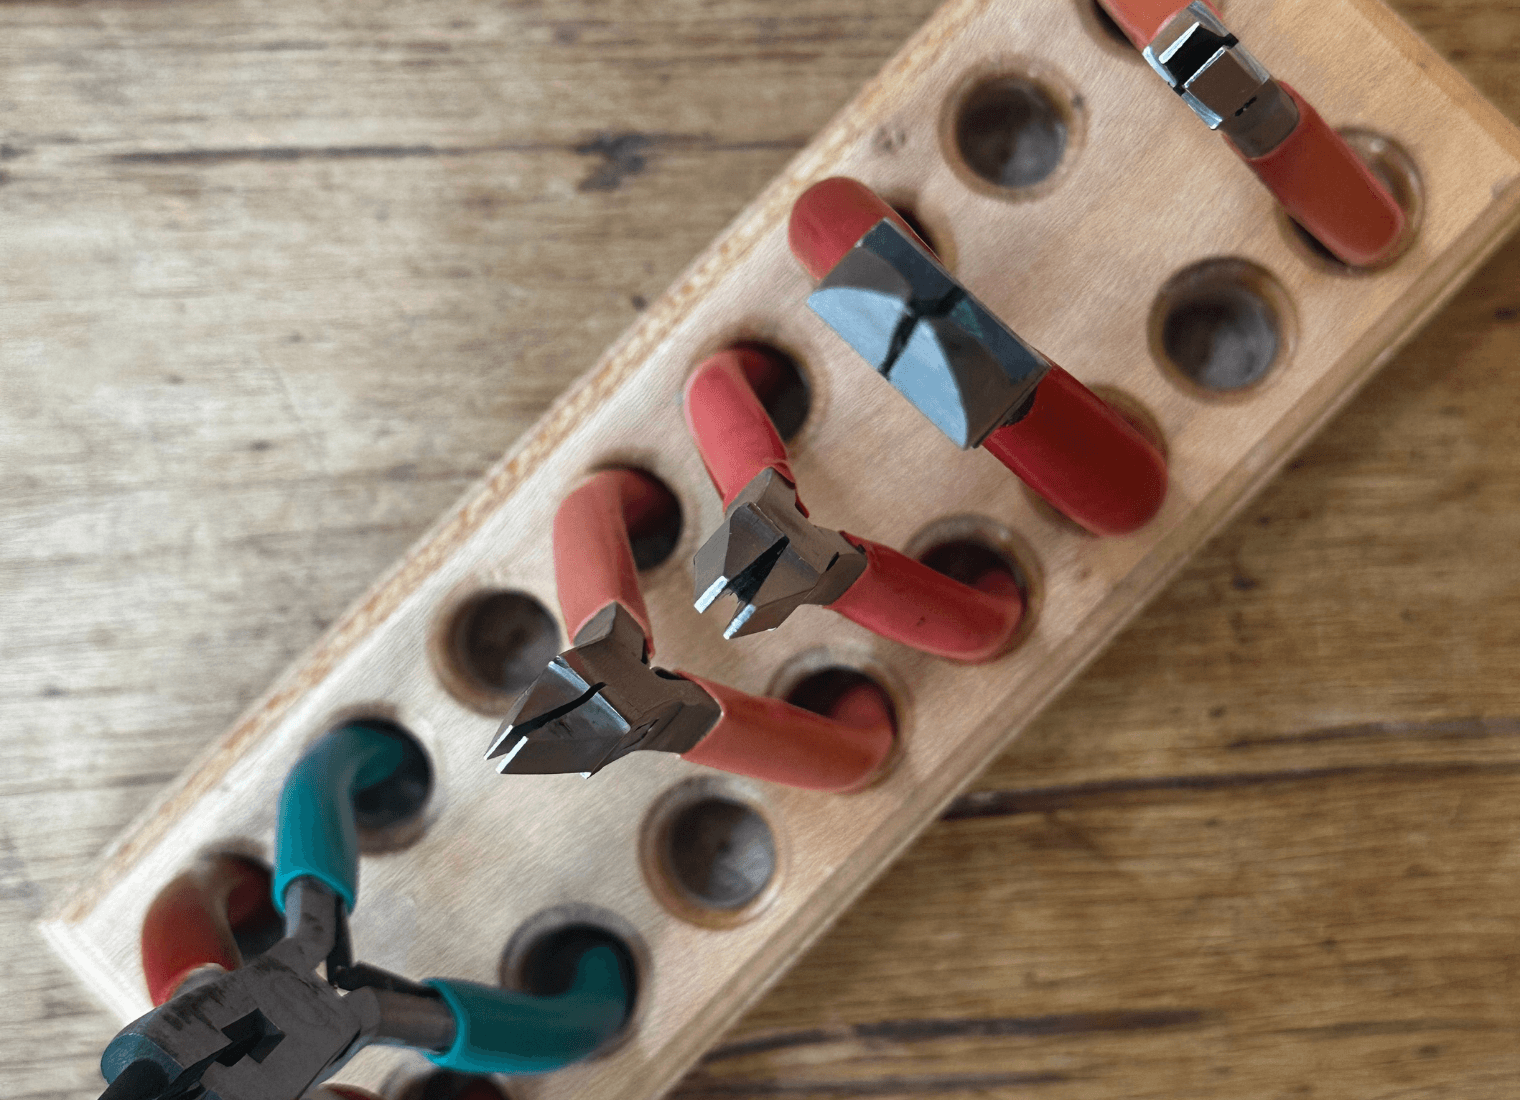
Tools
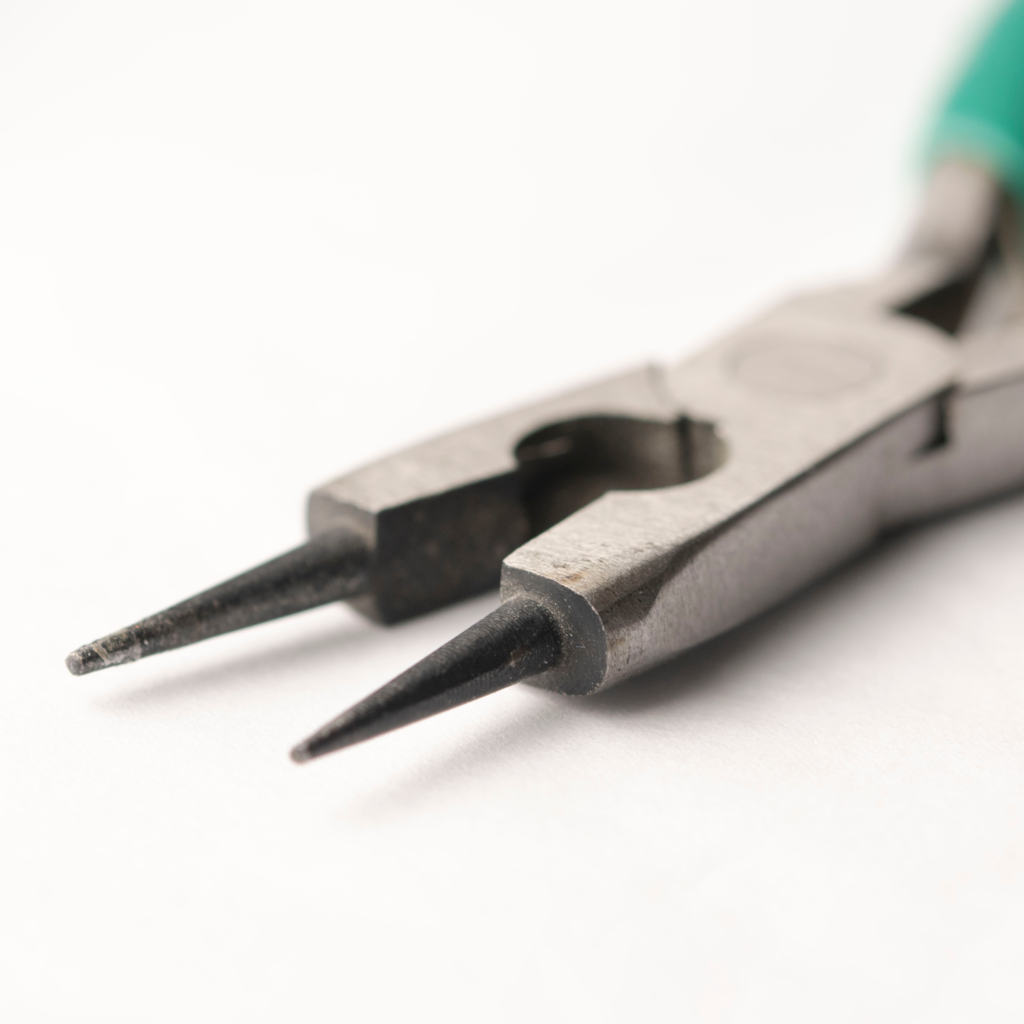
- Pair of square nose pliers
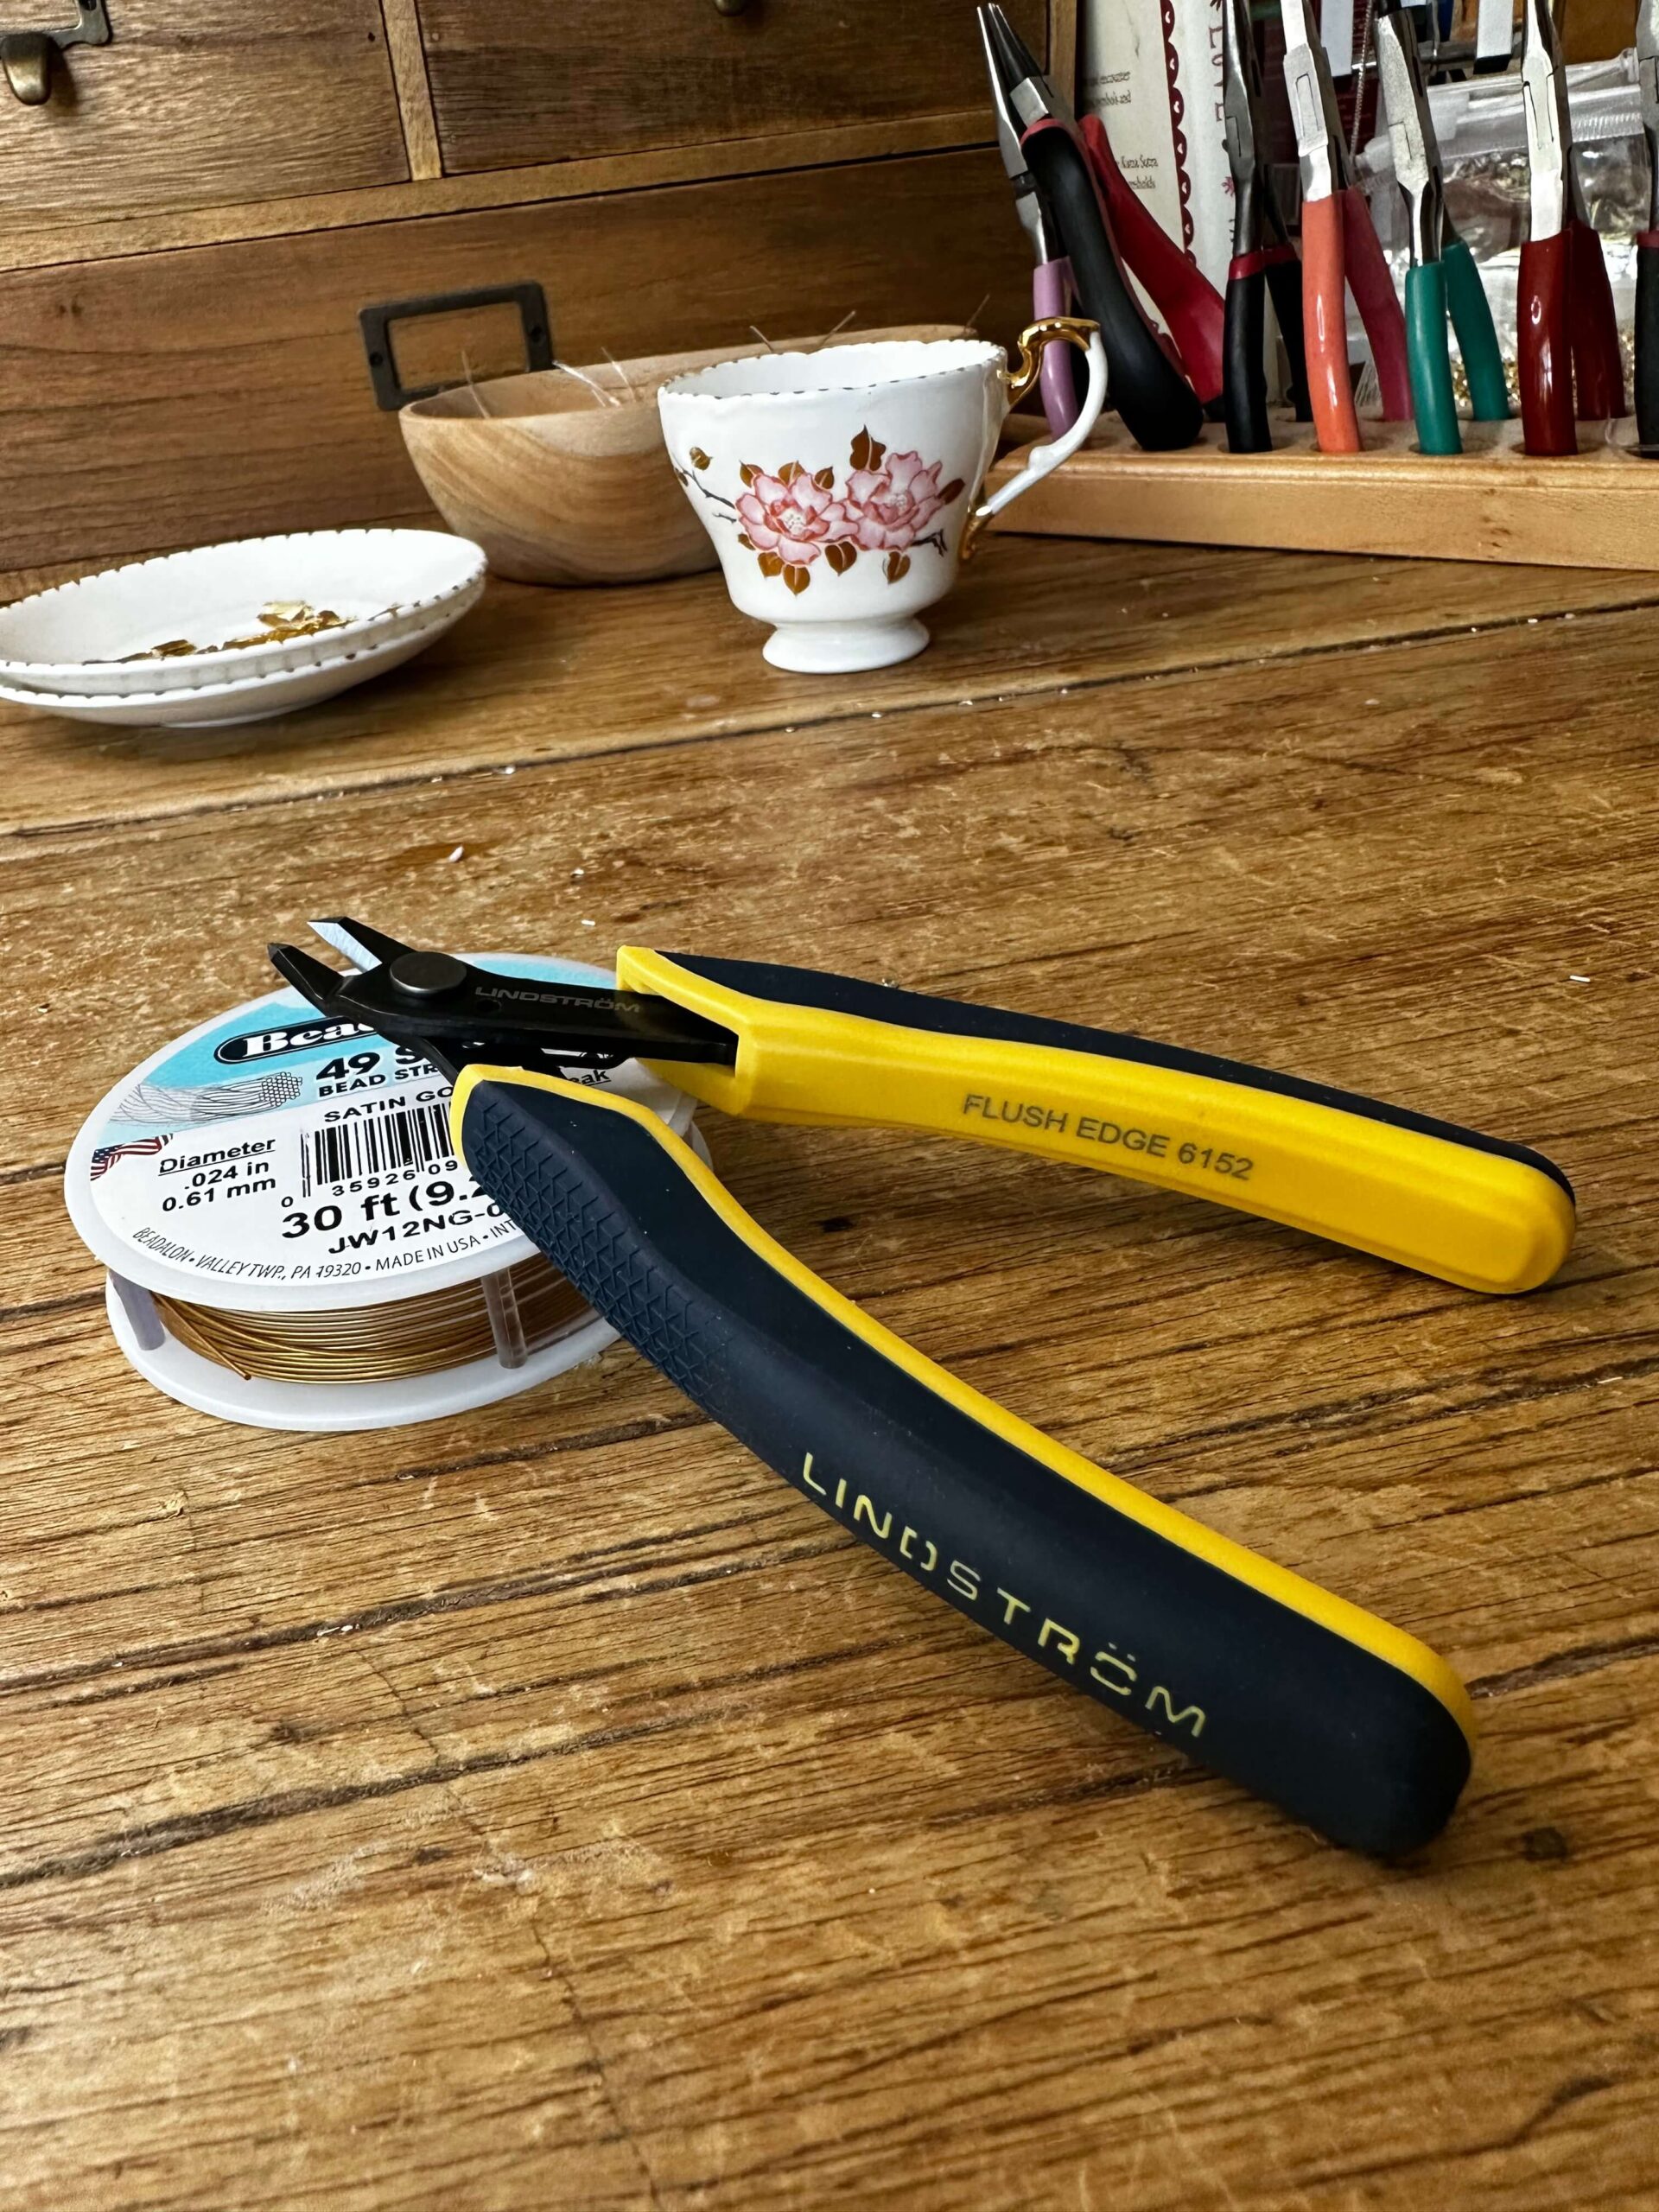
- Cutters
- Round nose pliers
- Chain nose pliers
Not sure which plier are what? Check out my plier guide – it’ll point you to the exact pliers you need for what.
Steps
1
Grab your ingredients. I’m using fish hook earrings with springs – 14mm heigh with 19mm arm, 0.8mm wire, avg weight 0.16g per piece. And 38mm head pins with ball end, 0.5mm thick (24 gauge) wire (make sure your gauge is not to thick as you will struggle to wrap the wire if too thick). And two pretty 6mm glass/stone beads.
2
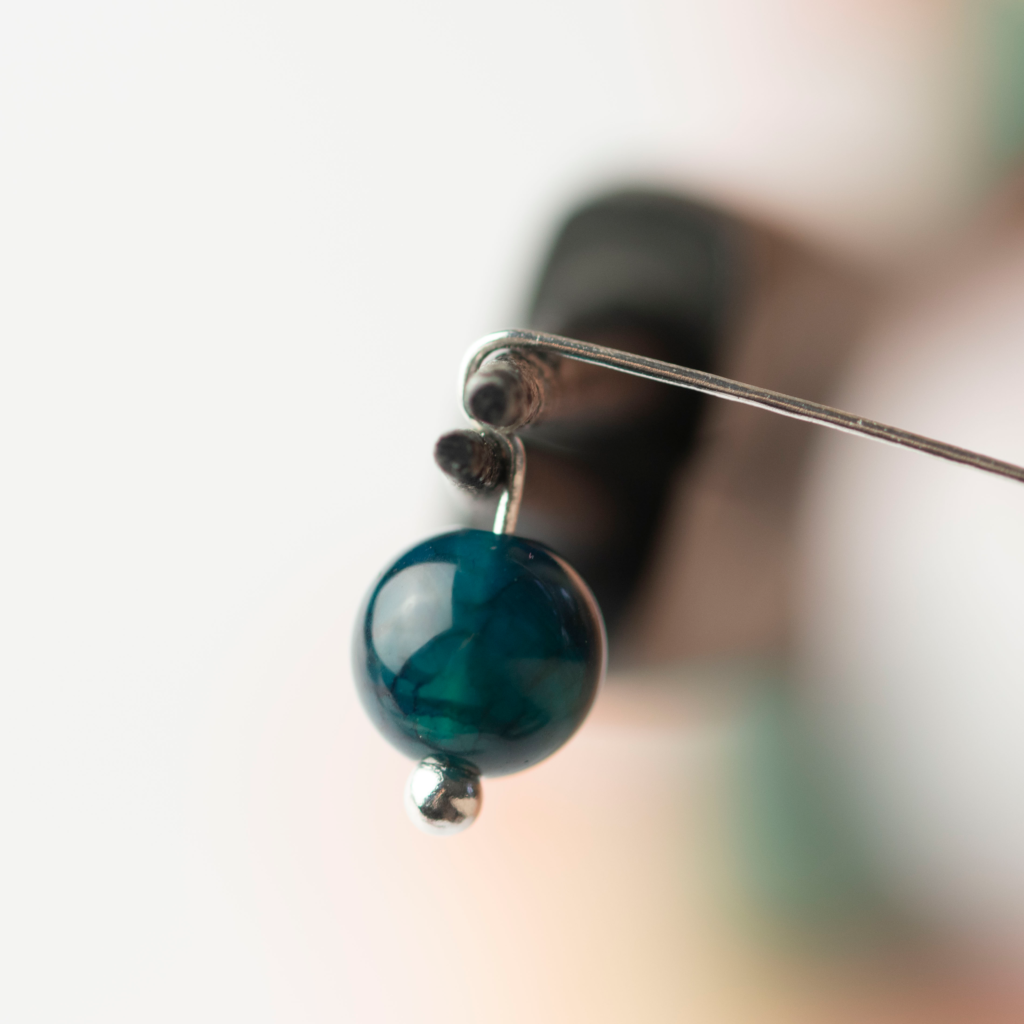
Pop your bead onto your head pin.
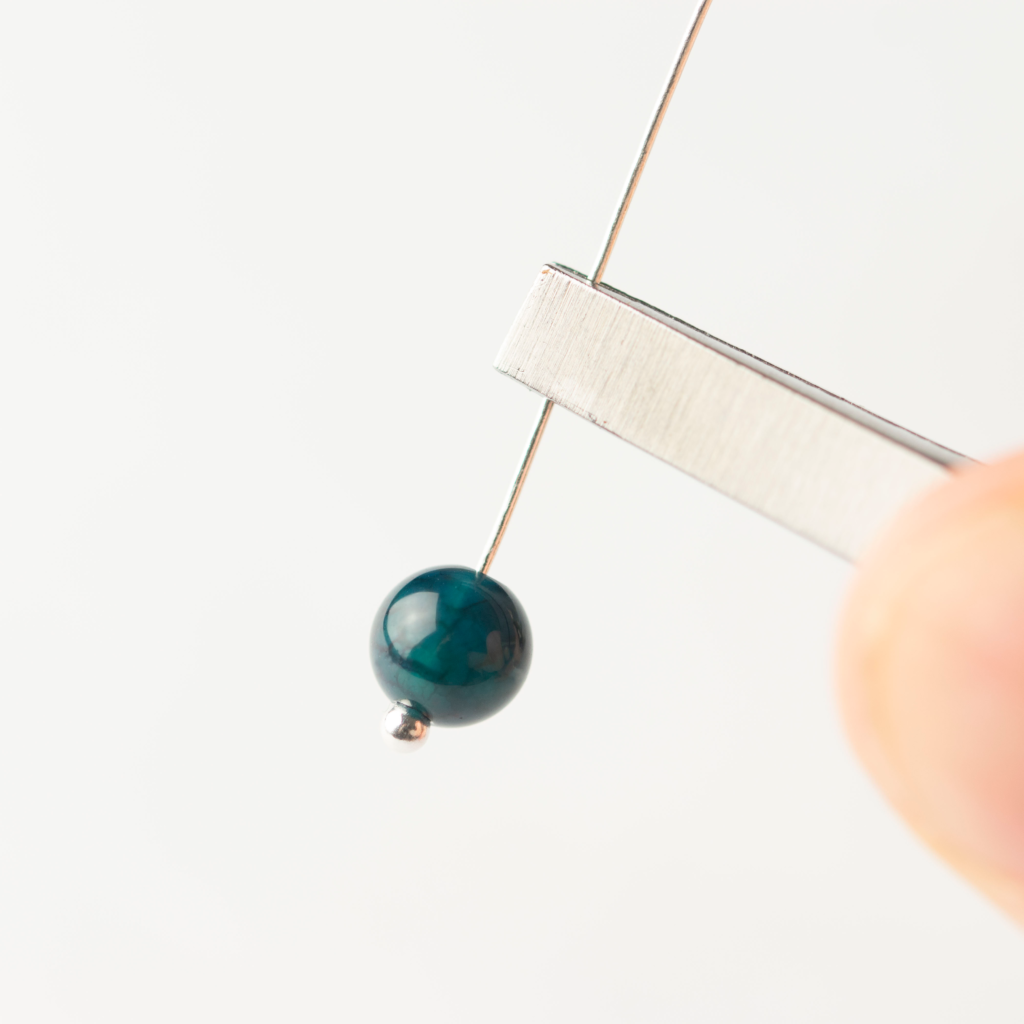
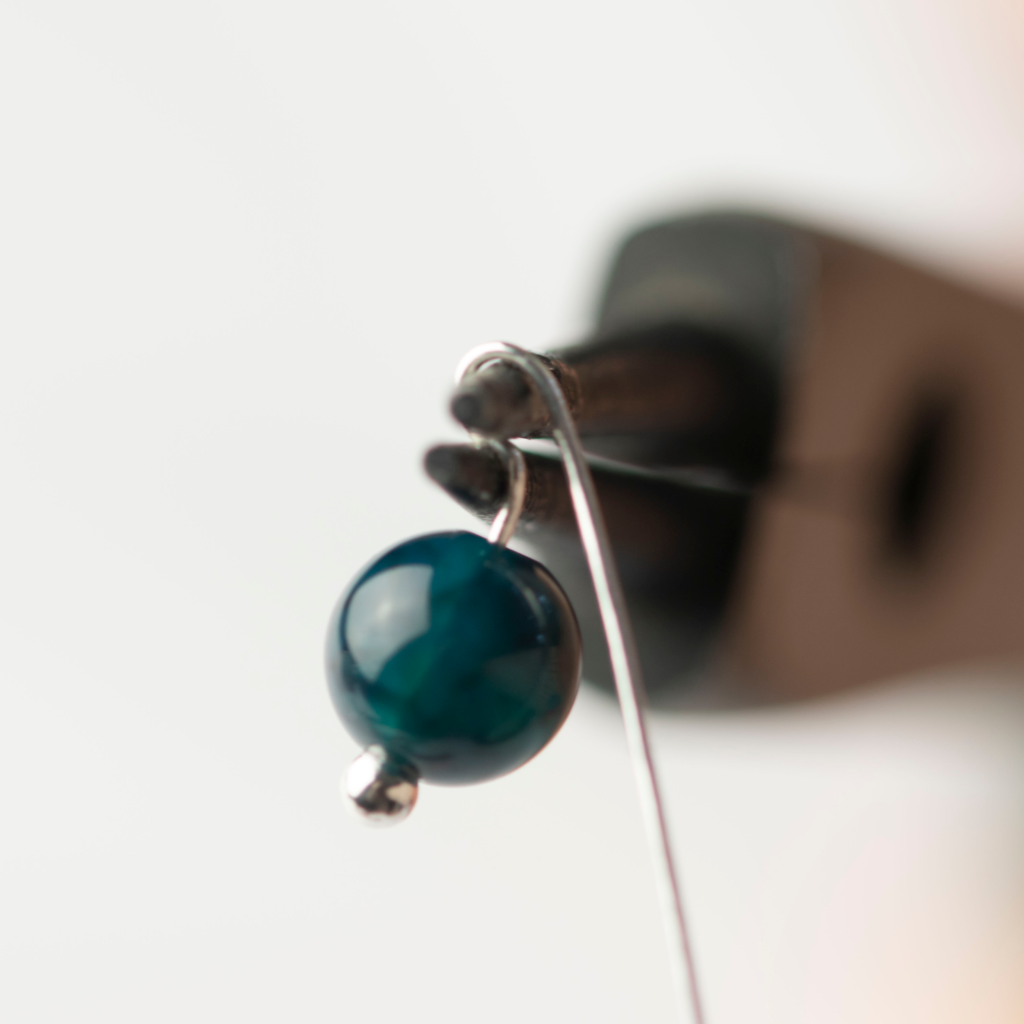
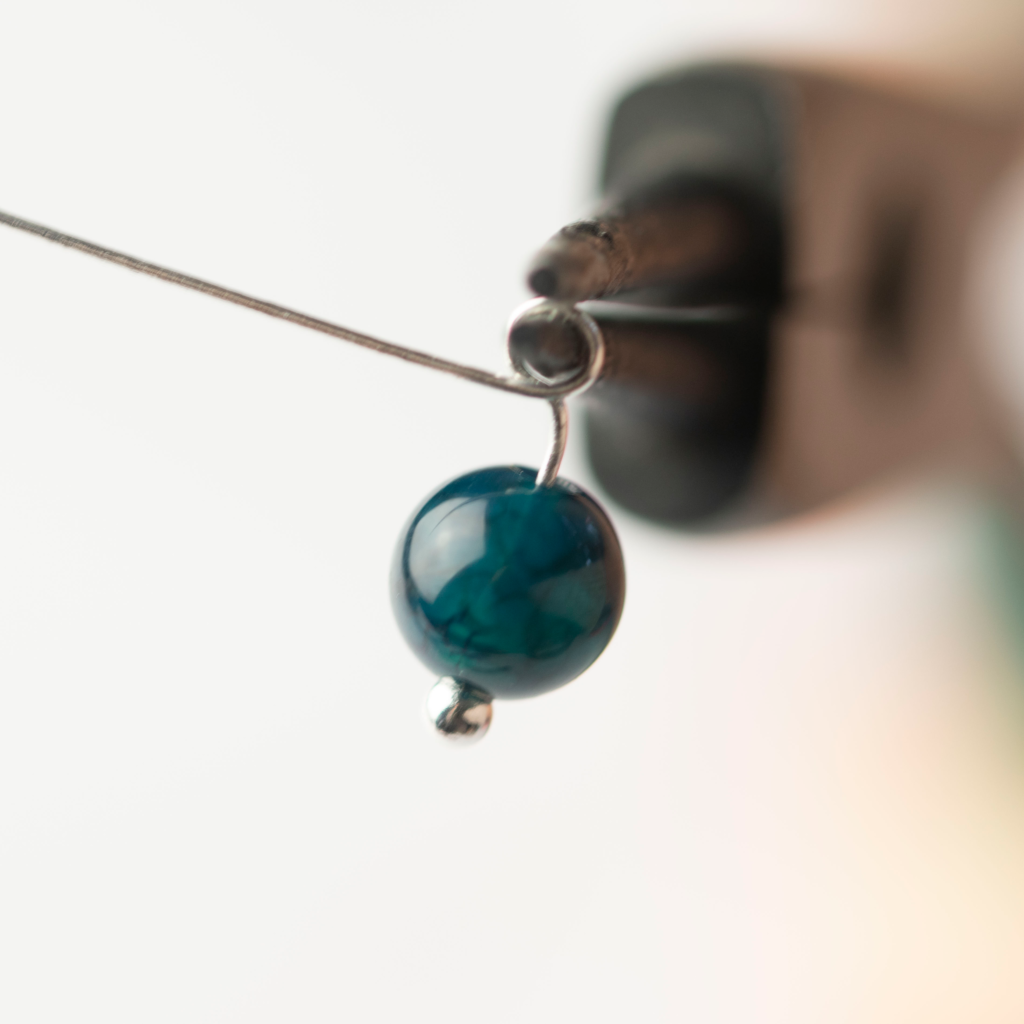
Get your chain nose pliers. I normally pinch the wire about 2mm from the bead. With your fingers bend the wire like the image below.
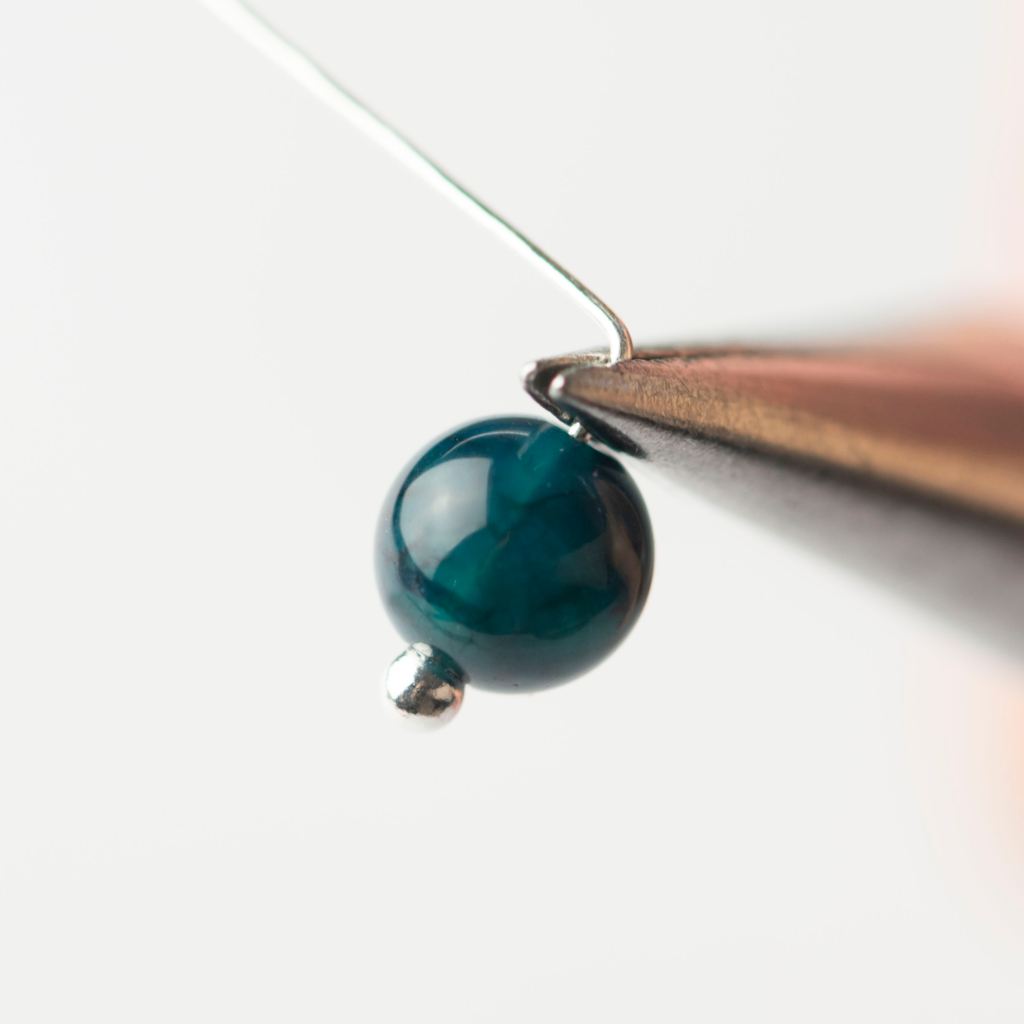
Grab your round nose pliers and place them as per the image above. Your wire in between the two tips of the round-nose pliers.
3
As the looping and wrapping is challenging the first few attempts, I’ve made a little video which hopefully helps you out a little more.
Heads up: There’s a little bit of relaxing Jazz coming up! ☺️
4
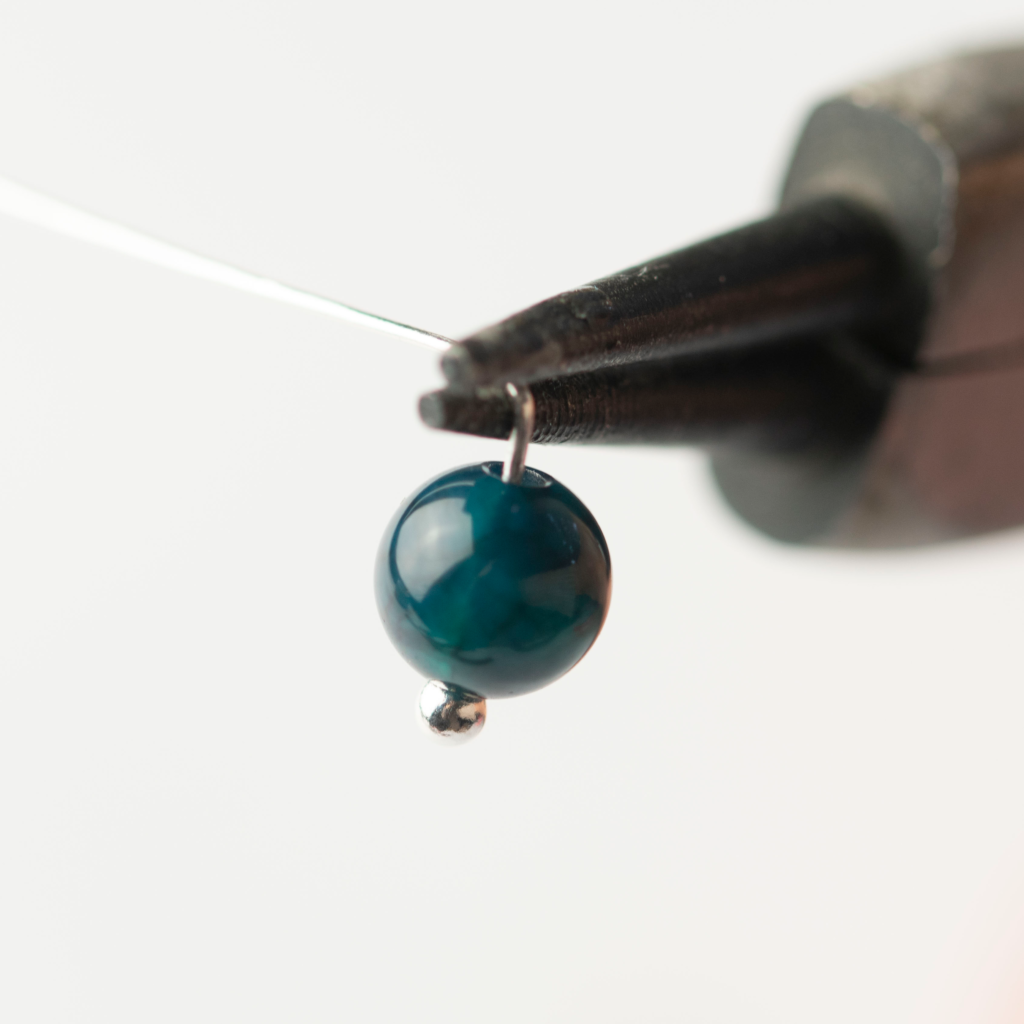
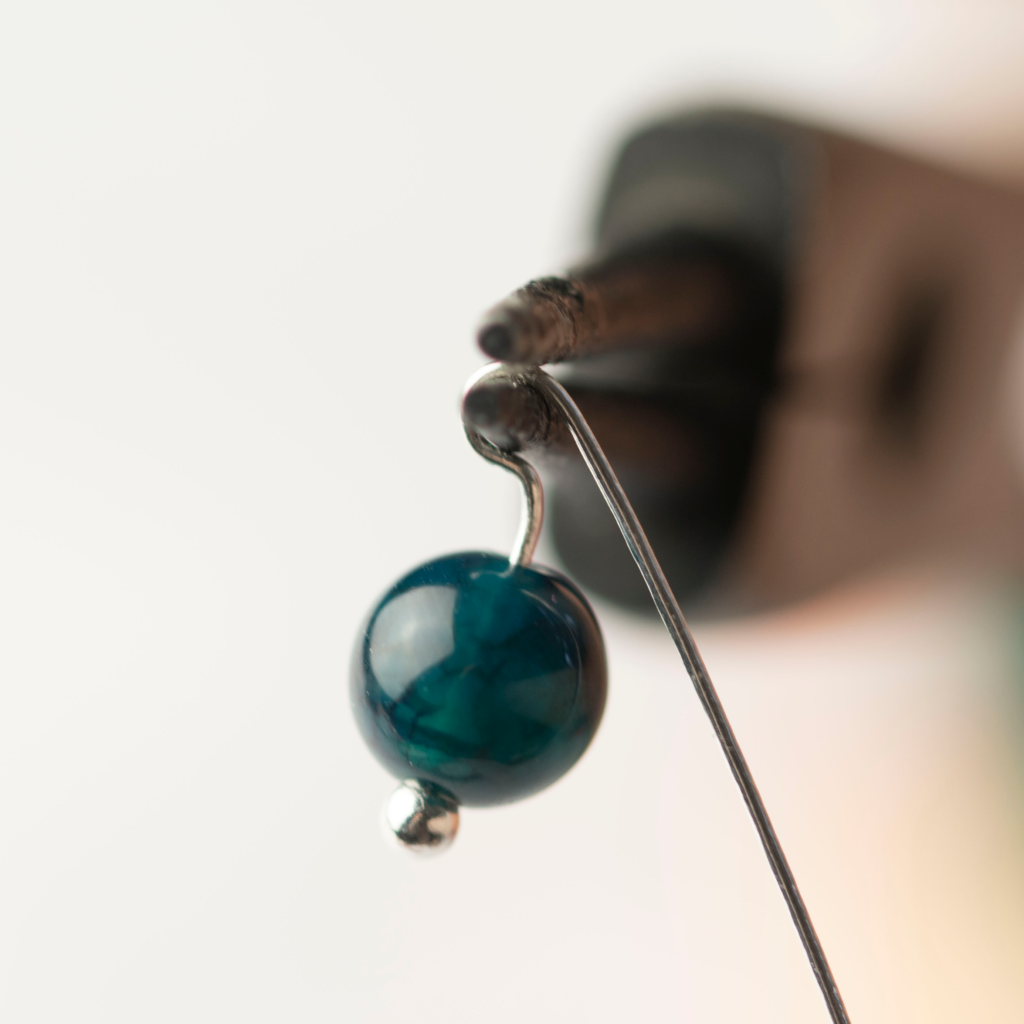
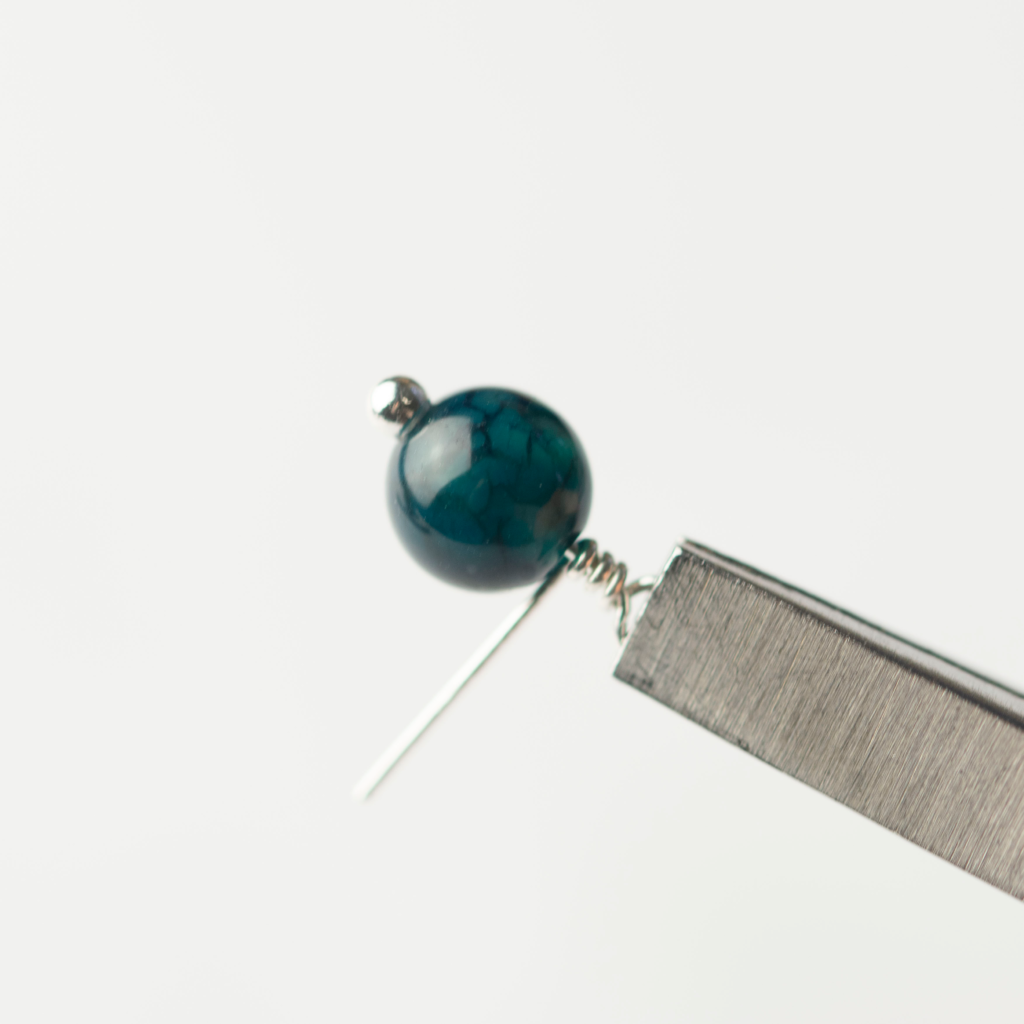
Hold the end of your loop with your square nose pliers. Turn the pliers, not the wire, guiding it with your finger. Once you have wrapped your wire all the way around and it feels tight, (ie: bead not moving) I like it snug! Get your cutters and trim off your access silver.
Don’t forget if you regularly use sterling silver you should have a scrap jar to collect all your offcuts (more about scrap jars here!) – pop the off cuts in your jar.
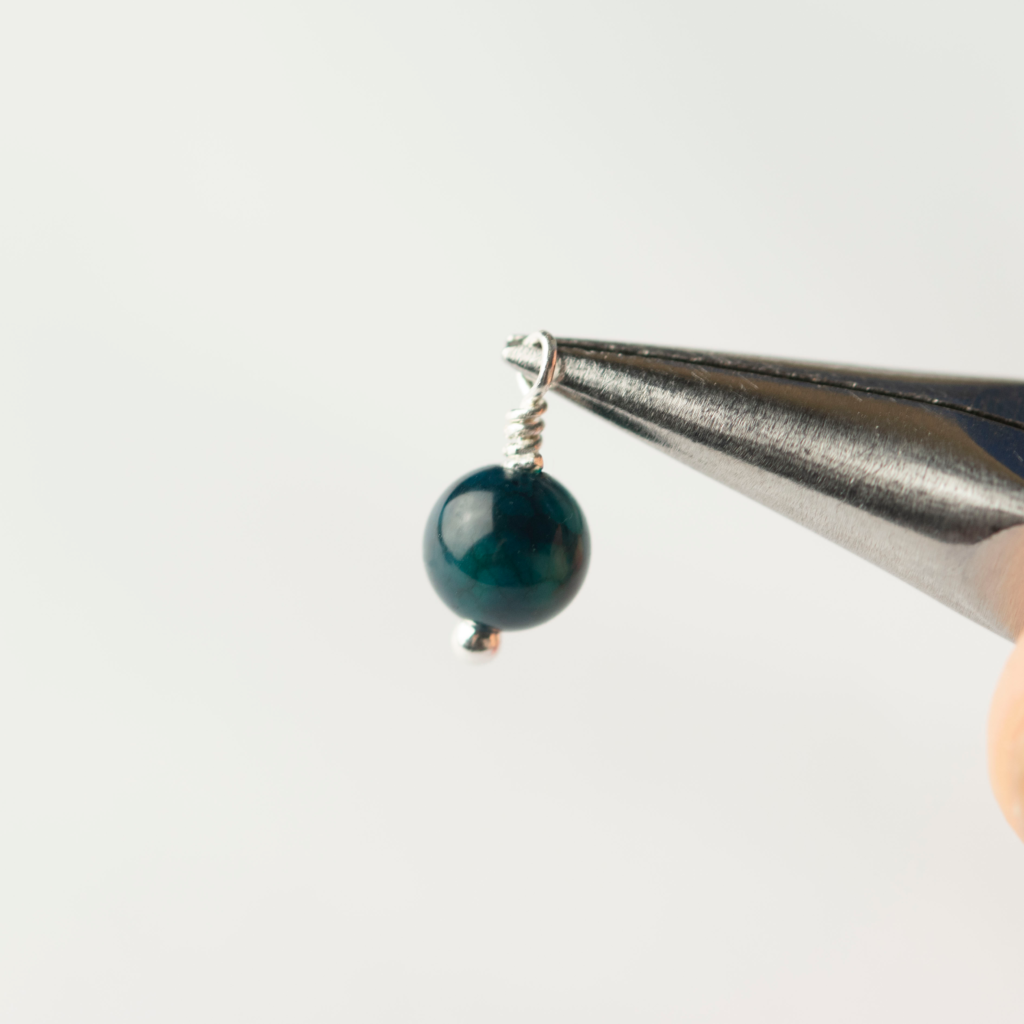
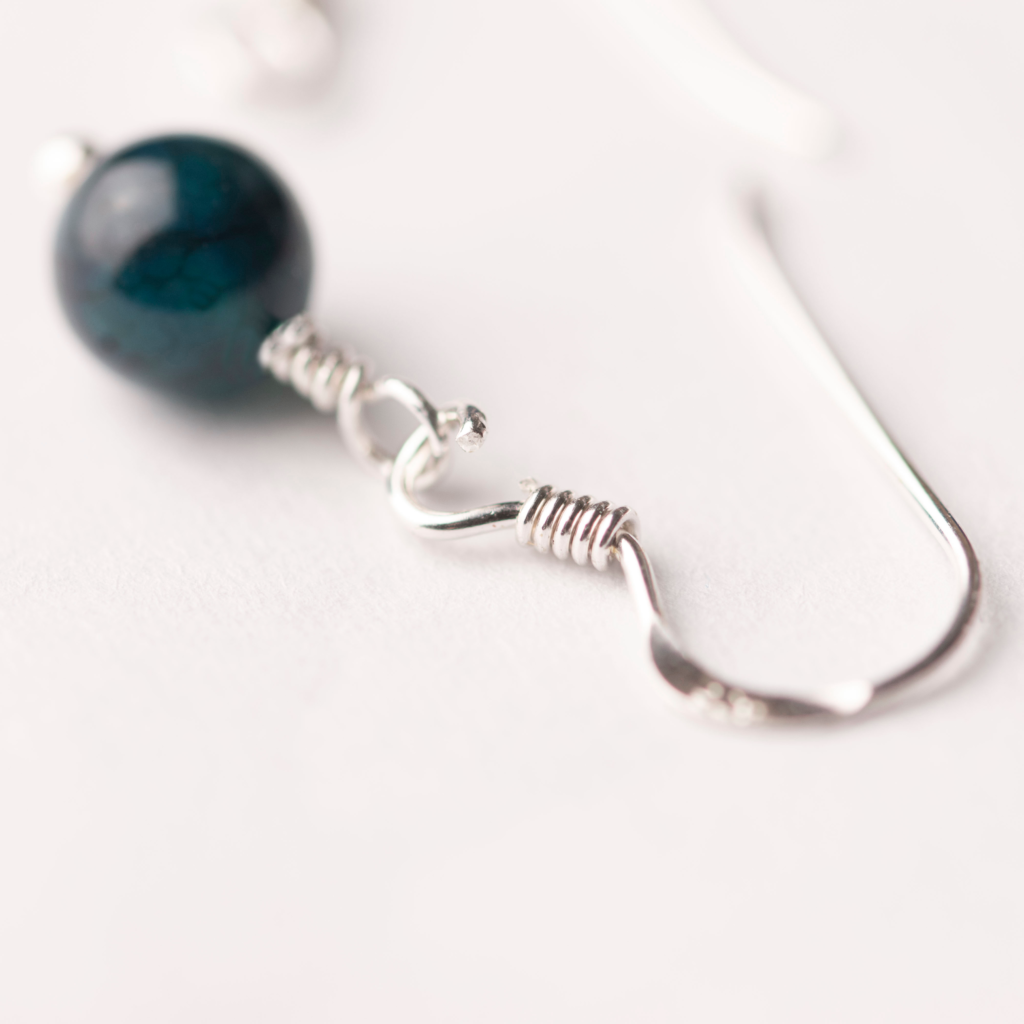
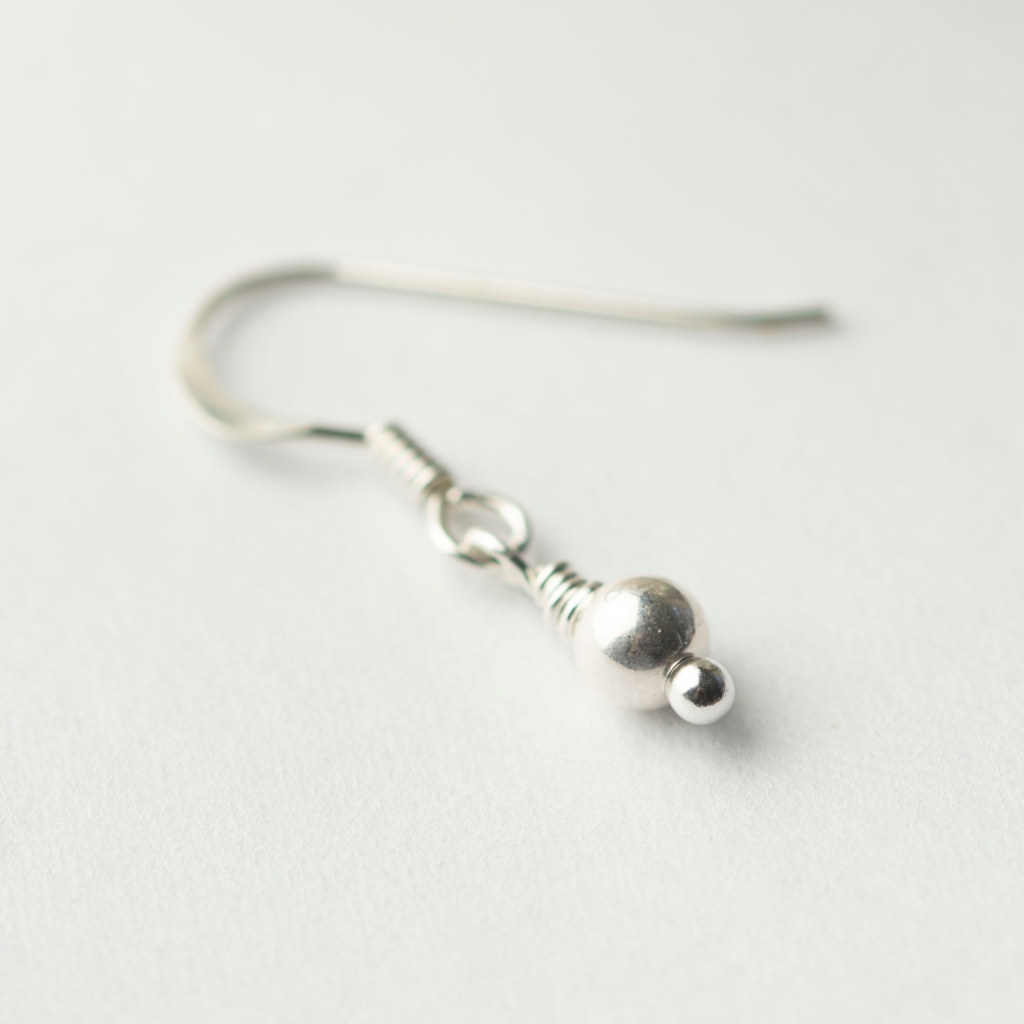
With your chain pliers, tidy up the end of your wire with a little squeeze… completing one wire wrap bead charm…ta da!
5
Grab your fish hook earrings. Open the loop like you are opening a jump ring, ever so gently.
6
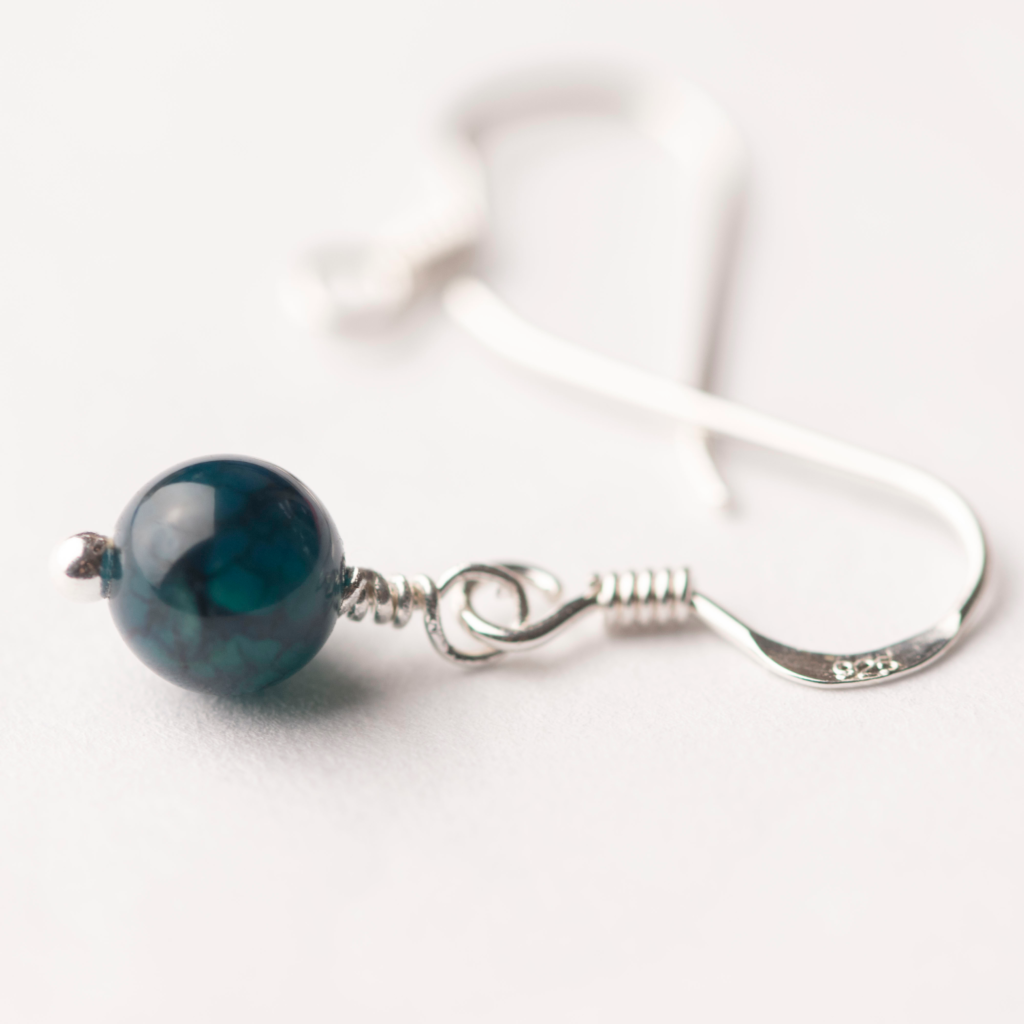
Pop your gorgeously created wire wrap gem onto the hoop, re-close.
7
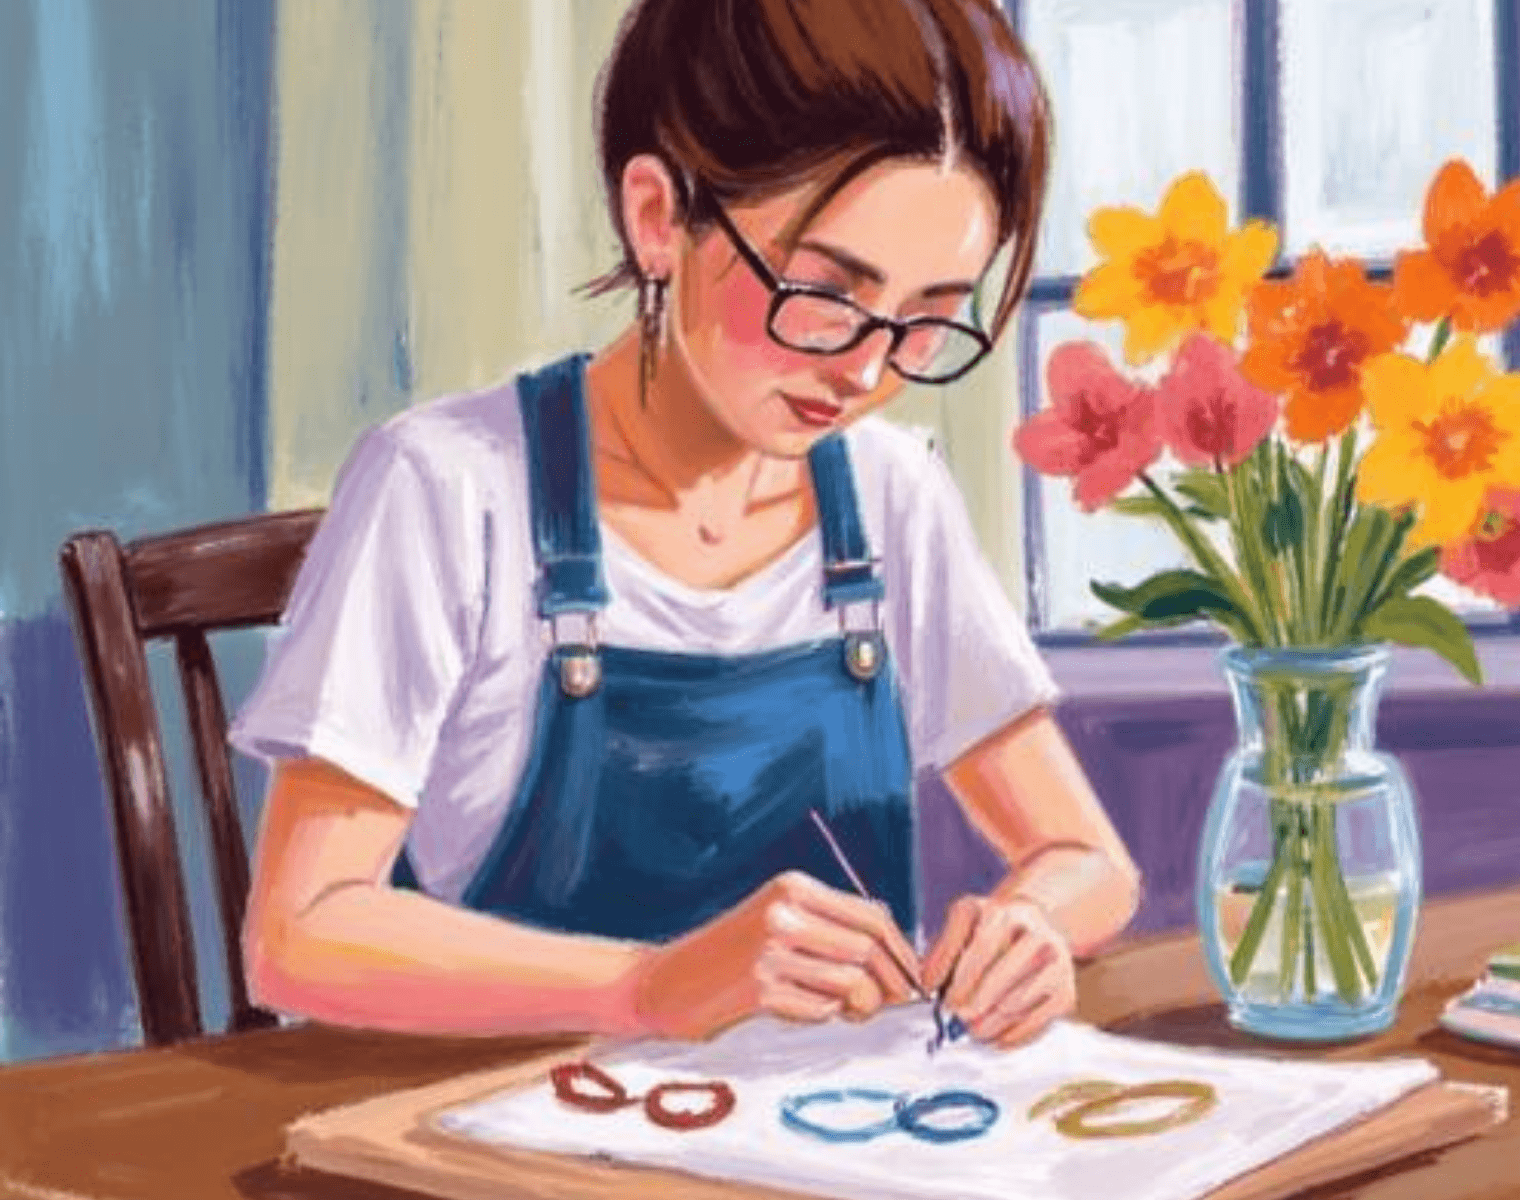
Admire for the next hour and gift everyone you know a stunning pair of earrings! 😁
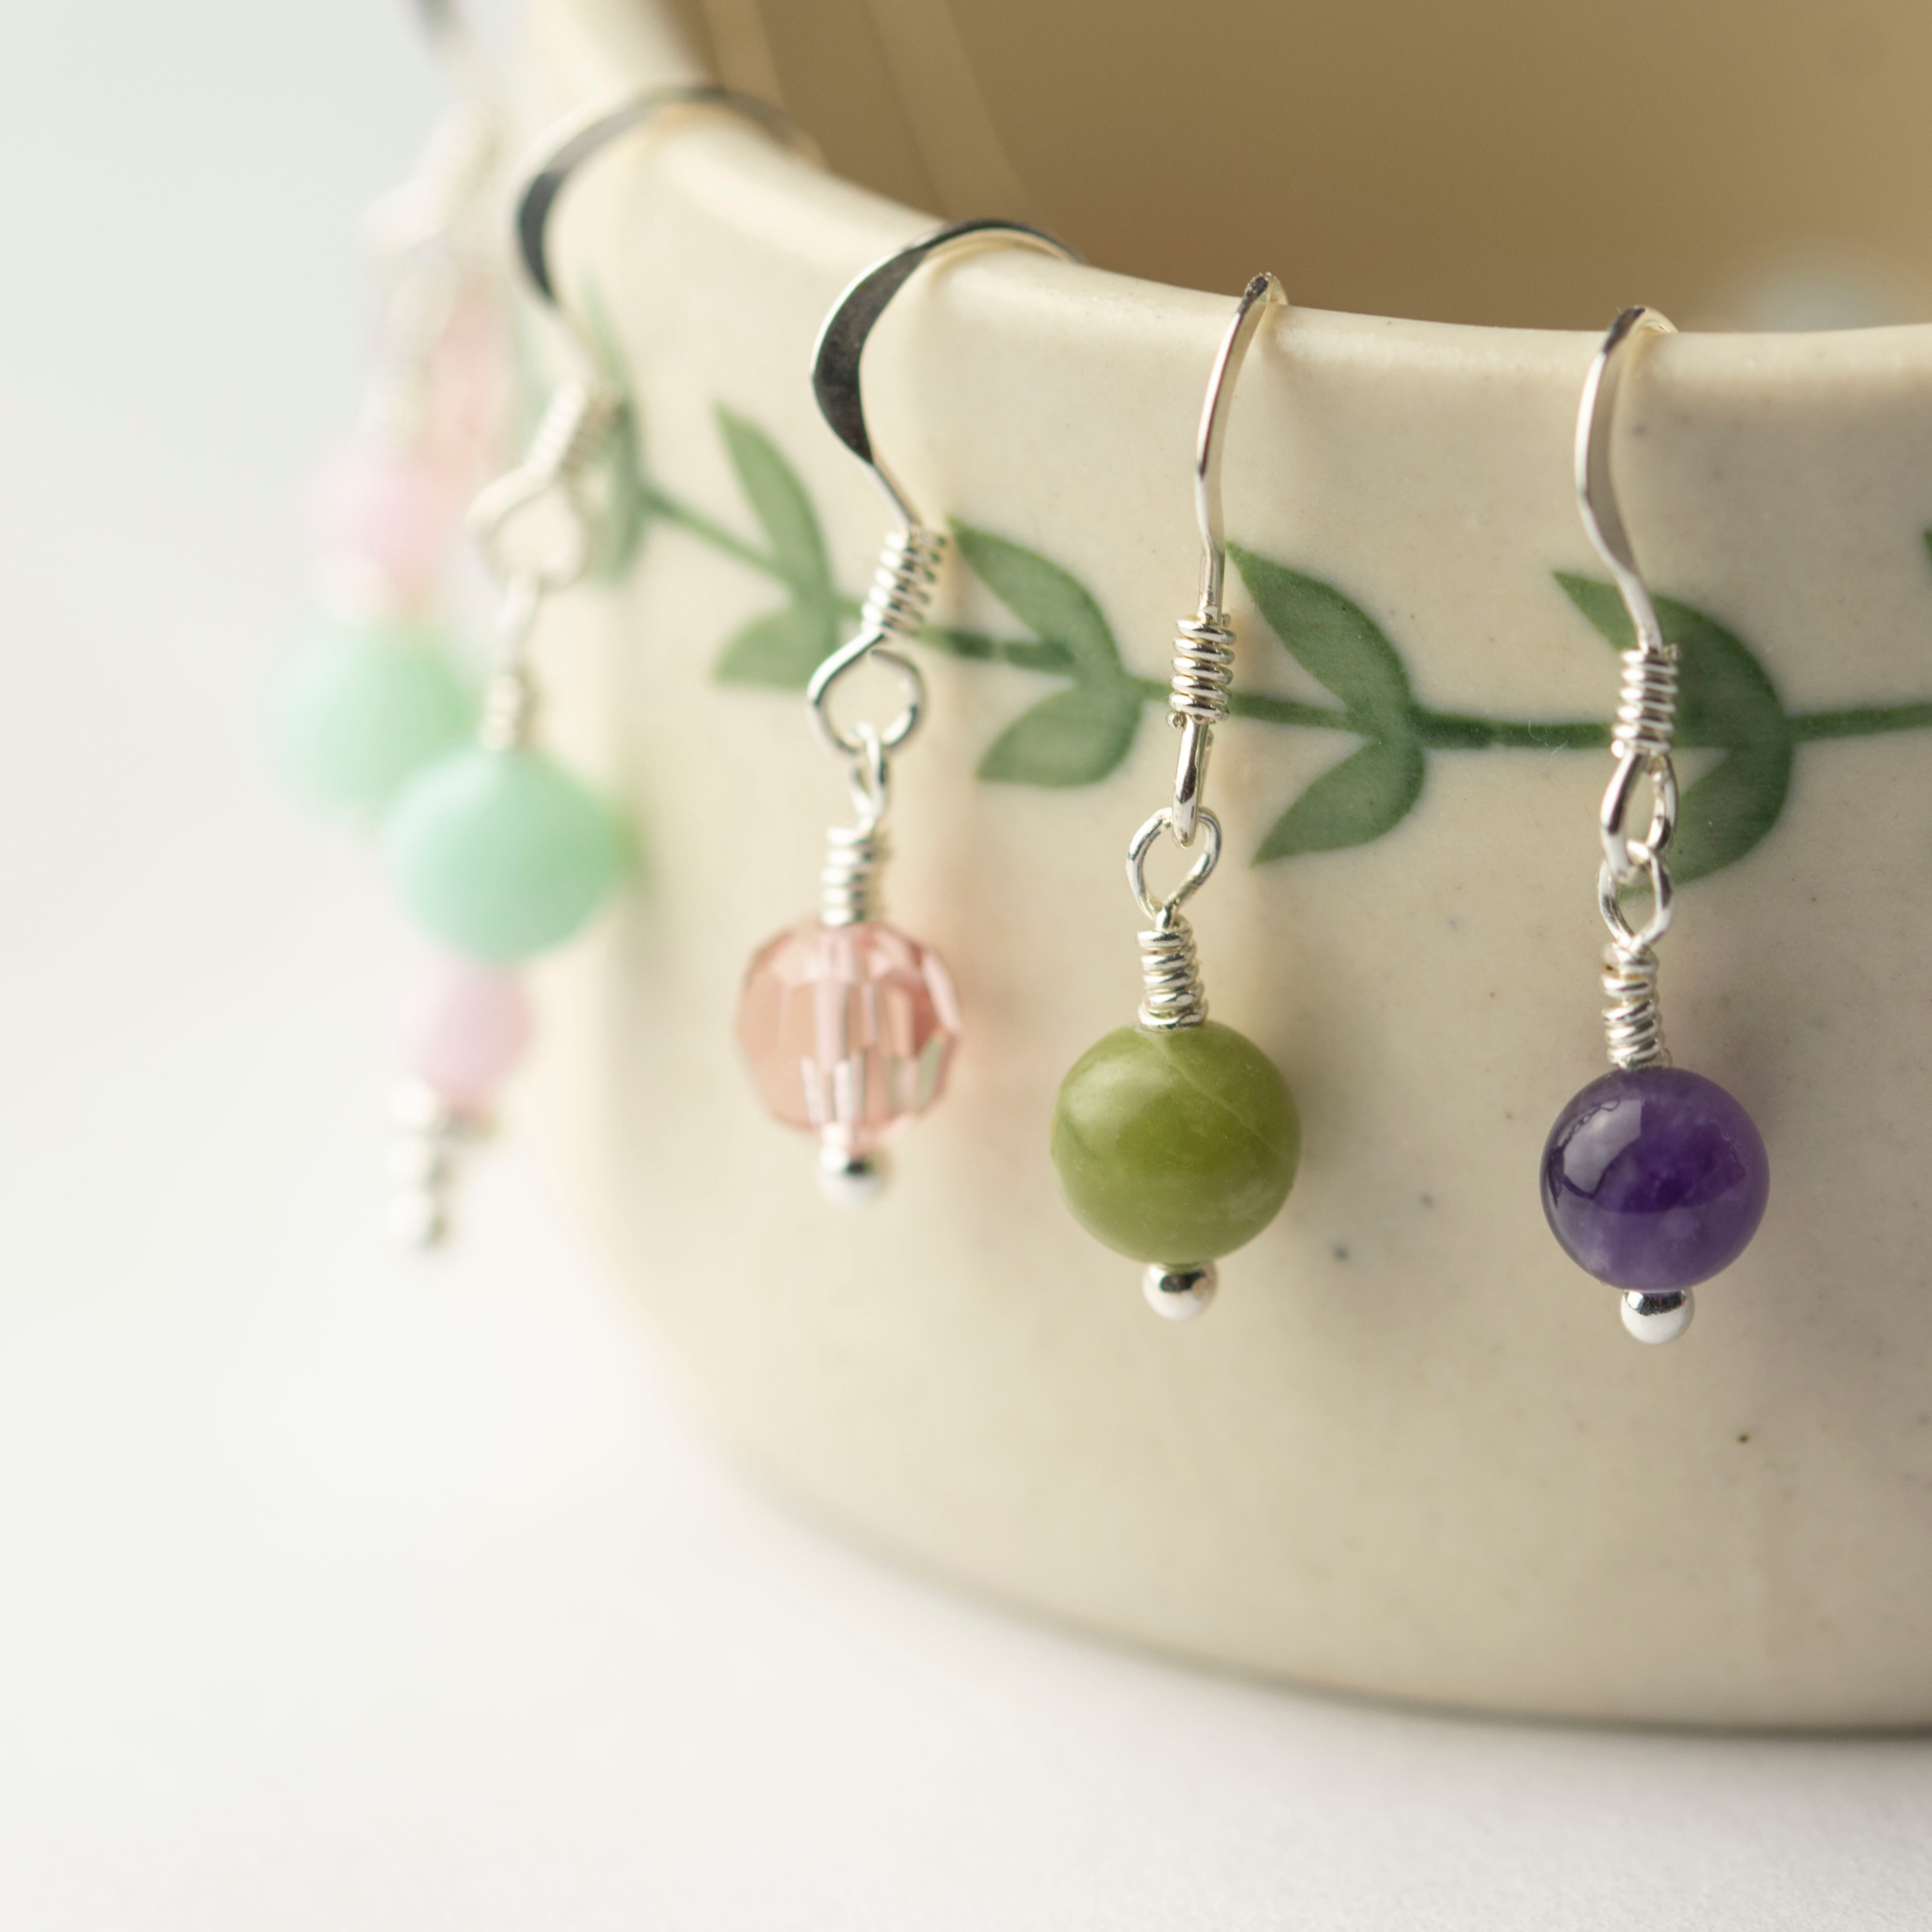
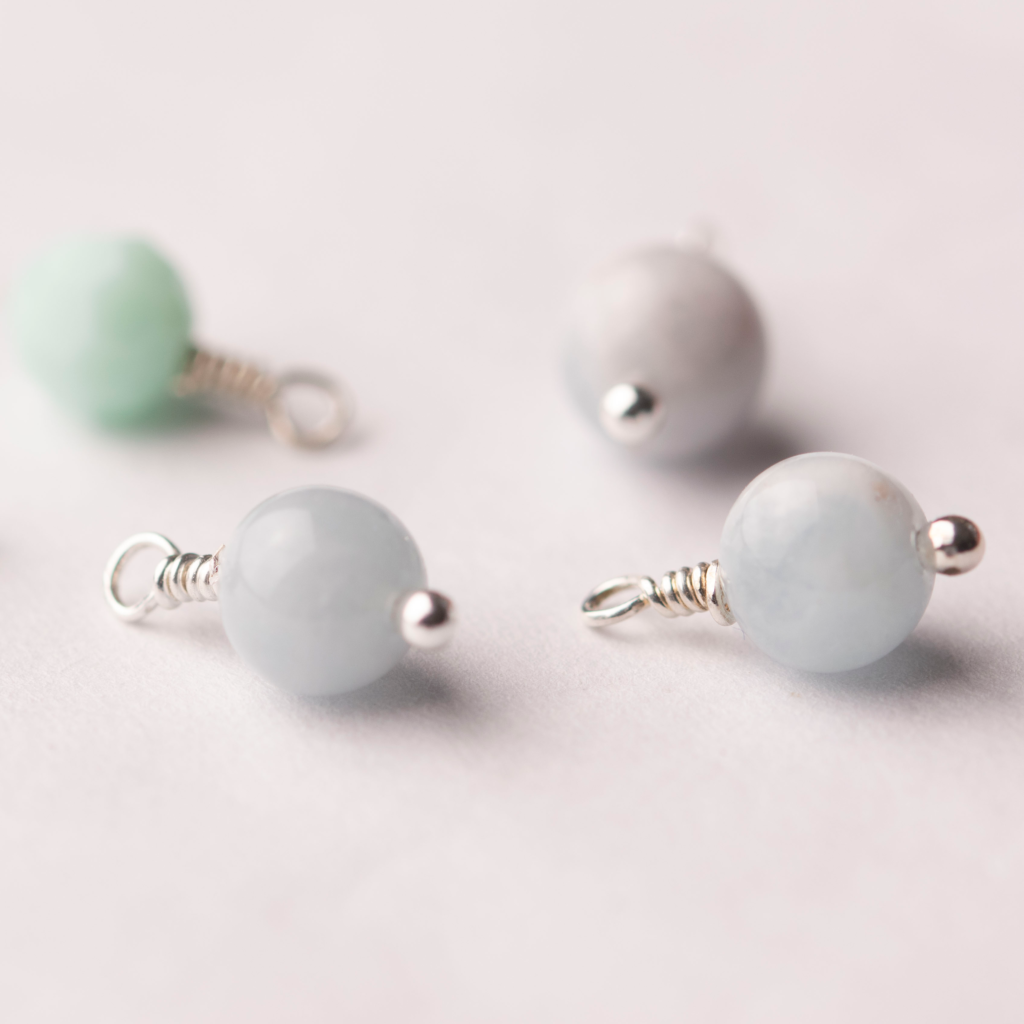
Once you’ve mastered the wrap technique, you can go wild with lovely colours, bead sizes and materials from glass to wood to crystal!
Please do leave a comment below if you have found this interesting.

RELATED READS
Discover the Top pliers for jewelry making
Jewelry essential I can’t live without
Learn about the Metal types for jewelry making
The humble stacking bracelet recipe
If you’re curious about my daily beading tools – take a peek at the tools and supplies I can’t live without
Heads up! – I’ve included Amazon affiliate links in this post. Please read Affiliate Disclosure for more information.