How to Make a Beaded Bookmark

A pretty little jewelry-making project for leftover beads
When I was younger (in my 20s specifically, which now feels alarmingly historical), I LOVED reading.
We didn’t have Kindles or fancy e-readers sucking the life out of the whole experience. We had actual books. With paper pages. And way more bookshops 🥰
I used to spend my weekends browsing old and new bookshops, looking for beautiful stories to disappear into. I collected books too, and while plenty eventually moved on, I always kept my favourites.
Don’t ask me what my favourite book is though. I couldn’t possibly cope with that level of question 😮
Then, eventually, I fell into the Kindle trap.
I resisted for a long time, but I finally succumbed. And then, somehow, things got worse. I went from a Kindle to reading on the Kindle app on my iPhone. I was well and truly lost to the digital world.
And do you know what? It sucked the hobby out of reading for me.
I read less. I stopped wandering around bookshops. Browsing books became swiping and trying to decide what to download next, which I found about as exciting as doing my weekly online grocery shop.
So, a couple of months ago, I finally came to my senses. I bought a real-life book again. 🥰 And what does a real-life book need more than anything?
A pretty bookmark!
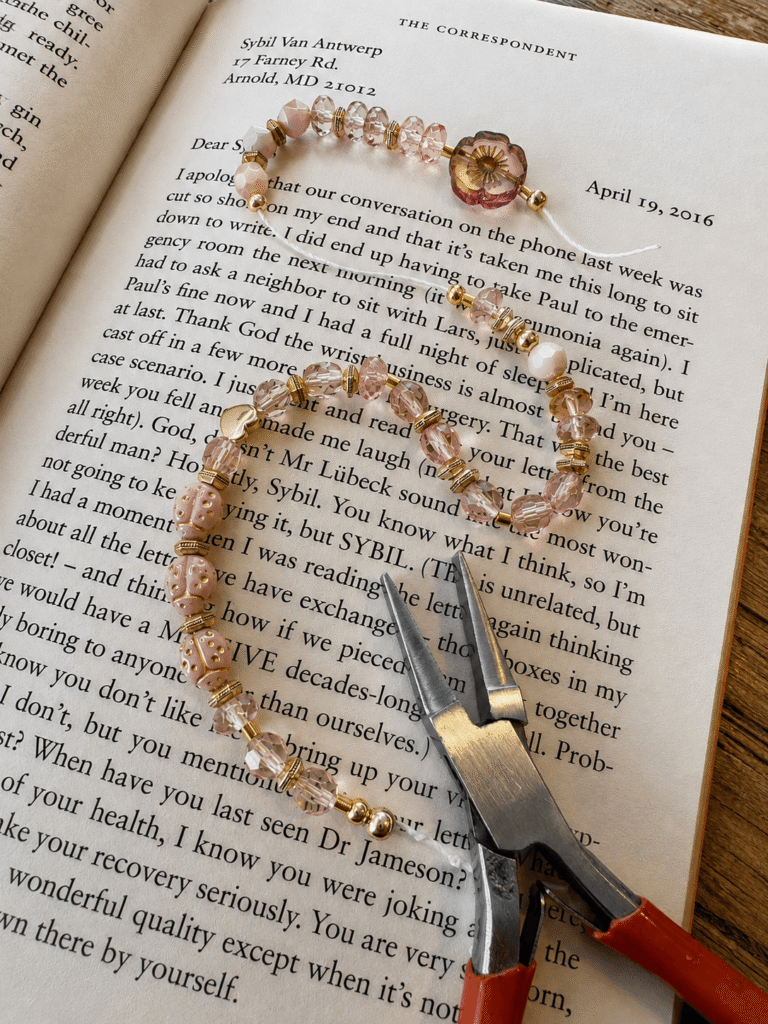
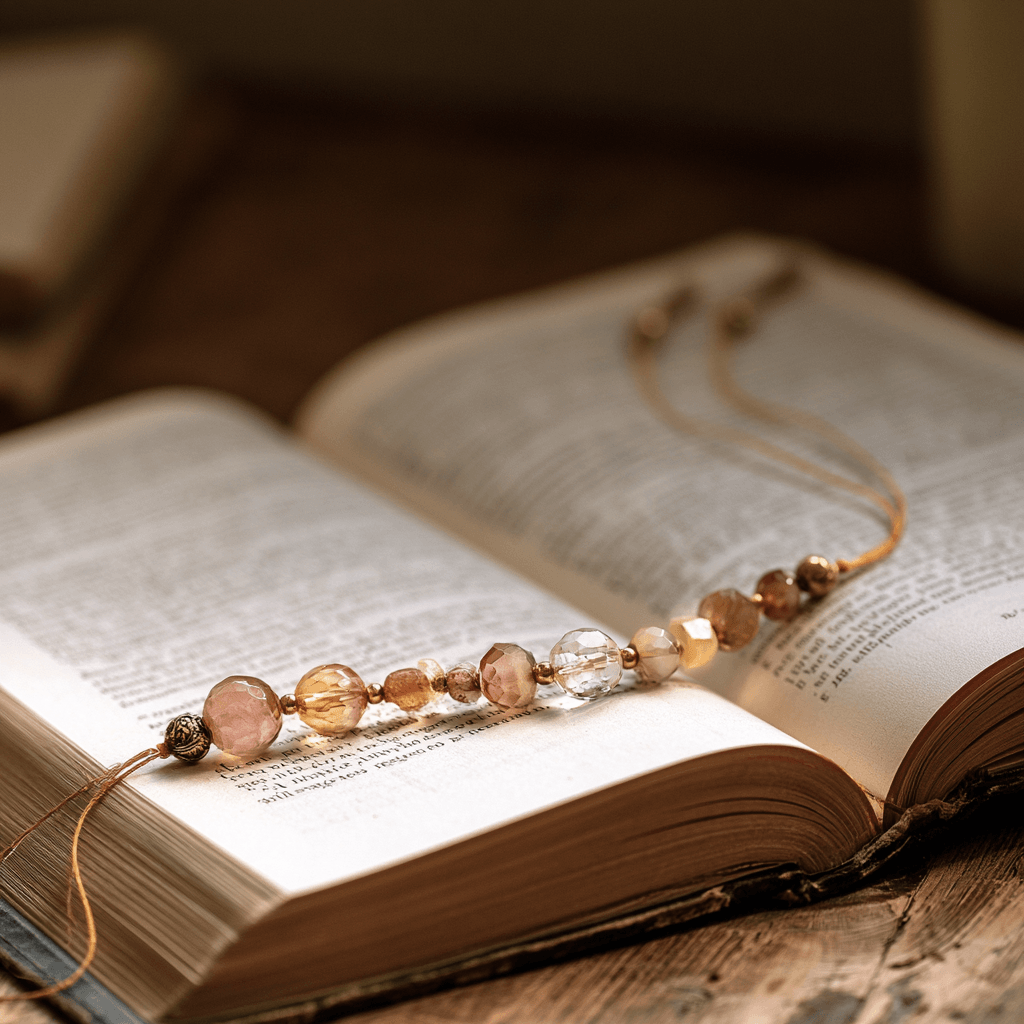
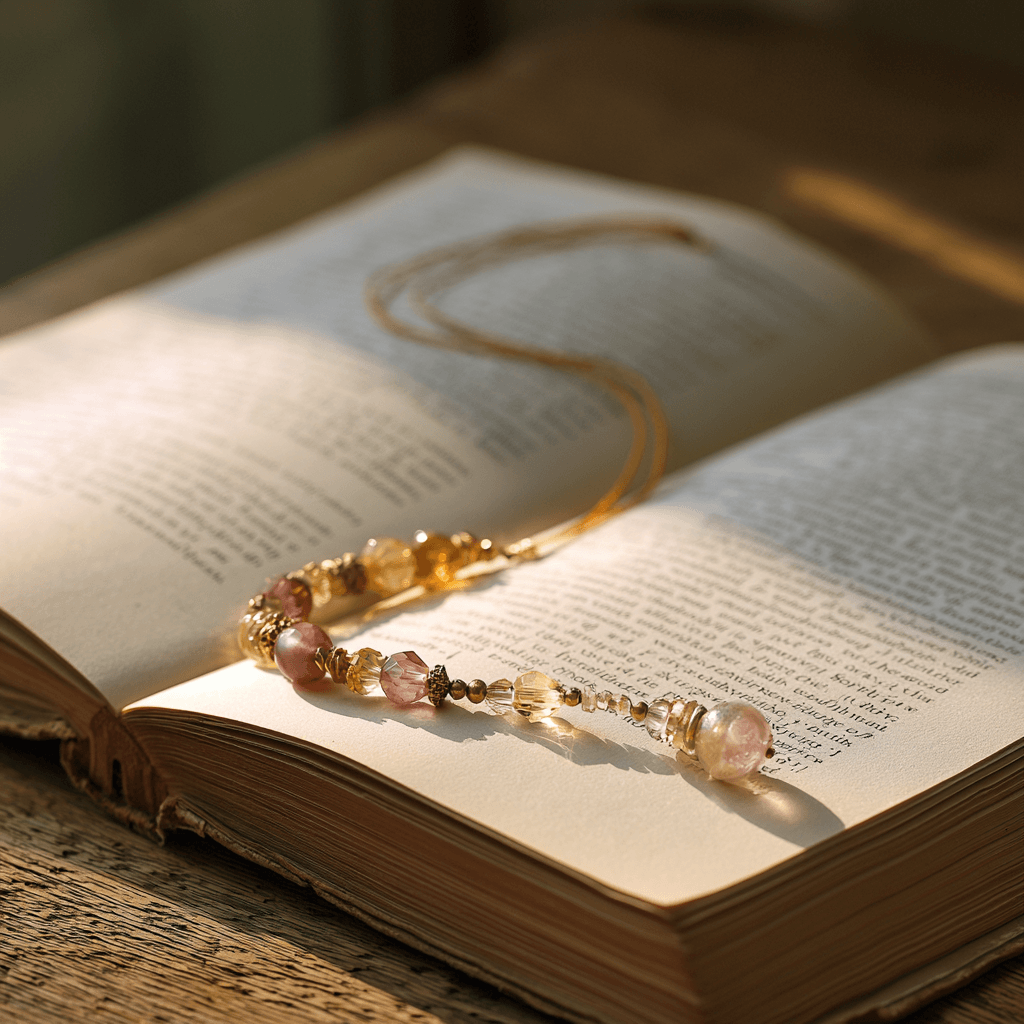
So I made one out of beads… of course I did.
So, if you’re a fellow paper-book person, make yourself a beaded bookmark. It’s simple, it’s pretty, and best of all, it uses up some of those spare beads you’ve been hoarding 🤗
Materials
• 15cm Length of Beading Cord/Nylon/leather or Ribbon
• Your leftover beads!
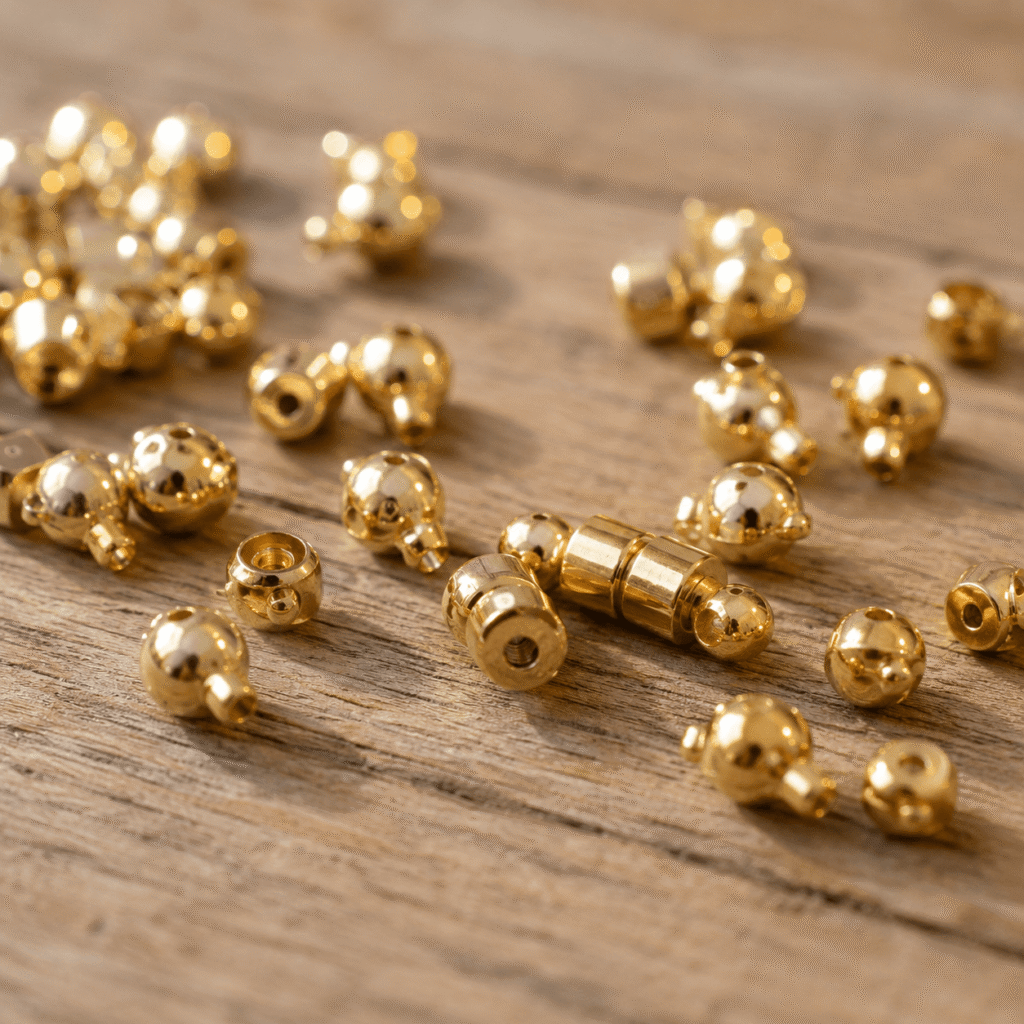
• x4 Bead Stoppers (I know, I found a use for them!)
Tools
• Square nose pliers
• Tiny Bulldog Clips for threading your beads
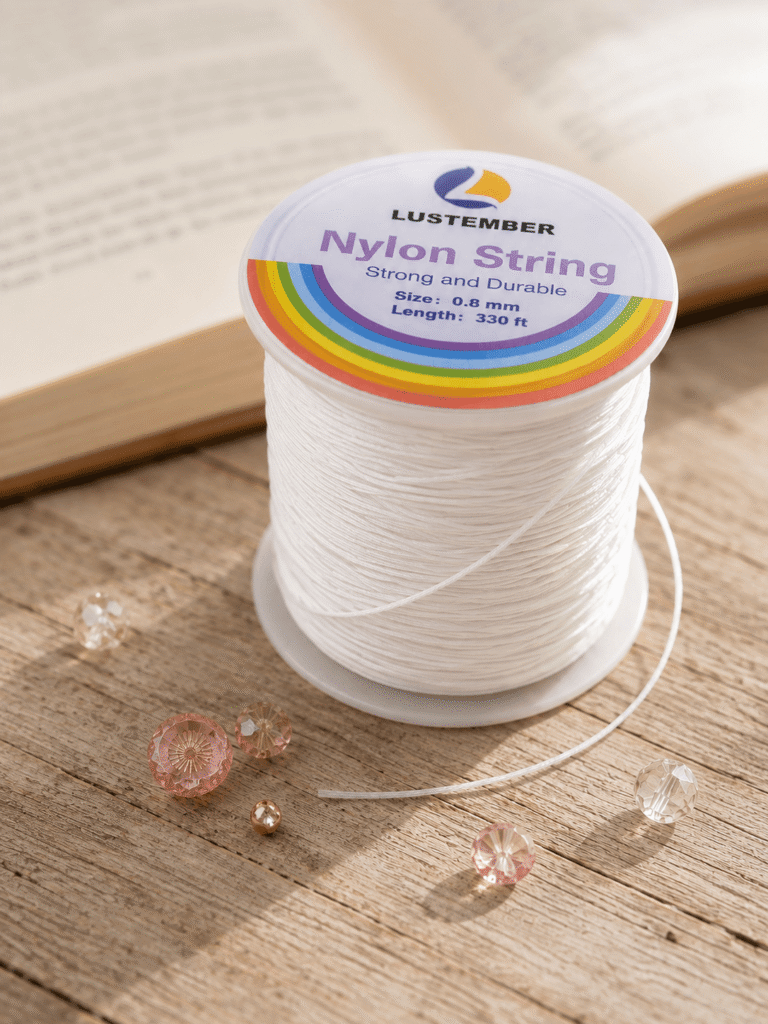
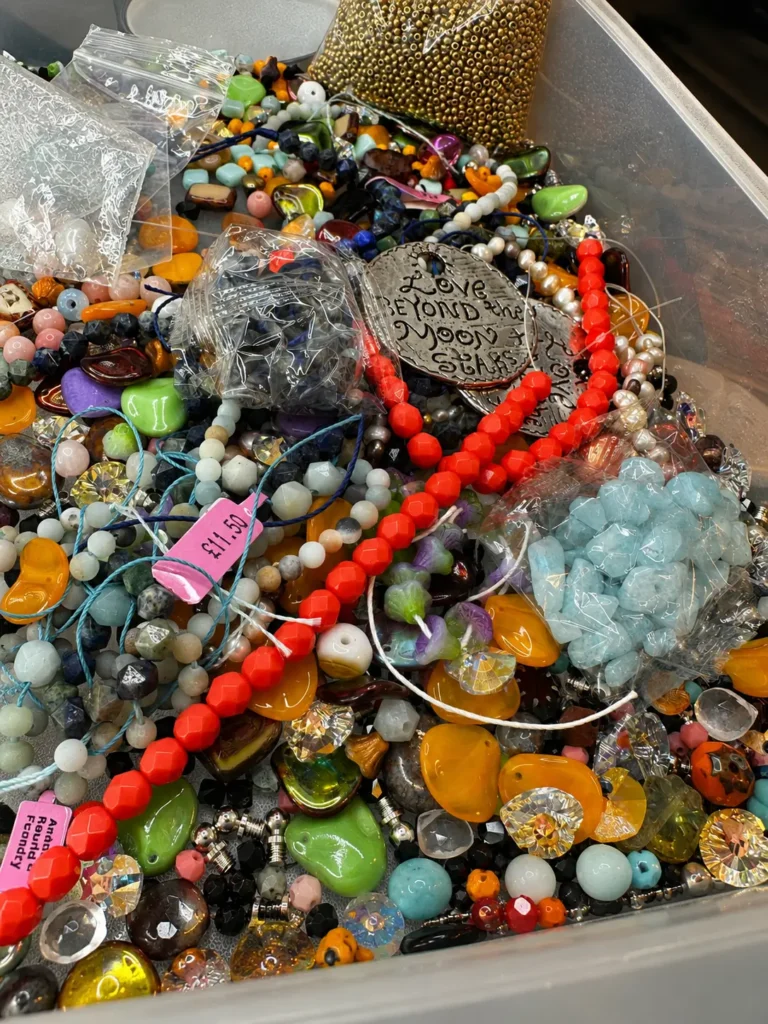
Grab your cord you can use any type of cord such as nylon, ribbon, even string or leather. Cut it around 150mm. I have a ton of random beads so it’s a great way to put them to good use. Create your pattern or design and start threading.
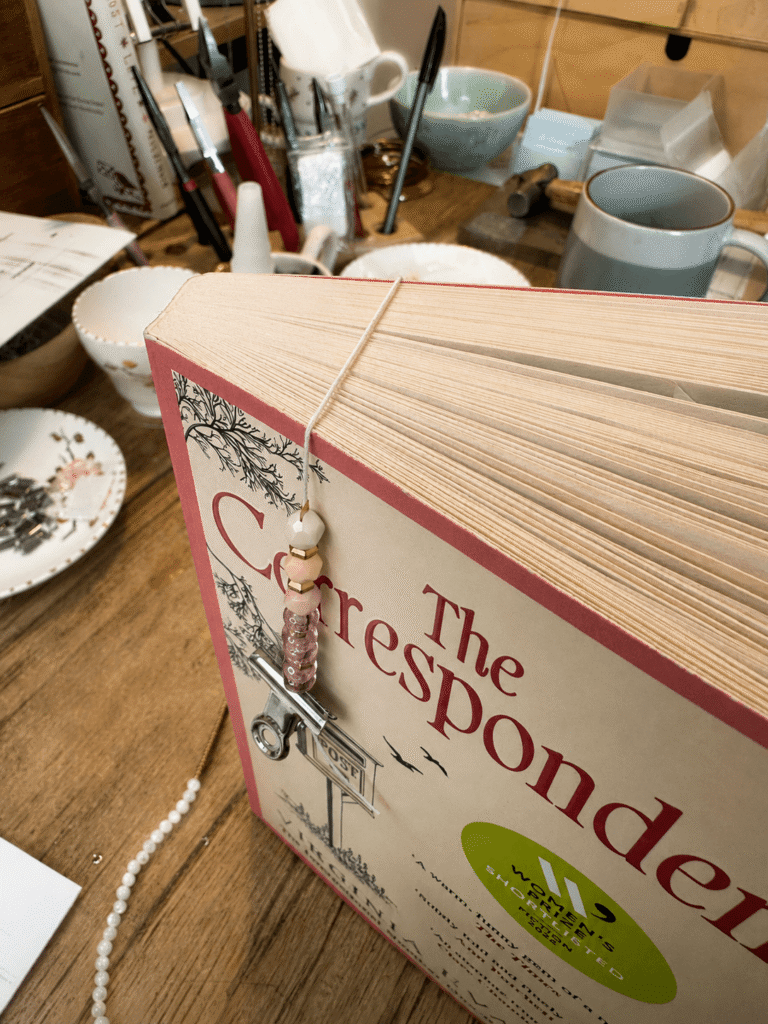
After threading around 30cm of beads, I’ve left a section of the thread completely bead-free. This is the part that will sit inside the book, coming out at the top and looping over the leaves to keep your page.
Now for the bead stoppers. If you’ve read any of my other posts, you’ll know I have a rather complicated love/hate relationship with these little fellas. But, today they’re actually quite useful.
Pop one on each end of your beaded design, then another at the end of each beadless section. This keeps everything safely in place.
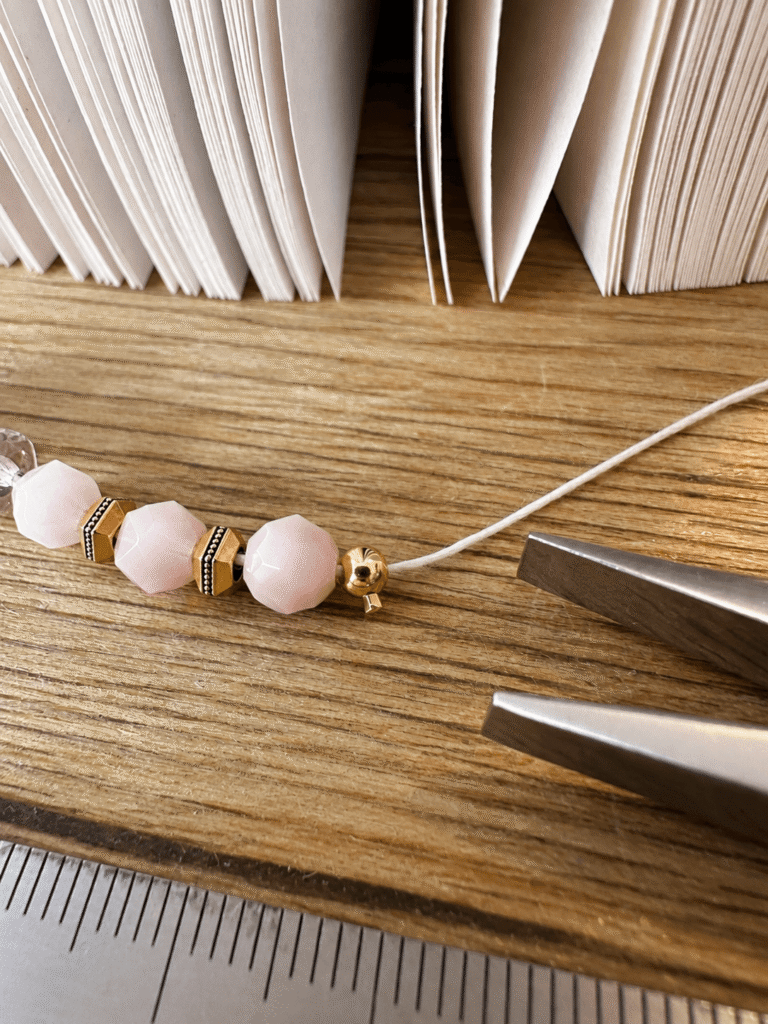
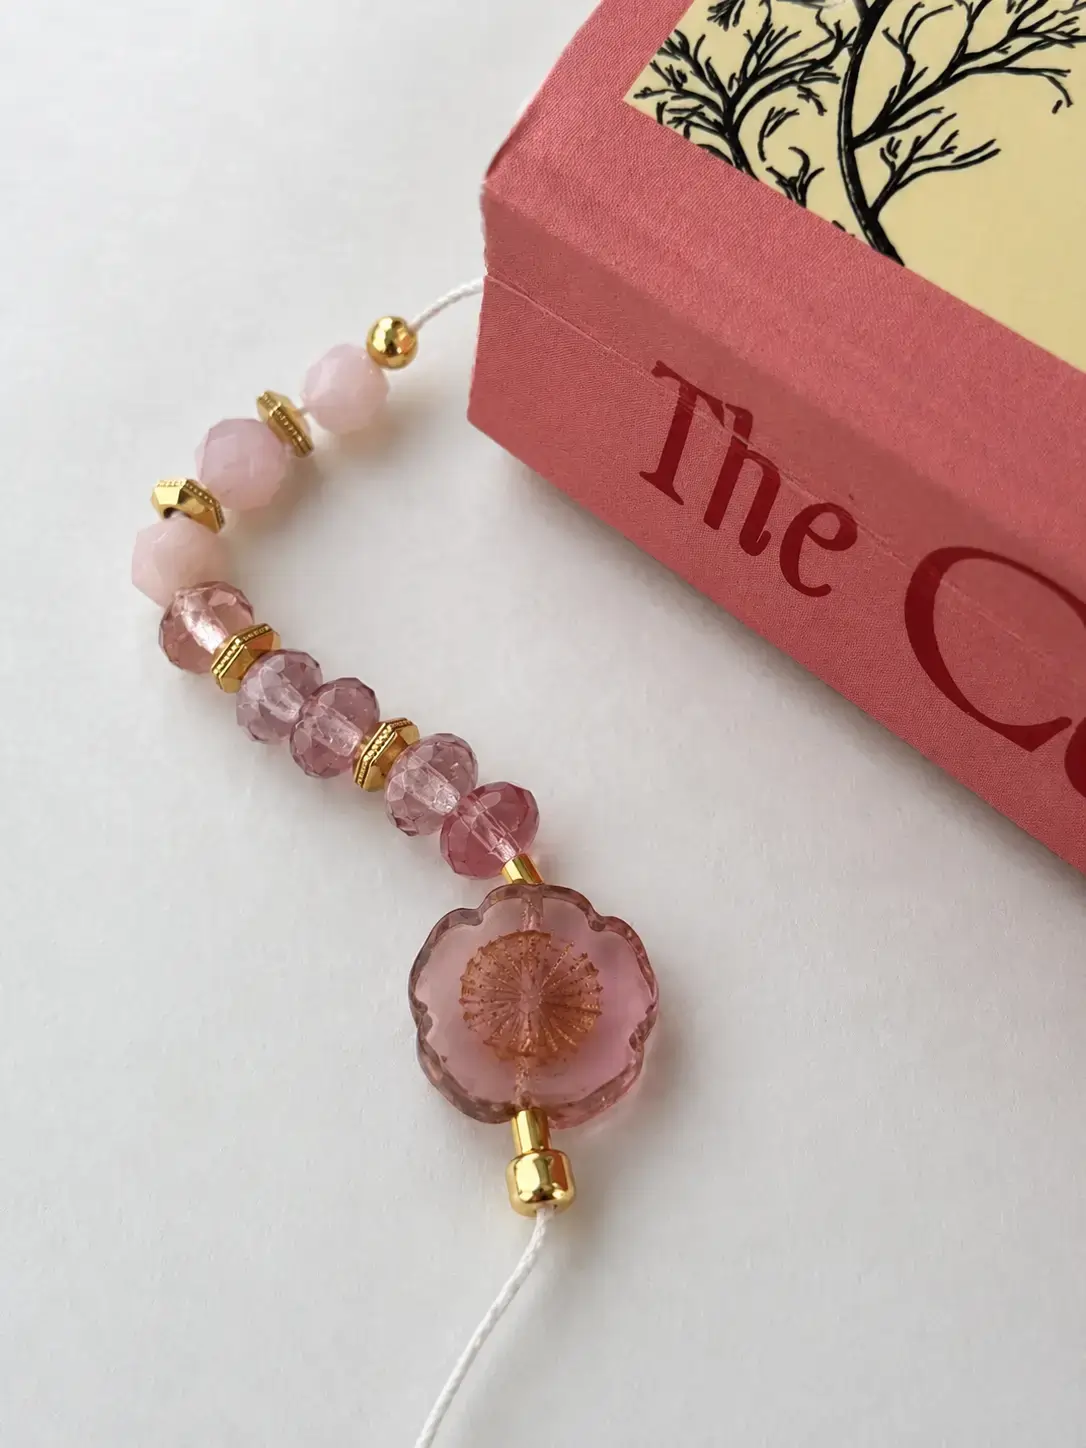
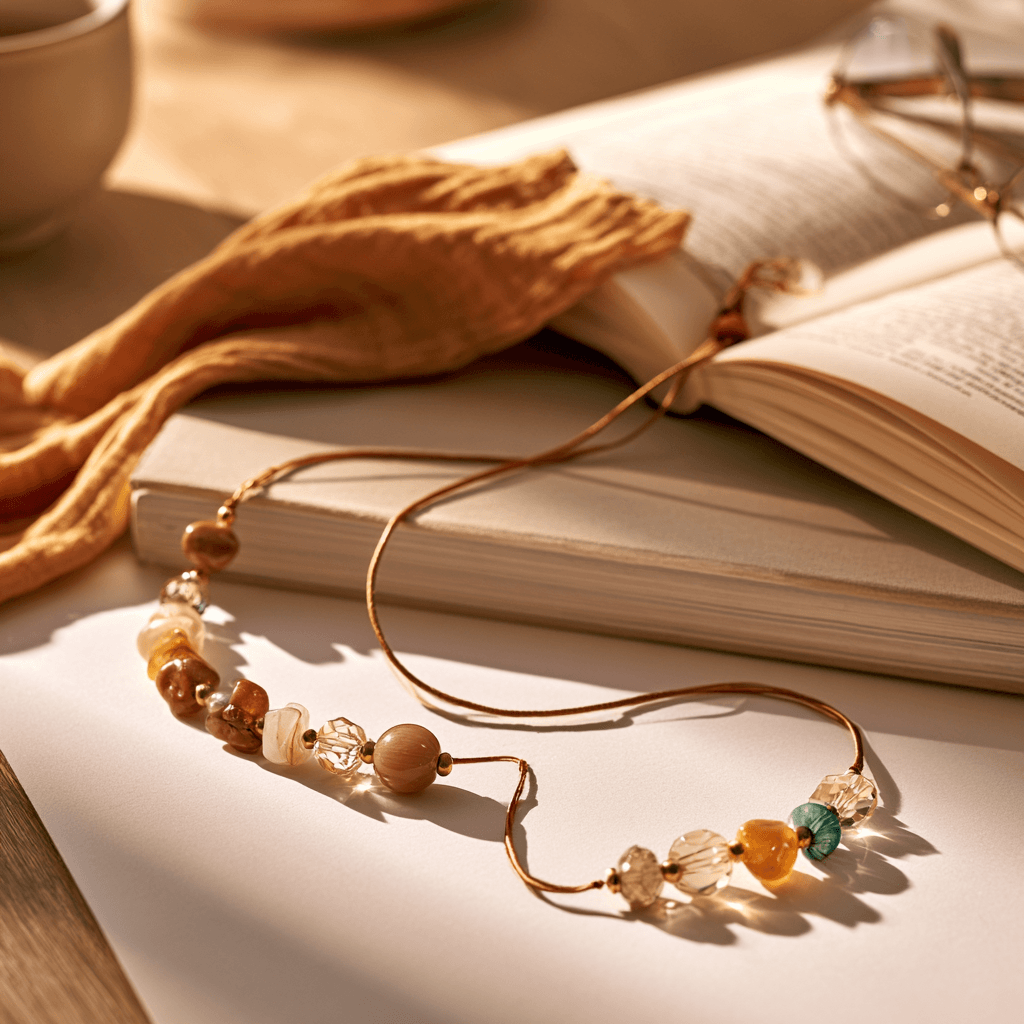
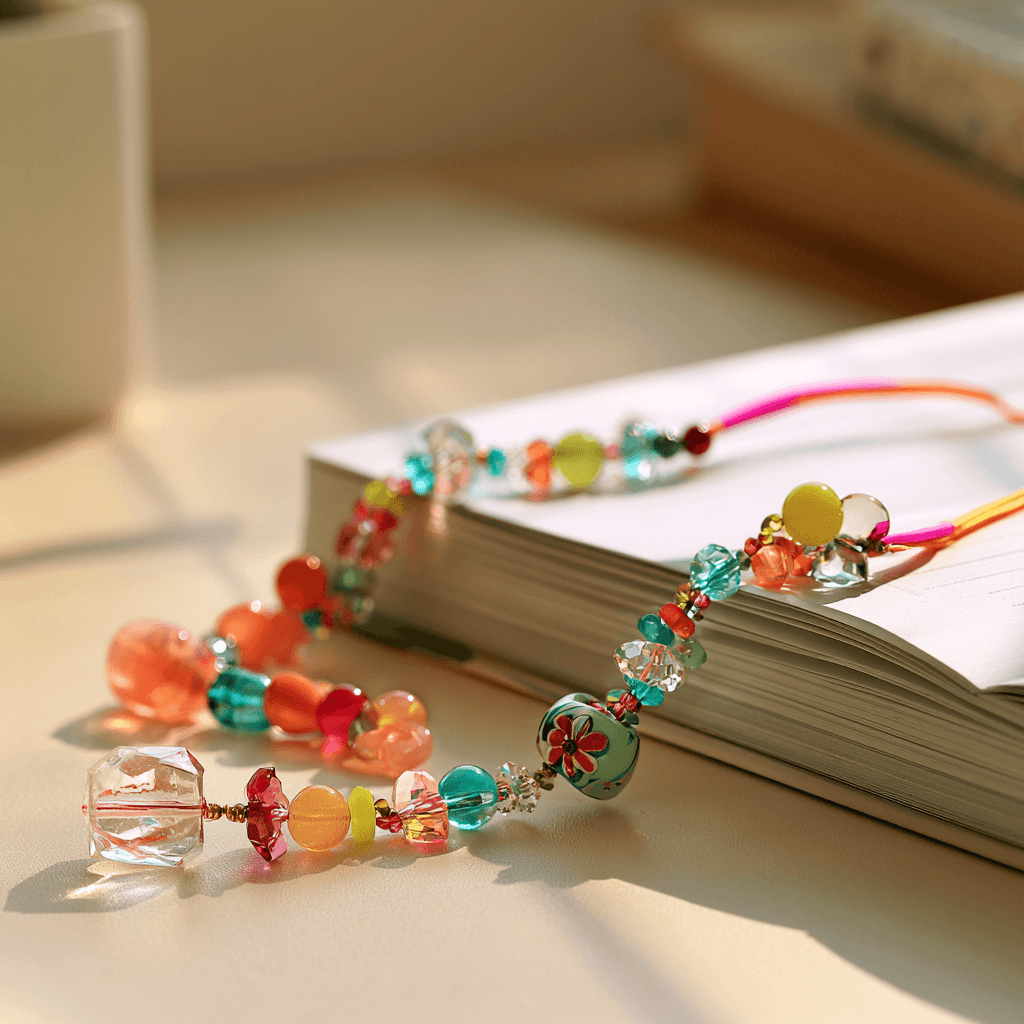
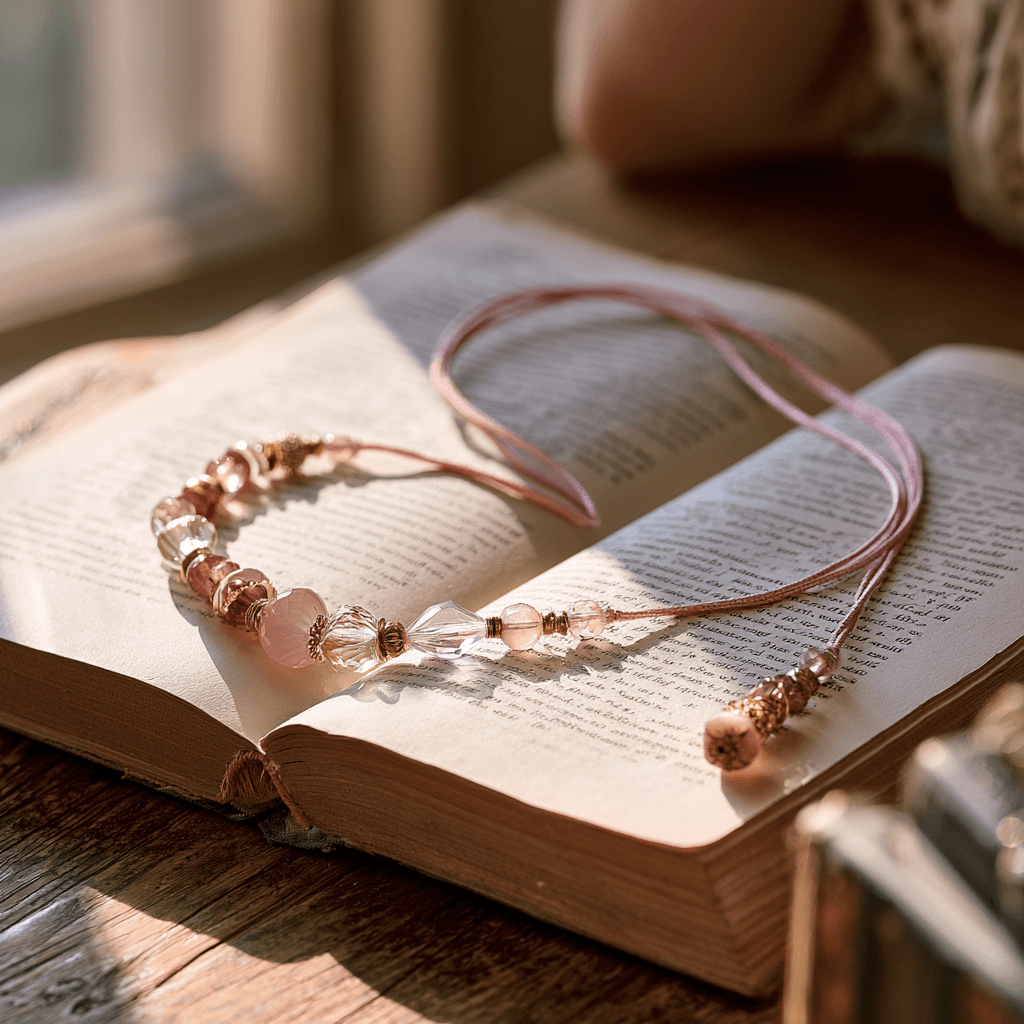
You can get some really pretty combinations with these (see below), so don’t feel you need to stick to the same beads or colours I’ve used. Mix crystals with glass beads, gemstones, pearls, seed beads or even those random beauties left lurking at the bottom of your bead box waiting for their moment.
Play around with different shades of one colour, mix soft neutrals with gold, or throw in a completely contrasting bead if you fancy it. You could also swap the nylon cord for waxed cord, satin cord or another strong thread in a colour that becomes part of the design.
For book lovers, they make such a lovely little stocking filler, and because every combination can be different, they feel like a lovely one-off piece.
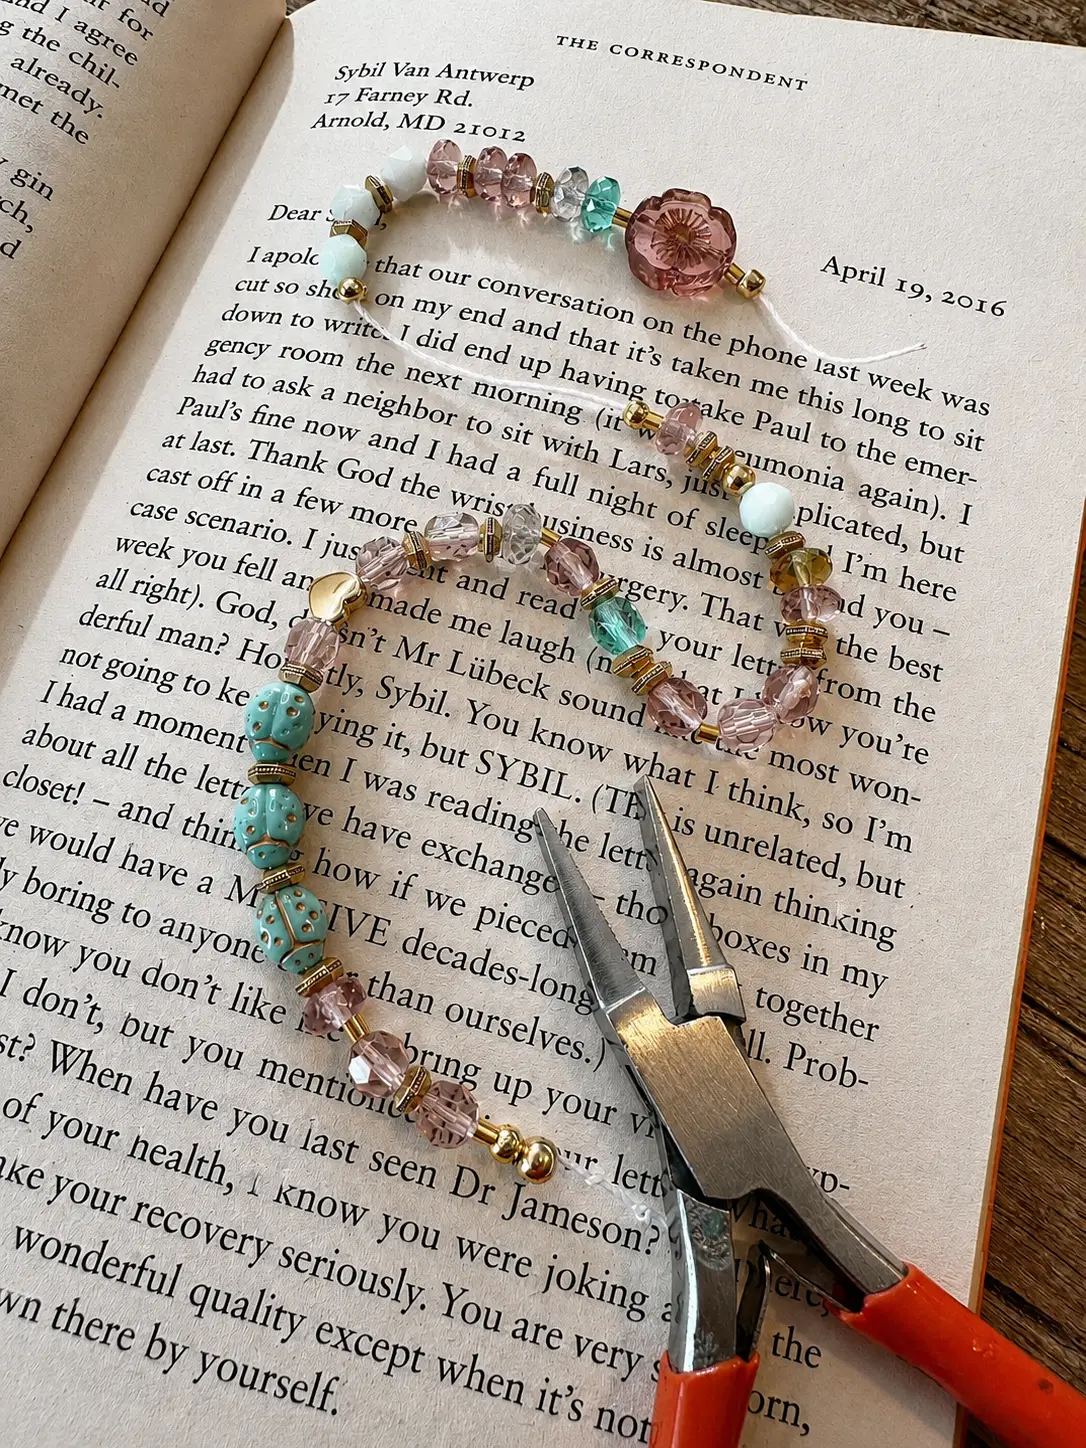
And I’m currently reading The Correspondent by Virginia Evans. It’s beautifully sweet and touching, the sort of story you find yourself becoming rather attached to. I’ve actually started reading it more slowly because I don’t want the journey to end. But I already know I’m going to be very sad when I turn that final page 😕.
Enjoy creating!
RELATED READS
59,000 Etsy Sales Later
Different Types of Jewelry Cutters
How to make simple stretch bracelets
5 Common Beaded Bracelet Problems