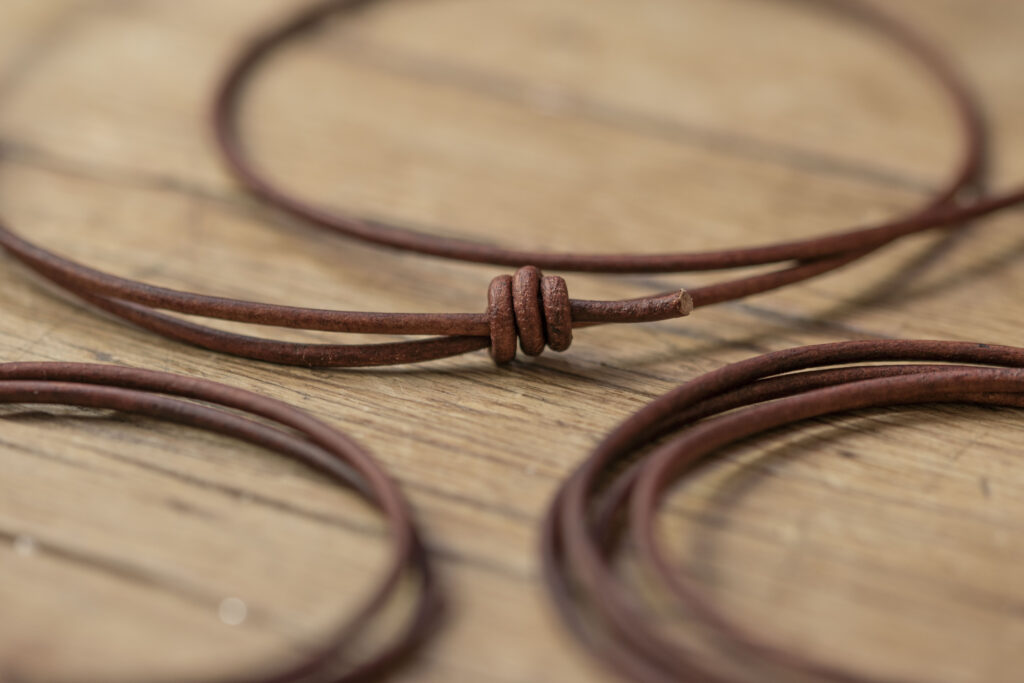
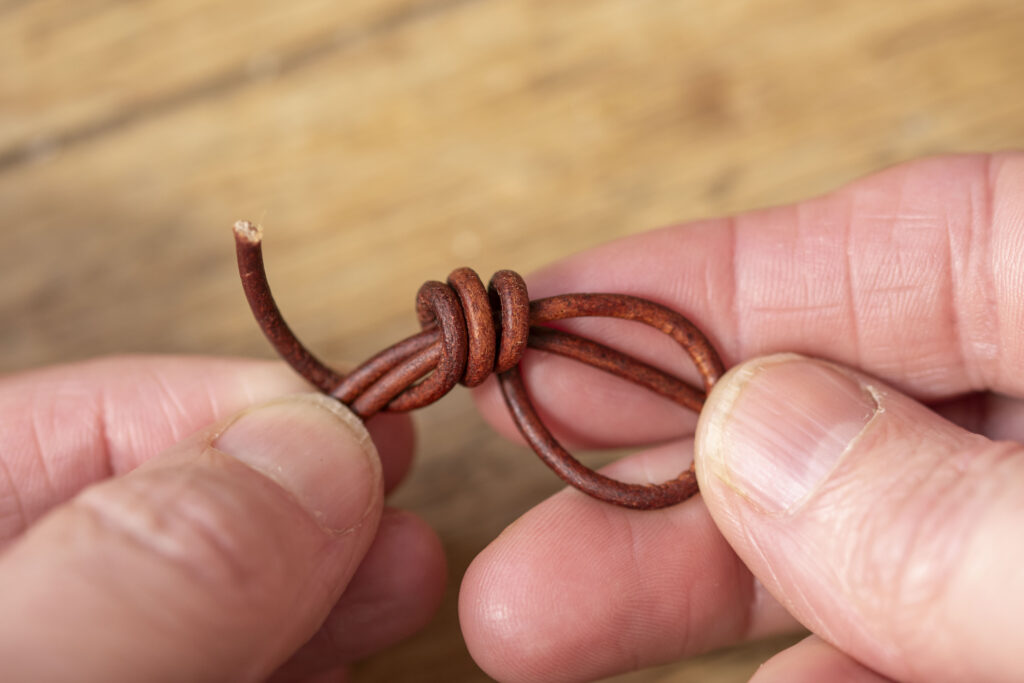
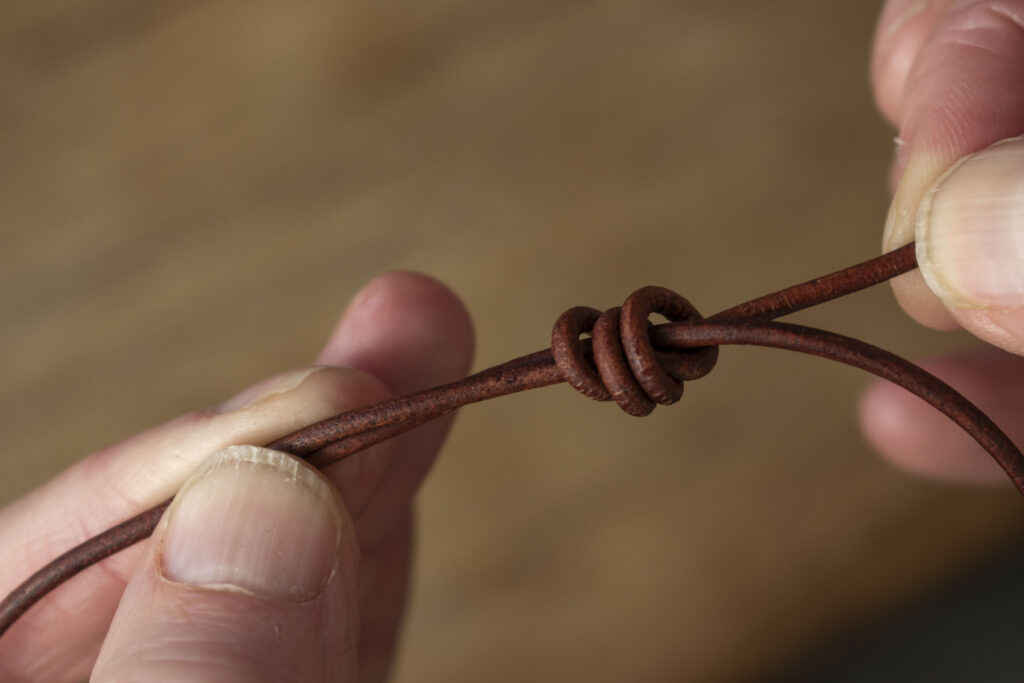
How to tie an adjustable sliding knot
step by step
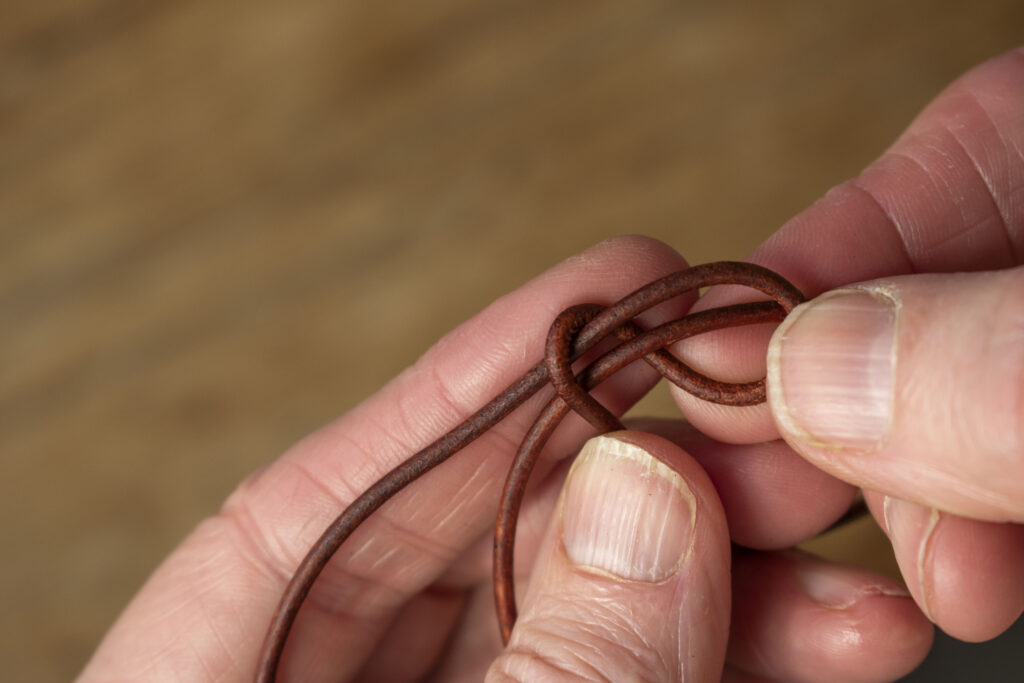
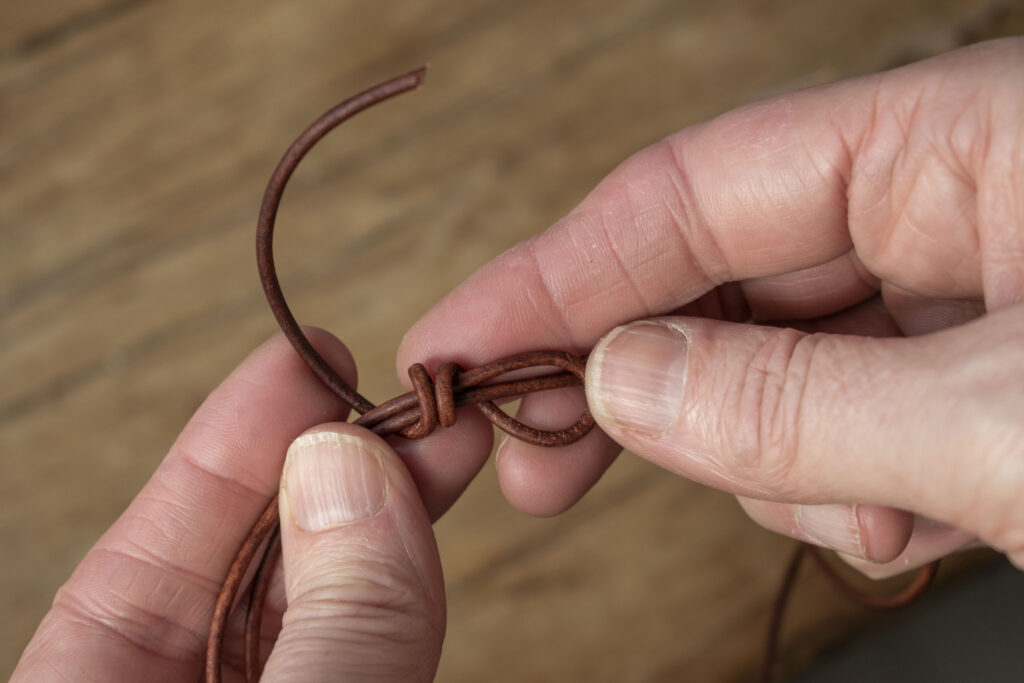
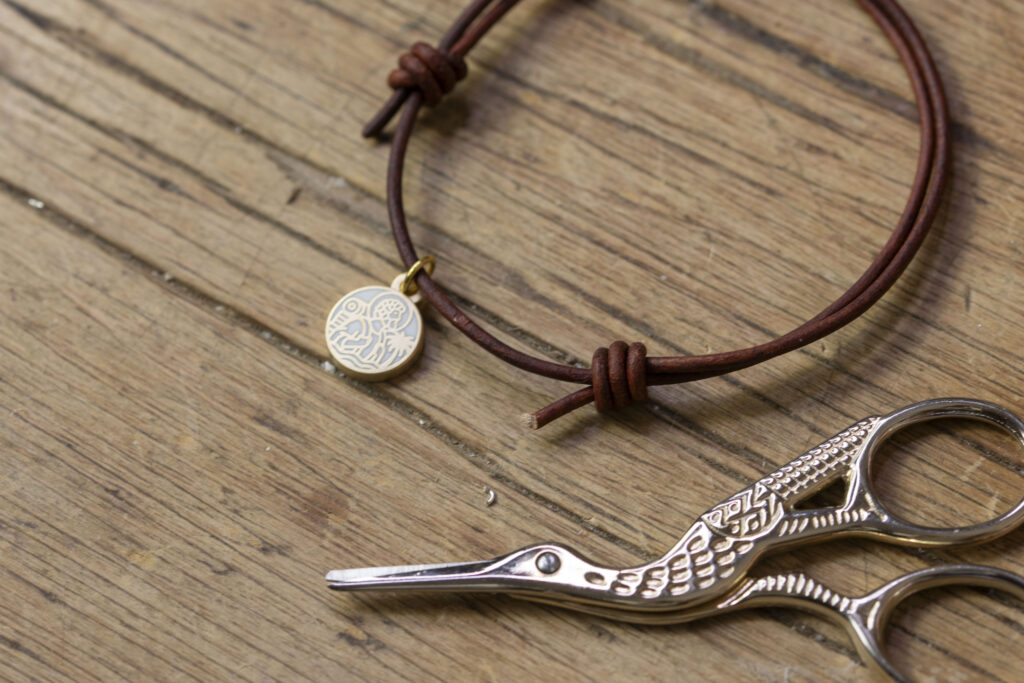
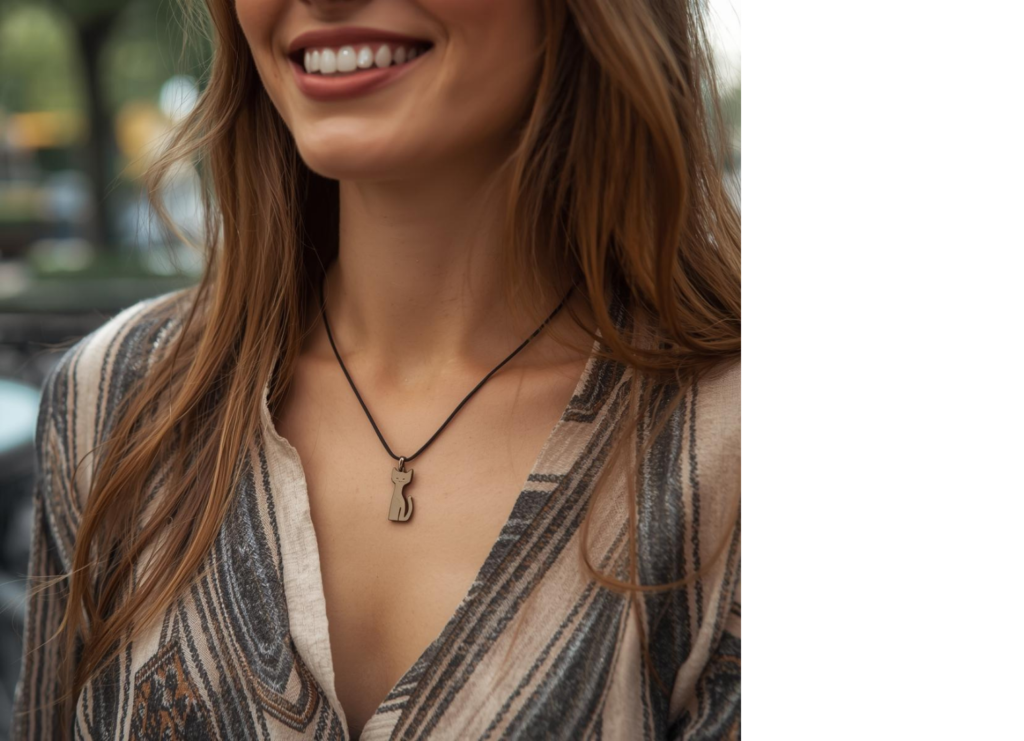
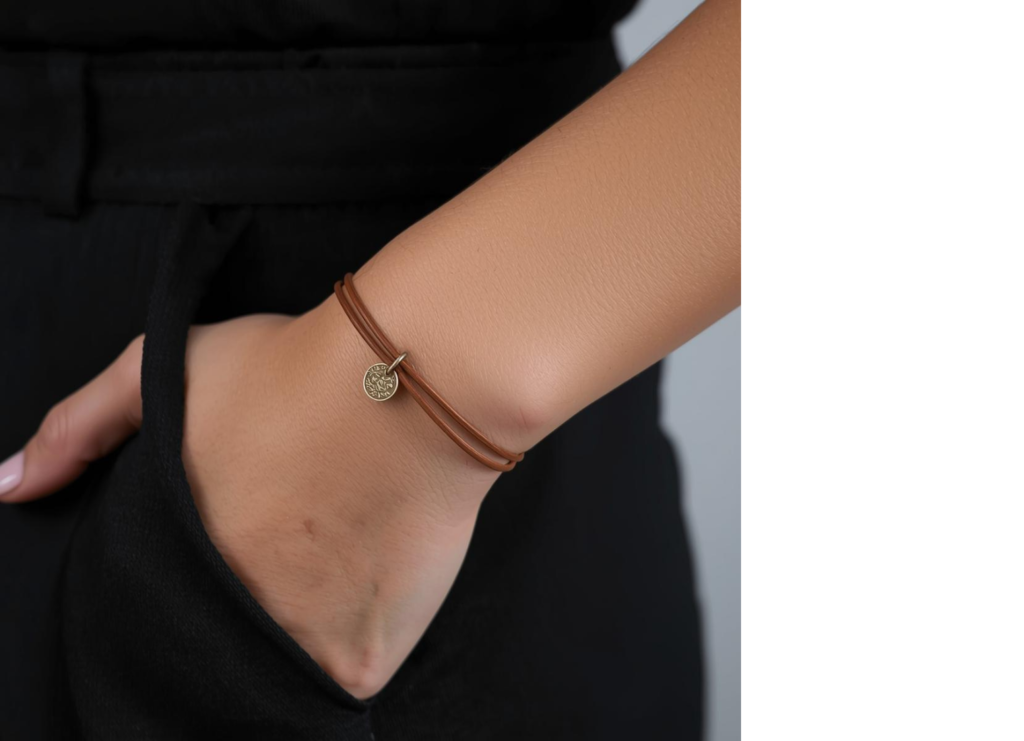
Once you know how to make a proper sliding knot, you will start using it everywhere – leather bracelets, cord necklaces, adjustable pieces you didn’t even plan to make adjustable. It’s one of those techniques that feels almost too simple, but ends up being endlessly useful….once you’ve grasped it!
Learn it once and you’ll use it across all sorts of jewellery pieces, whether you’re making for yourself, for gifts, or to sell. It’s beginner-friendly and looks professional.
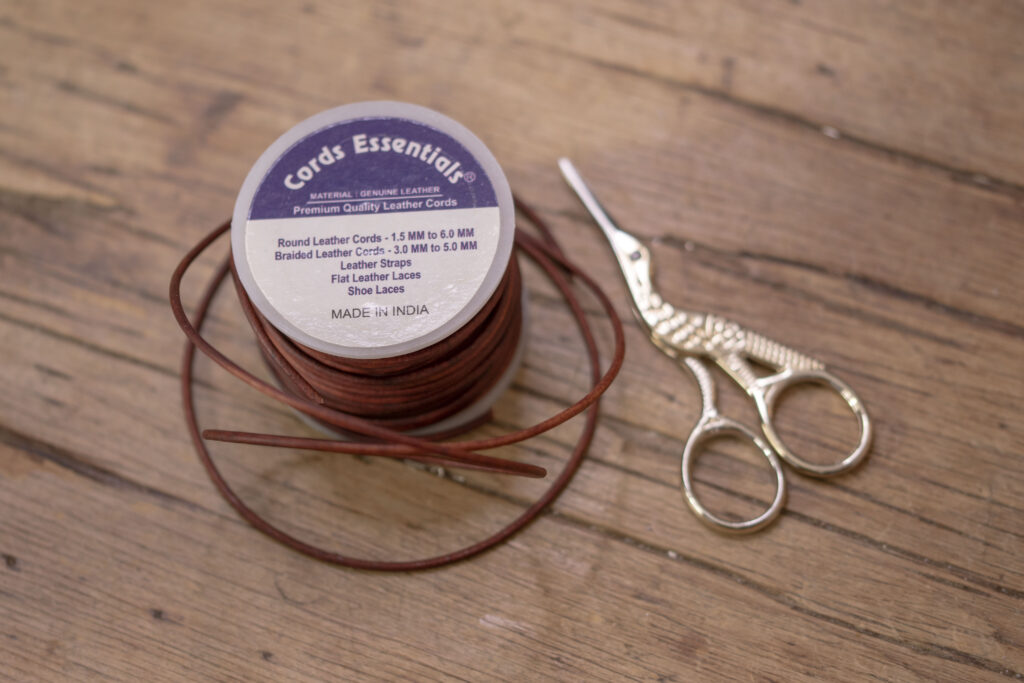
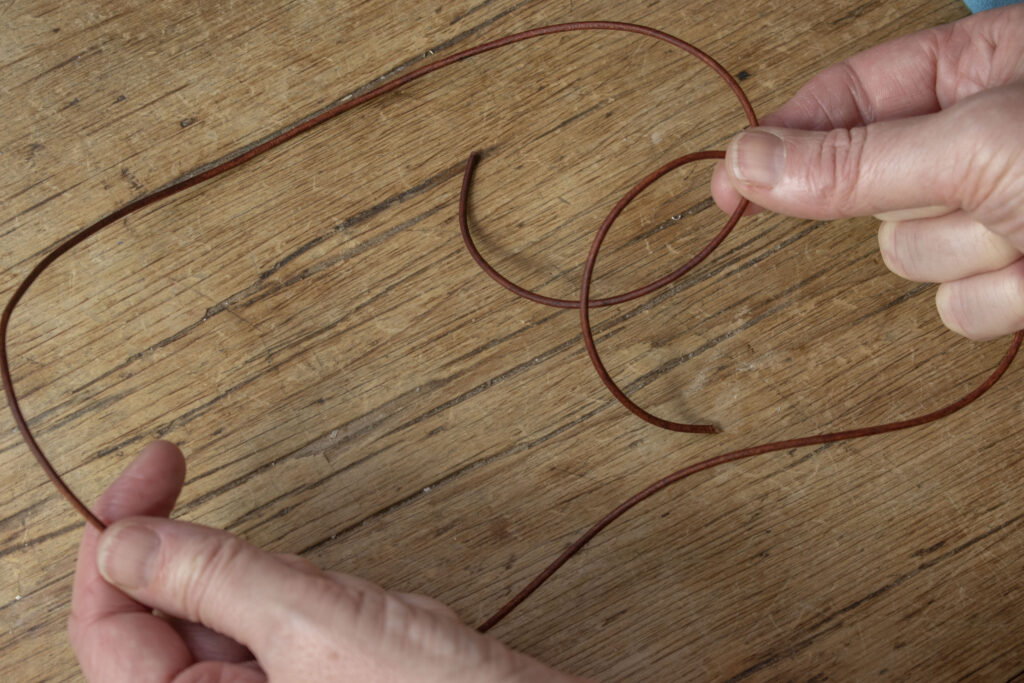
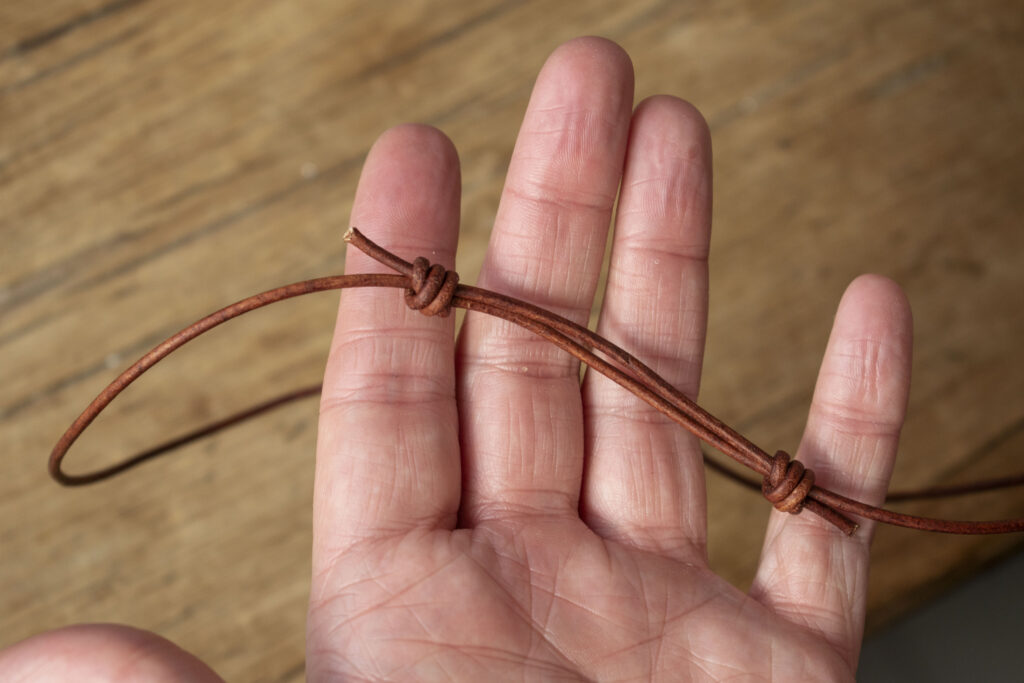
I’ ‘m using a 2mm leather cord here. I actually buy mine from Amazon, Cord Essentials do a lovely quality leather cord. I use to buy from china for a lot cheaper, but I found customers were snapping it very easily when adjusting, so I changed to this brand and it’s super, no more snaps people! 🤗
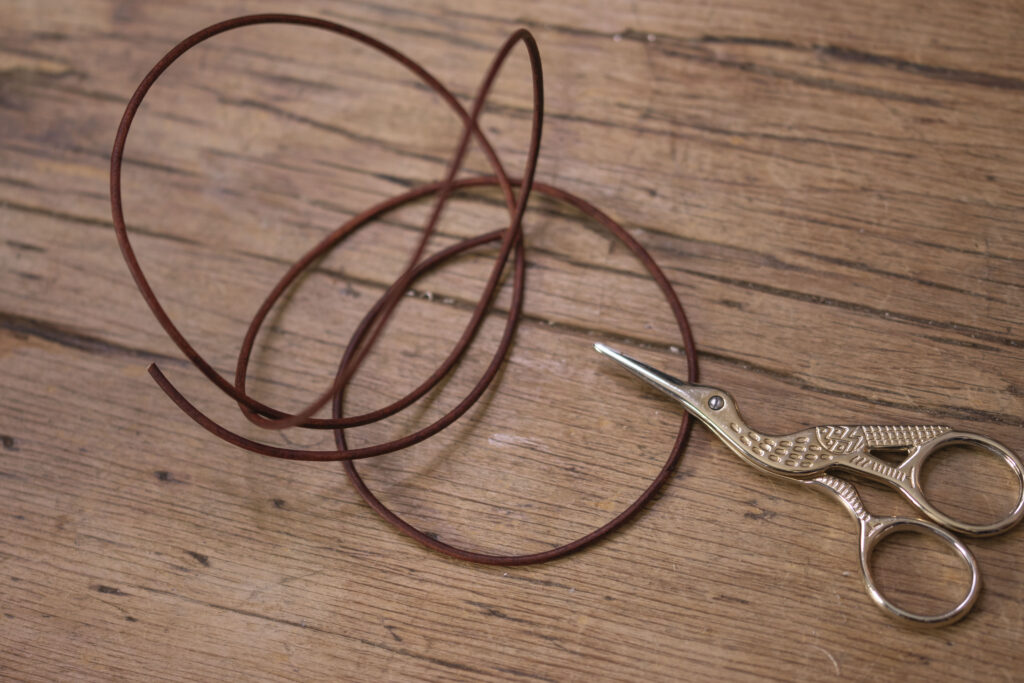
For a bracelet I tend to cut 45cm length, for a necklace 85cm length.


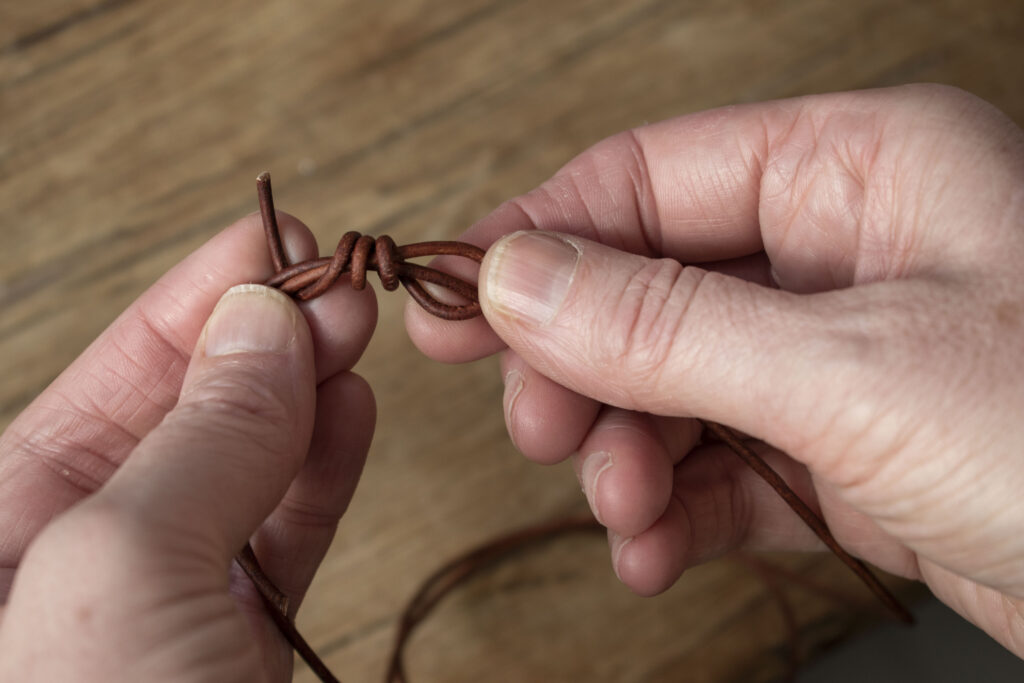


Took me 30 times before I got it!
Little Reassuring Side Note:
You’ll attempt once.
Give up.
Whimper. Try again.
Repeat roughly 30-40 times (because we never give up).
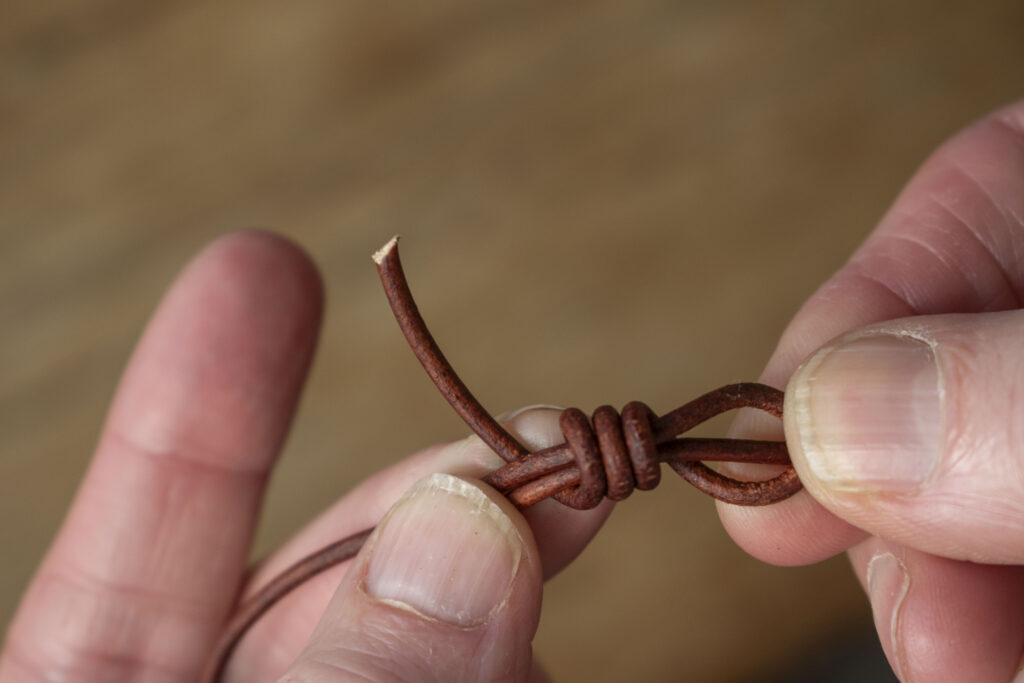
Then it clicks.
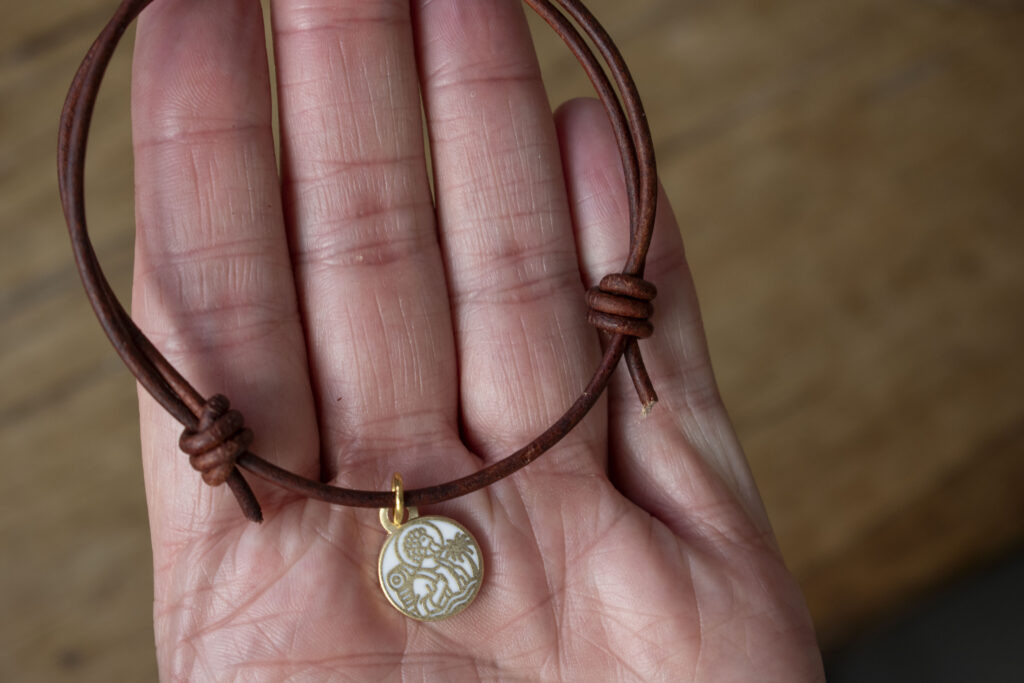
You’ll make a few for friends, then family – and somehow it becomes public knowledge. You’re the knot person…🥳

Enjoy!

RELATED READS
How to Make Simple Stretch Bracelets
Beading Essentials to start Jewelry Making
Bead Obsessed?