The beading essentials I wish I had on day one
And a few of the jewelry tools I can’t live without!
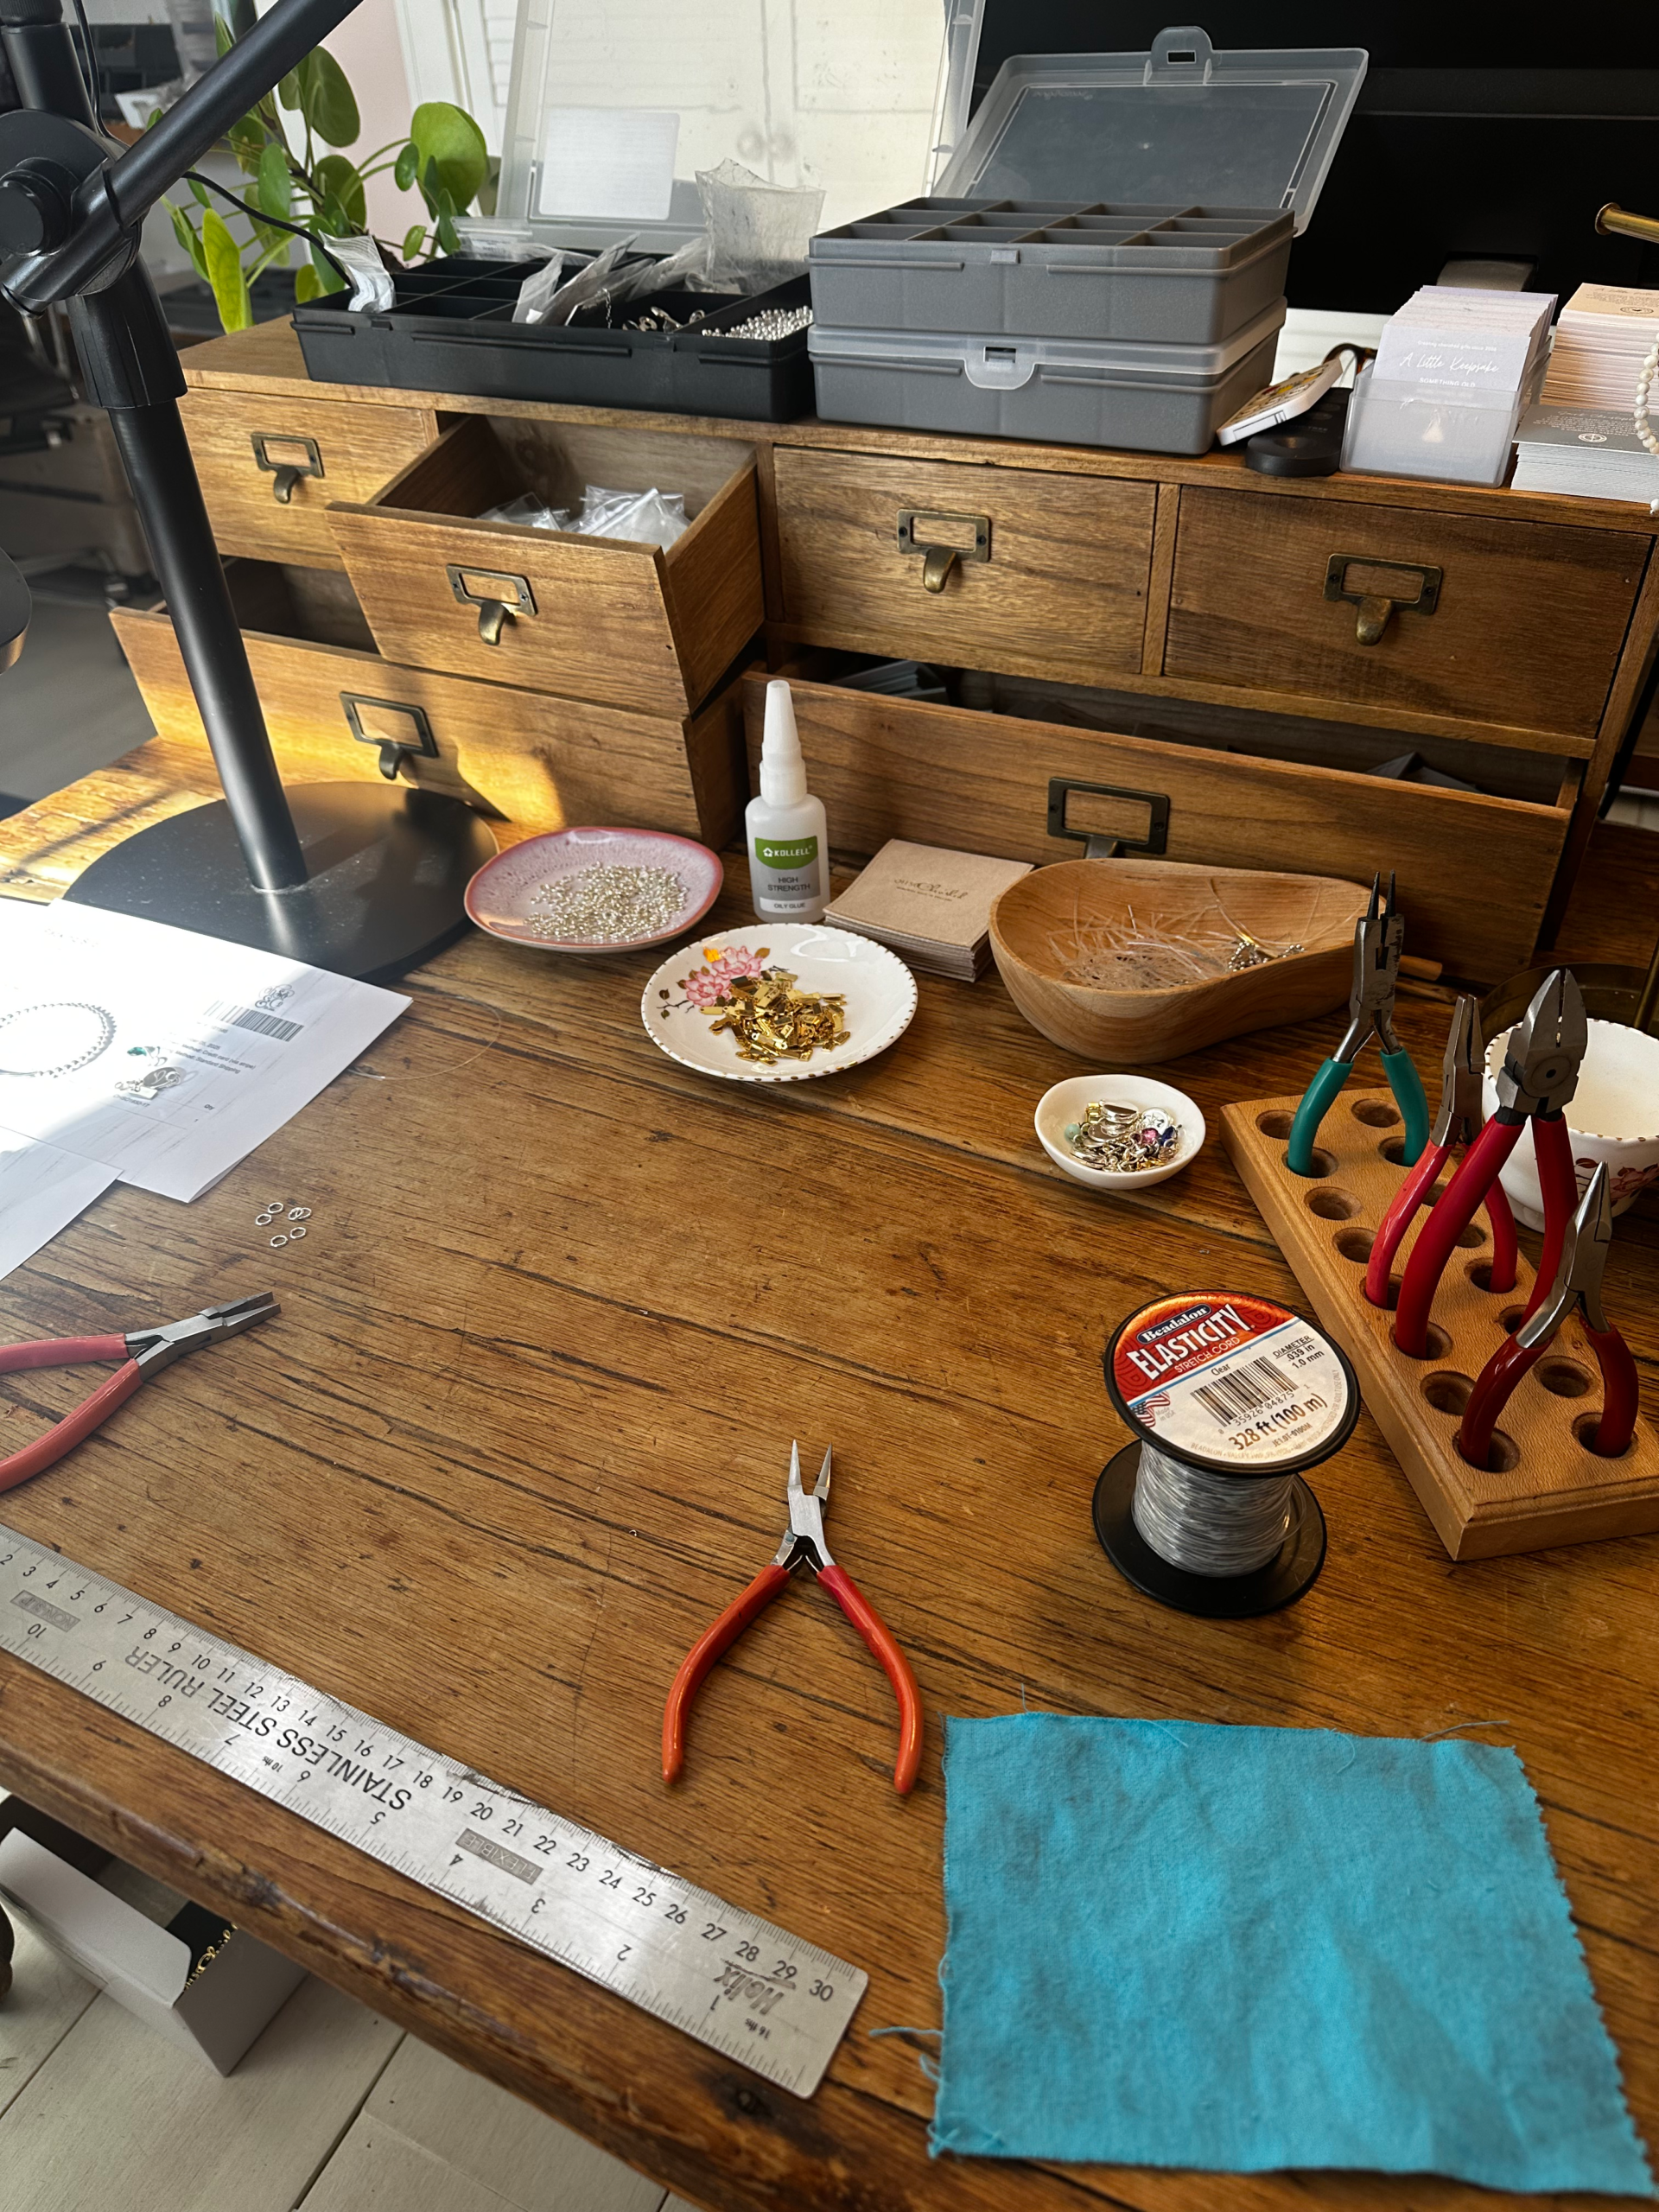
When I first started making beaded jewellery and selling online over 20 years ago, I thought I needed all the tools and gadgets, I probably bought many beading supplies and essentials (and some I still don’t know how to use or have ever used). But, you really don’t need much to get started. I have put together a key list of things that were game changers for me and I could not live without – take a peek at my own jewellery desk (yes, the one in the photo, and yes it’s a little…vintage!).
related reads
How to make simple stretch bracelets
The humble stacking bracelet recipe
How I store my jewelry making items
Best pliers for beginner jewelry makers
This post includes affiliate links – every product I mention is something I actually use at my own bench.
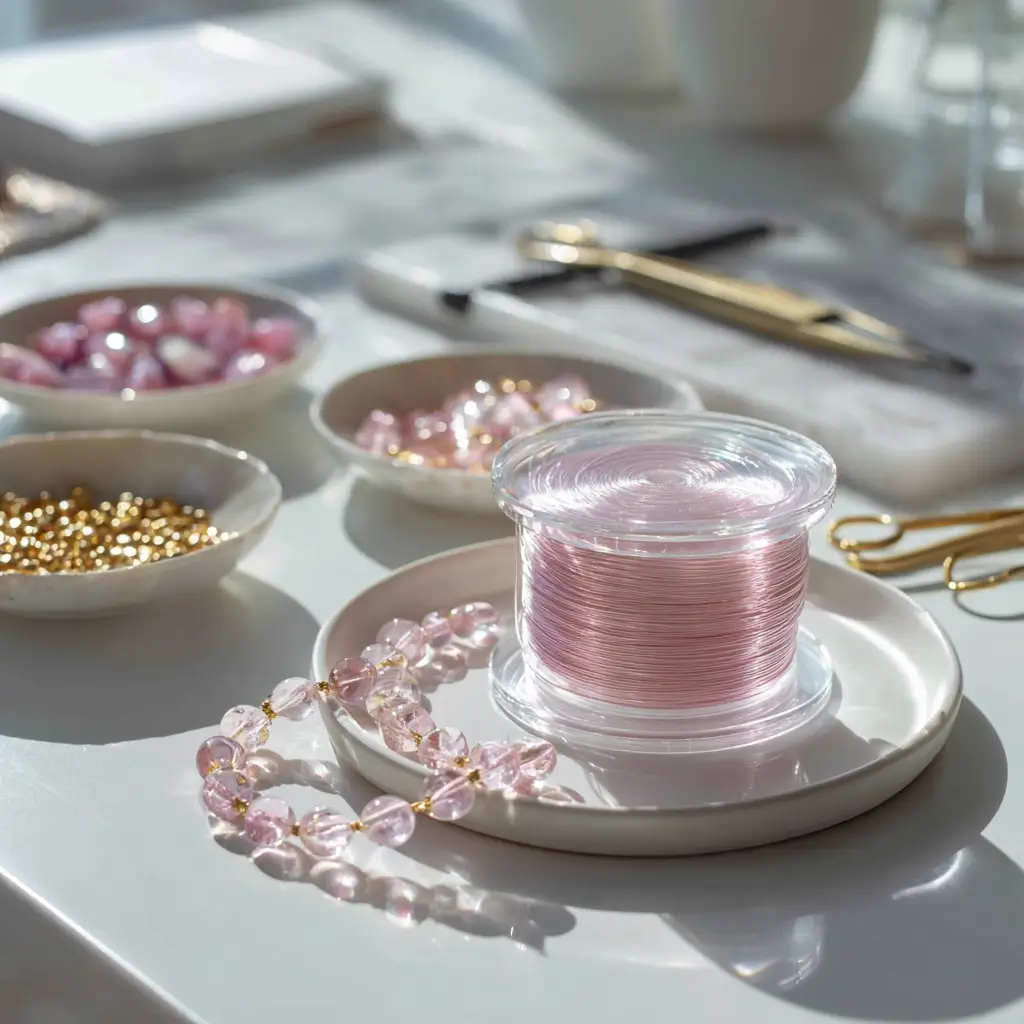
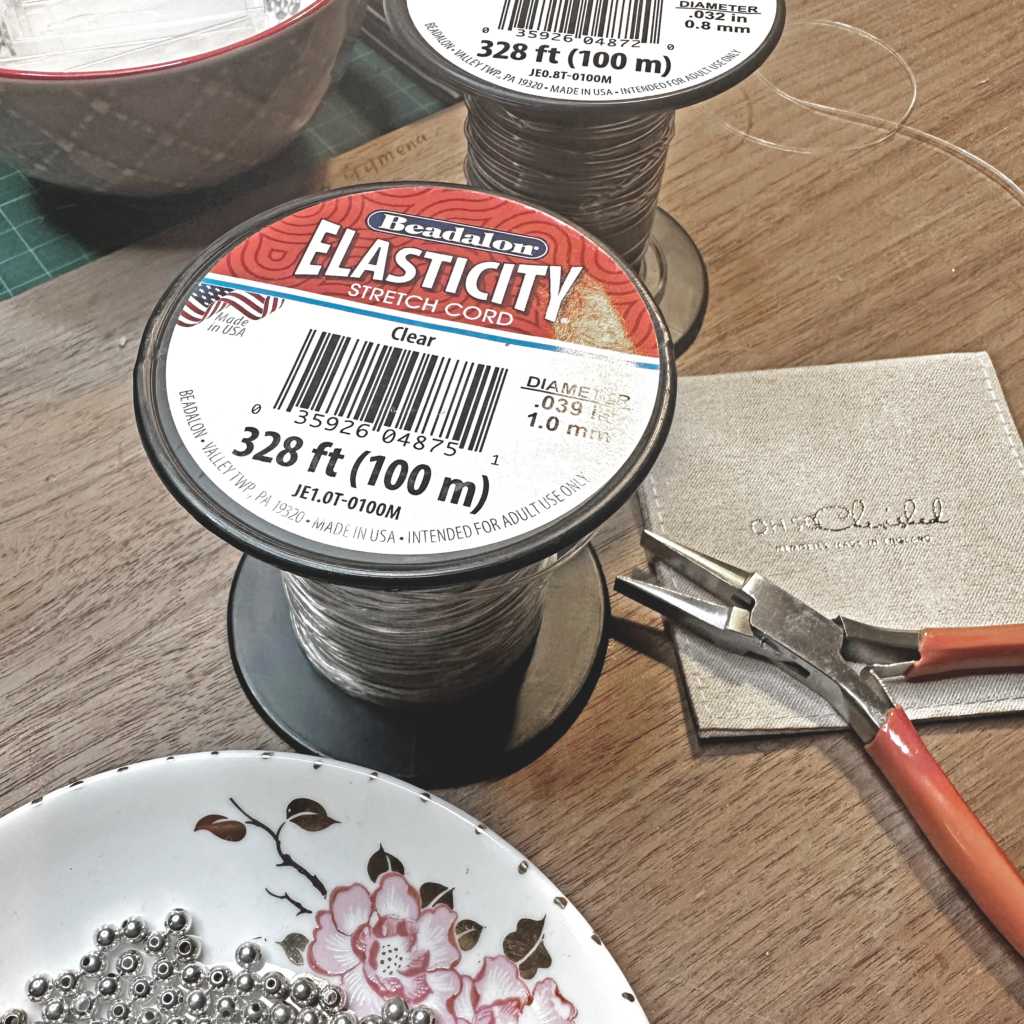
1. Beadalon Elasticity elastic
Beadalon elastic is super strong, which makes it my go-to for stretch bracelets. It knots cleanly without slipping or snapping like cheaper brands, it holds its shape, and gives pieces that polished, professional finish rather than a saggy stretch look. When making jewelry for customers an elastic that doesn’t break all the time matters, and this one delivers every single time for me. 😅
Checkout my stretch bracelet troubleshooting post if you encounter ongoing stretch bracelet problems.
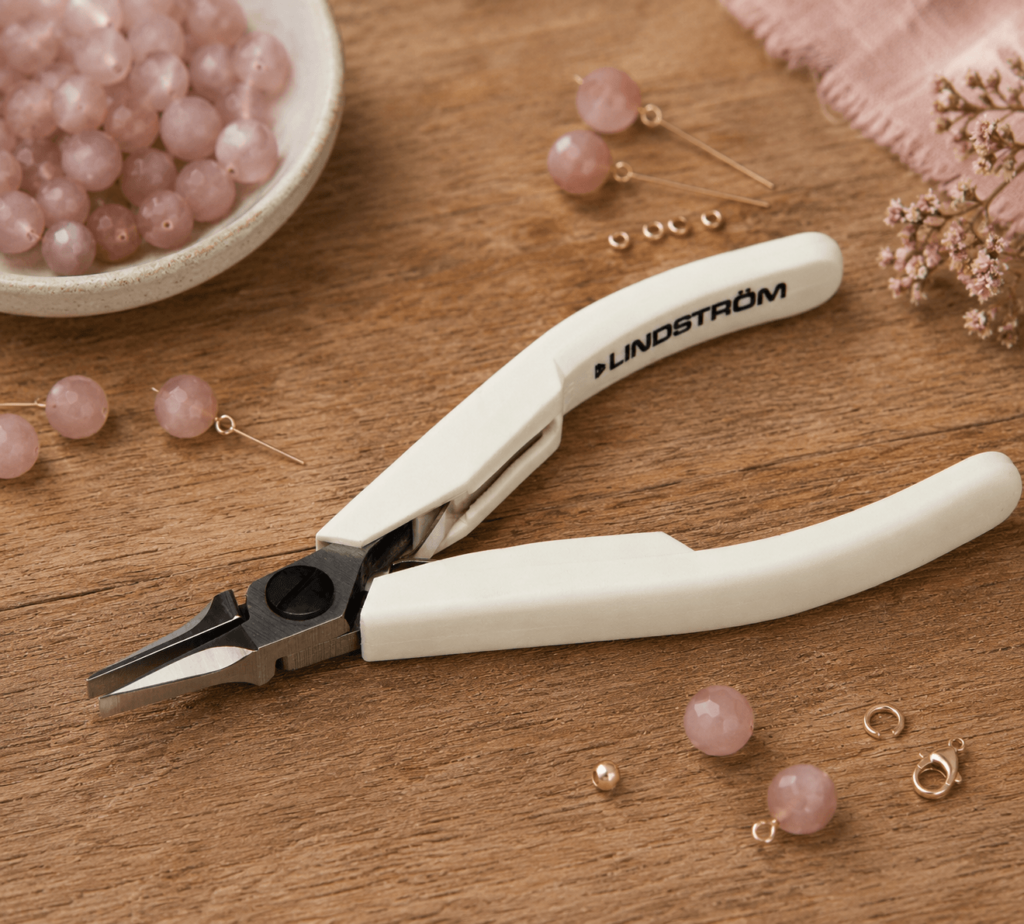
2. A set of square nose pliers
I have at least three sets of these square nose. These will handle pretty much any beginner jewellery job – from adding jump rings, closing crimp beads, wire wrapping to adding charms. I’m very picky about my pliers and only really work with good quality Square Flat Nose Pliers, they do need to come to a point at the end so look out for that, that’s key for me. I have many other types of pliers for specific jobs and finer detail jobs, but these are my daily go too pliers – like my knife and fork! I use Lindstrom below and Wubbers which I have linked to.
Do come back and read my other post – Top Pliers For Jewellery Making & What They Do
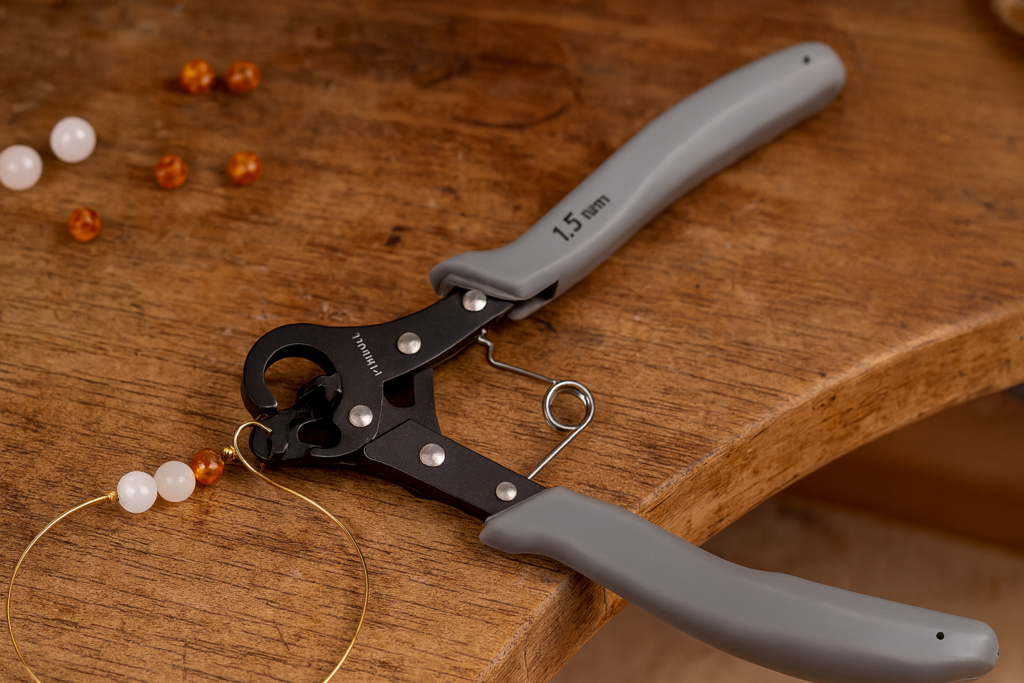
3. Looper
The Beadsmith One-Step Looper is one of those clever little tools that makes you wonder how you ever managed without it, It trims and loops wire in one quick squeeze, giving you neat, consistent loops every single time – ingenious! Perfect for earrings, charms or bead drops, it’s a real time-saver if you make a lot of looped charms or wire pieces or just love a new jewellery gadget. They come in different loop sizes so make sure you get the correct size. Checkout my little video
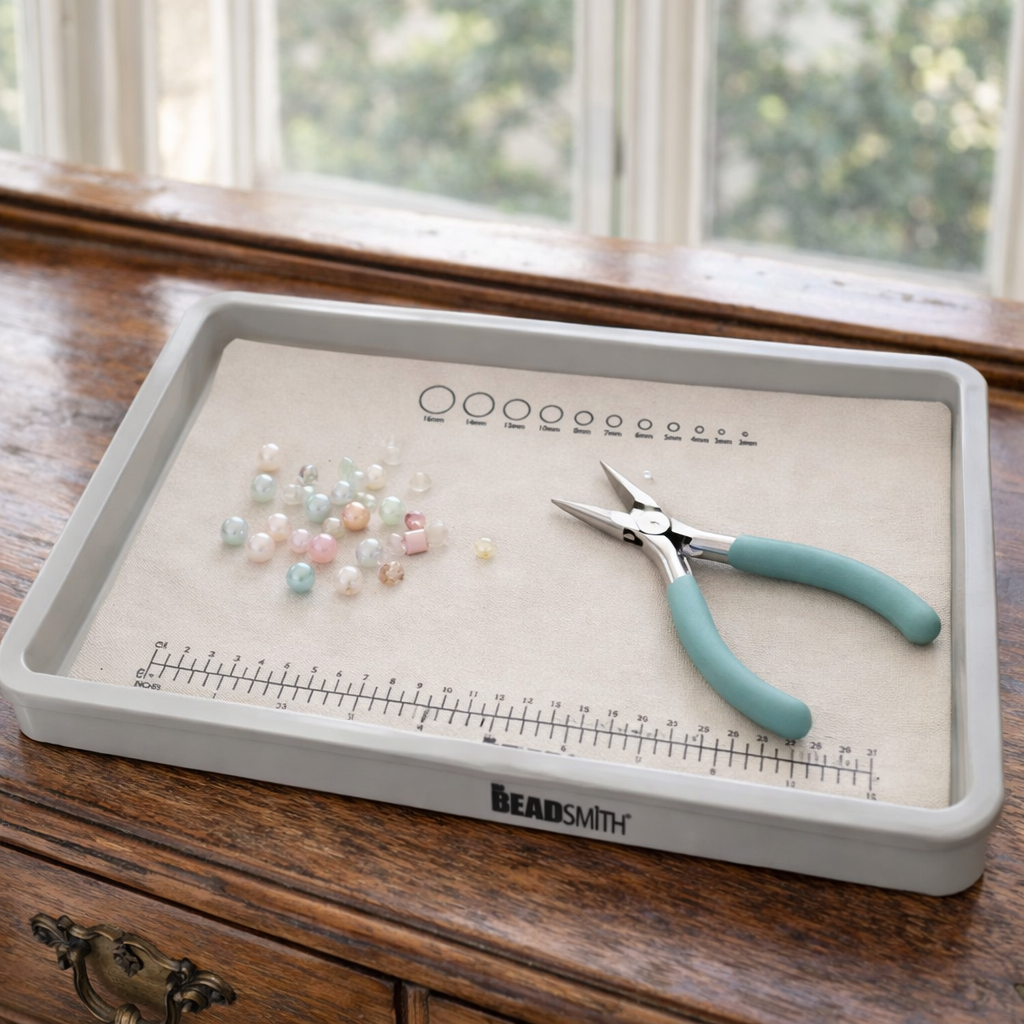
4. The Beadsmith tray & mat
This beading tray is basically bead control. It stops beads launching themselves across my studio, keeps everything contained, and even has a ruler! I use this constantly when measuring bracelet lengths for orders. Not glamorous. Completely essential, but ideally should come in pink! 😁
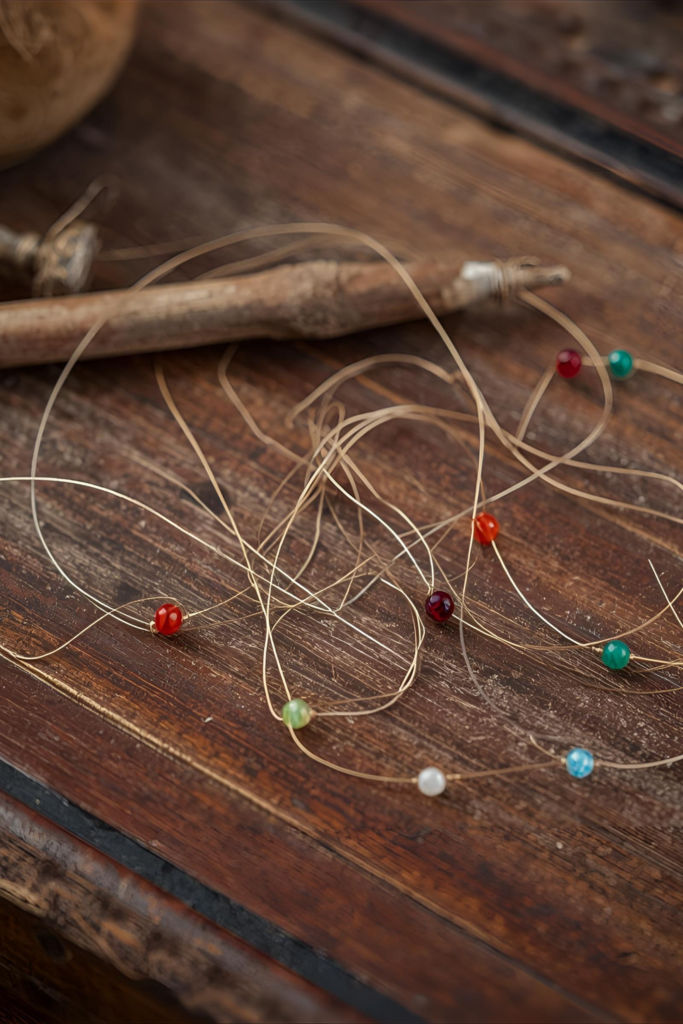
5. Beading needles
These are a beaders secret weapon when it comes to threading. They’re super thin, so the beads glide straight on without that annoying battle. The eye is long and flexible too, which makes threading a breeze. Honestly, once you use one, you’ll never bother with a normal needle again – I keep a stash in my tool box.
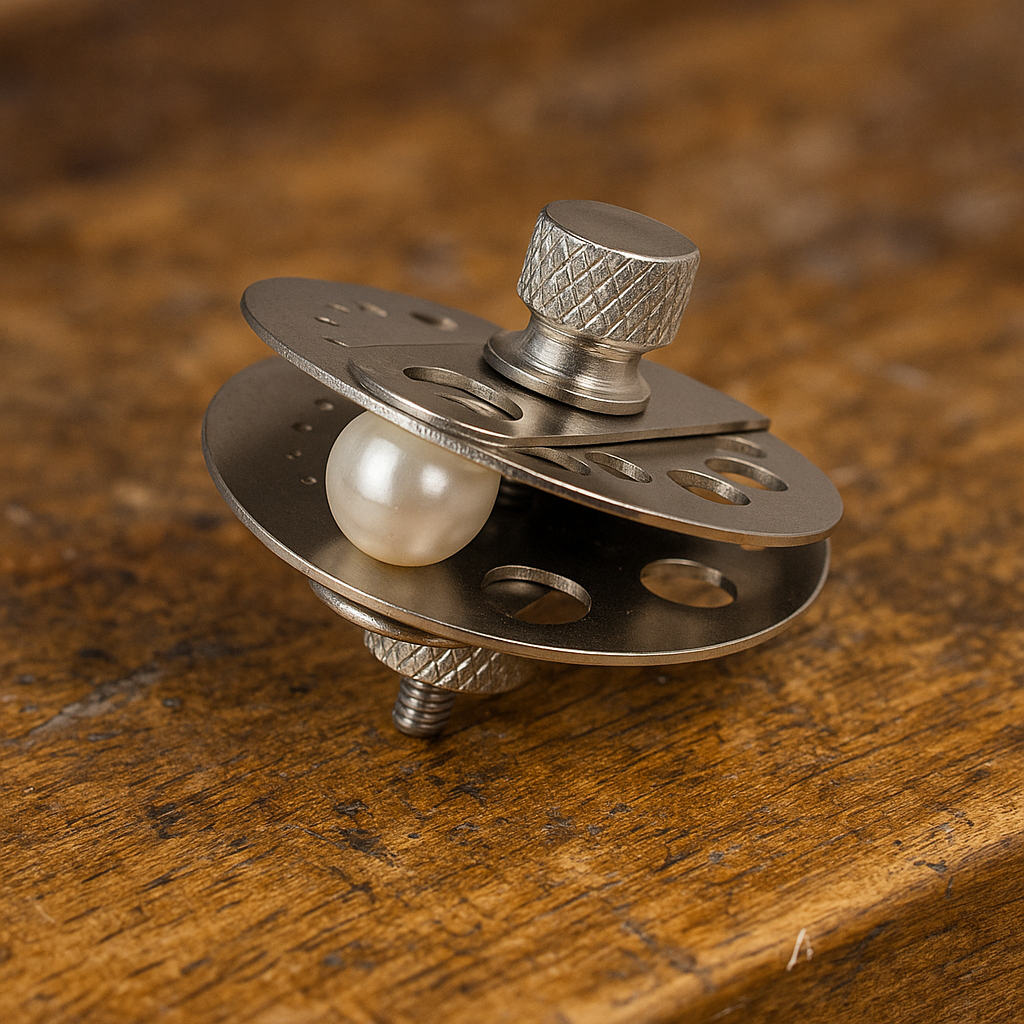
6. Bead vice
If you work with pearls and you’ve ever tried to ream them (Reaming is the process of gently enlarging or smoothing out the hole in a bead or pearl using a thin, pointed tool called a bead reamer – it helps the thread, wire, or pin fit through) this little clamp-tool is just super handy. It grips your pearls or glass bead securely while you work it, no awkward balancing. The stable hold means you can focus on precision. it’s one of those little vice tools you just keep on using and loving.
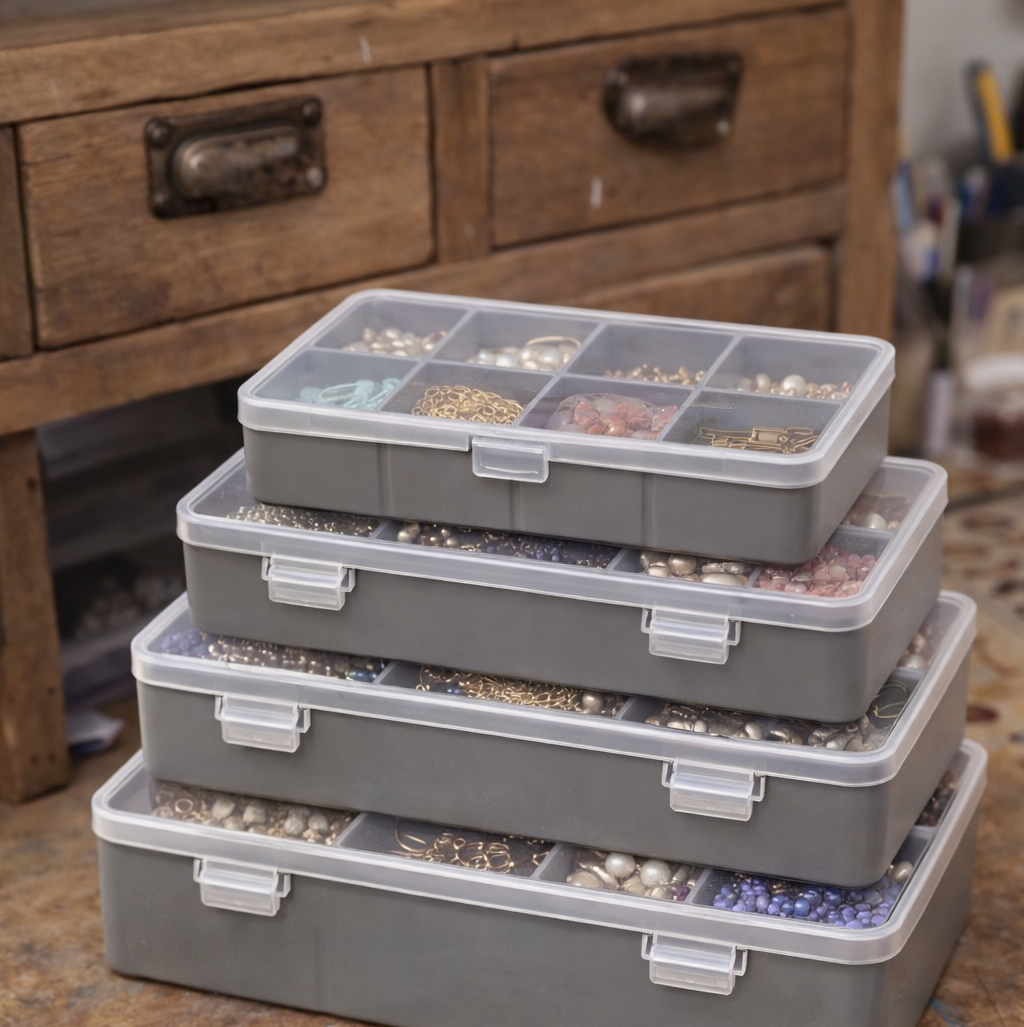
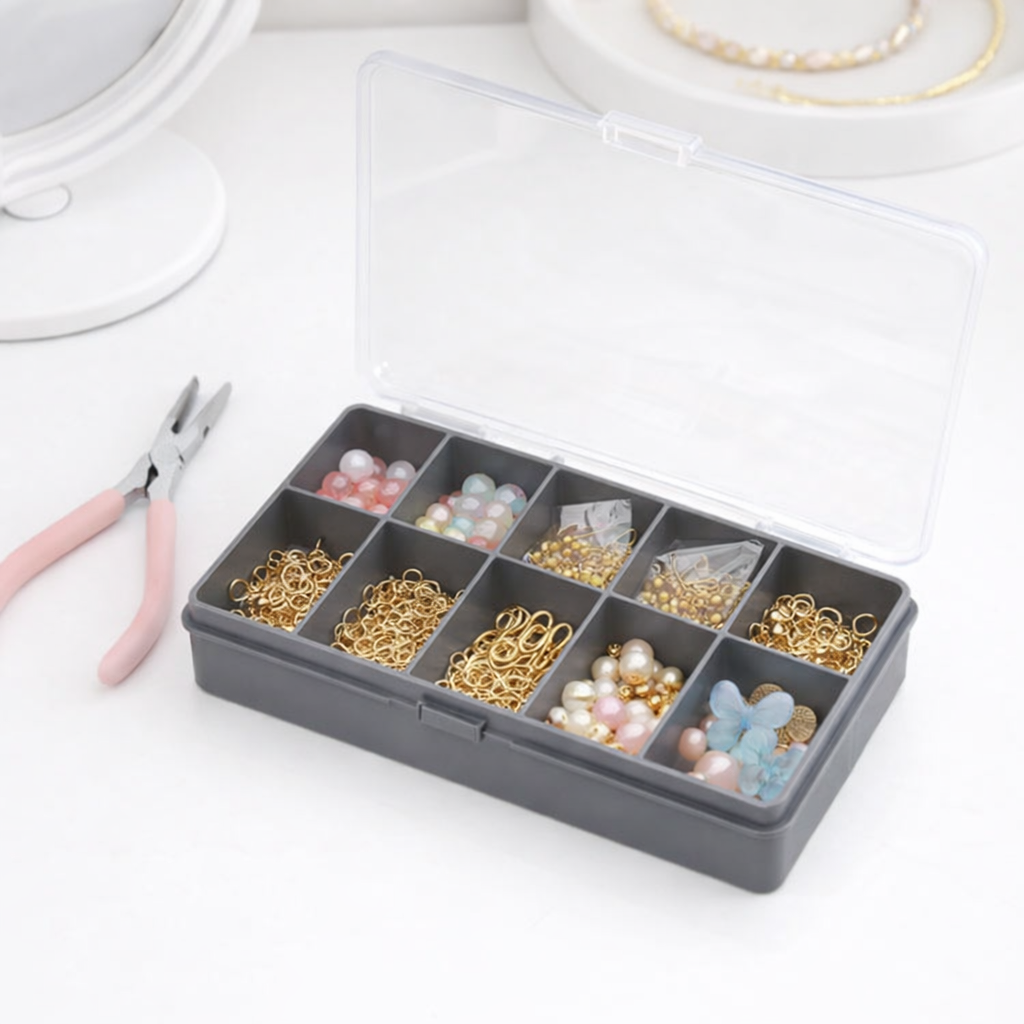
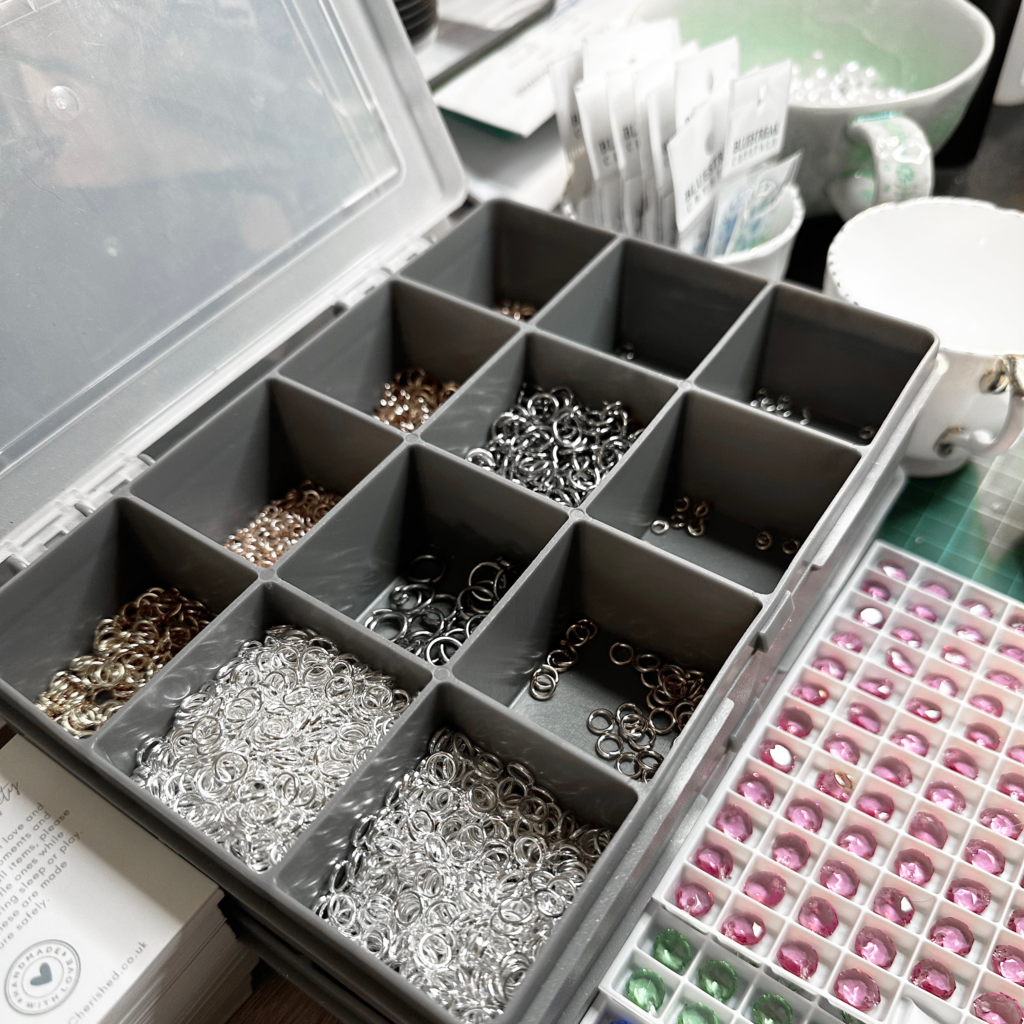
7. Wham bead / findings storage solution
WHAM bead storage boxes are perfect for keeping my jump rings, beads, clasps, and those tiny things that love to vanish. I have found WHAM the best on the market for jewellery as they have such a vast array of sizes. I must admit I spent years using cheap storage solutions, many with movable inner walls/dividers so you can move them about and make the section bigger or smaller, but all my blinking jump rings went underneath and into each other and got mixed up and drove me wild (not in a good way), so no more, ok people! WHAM – UK only! But for simular USA storage boxes click here. These are really sturdy and solid, I love a good bit of organisation and no more mixed jump rings.
8. Plier stand
My wooden pliers stand with 16 holes designed for organising jewellers’ tools, crafting implements and precision instruments, great for just grabbing on the go!

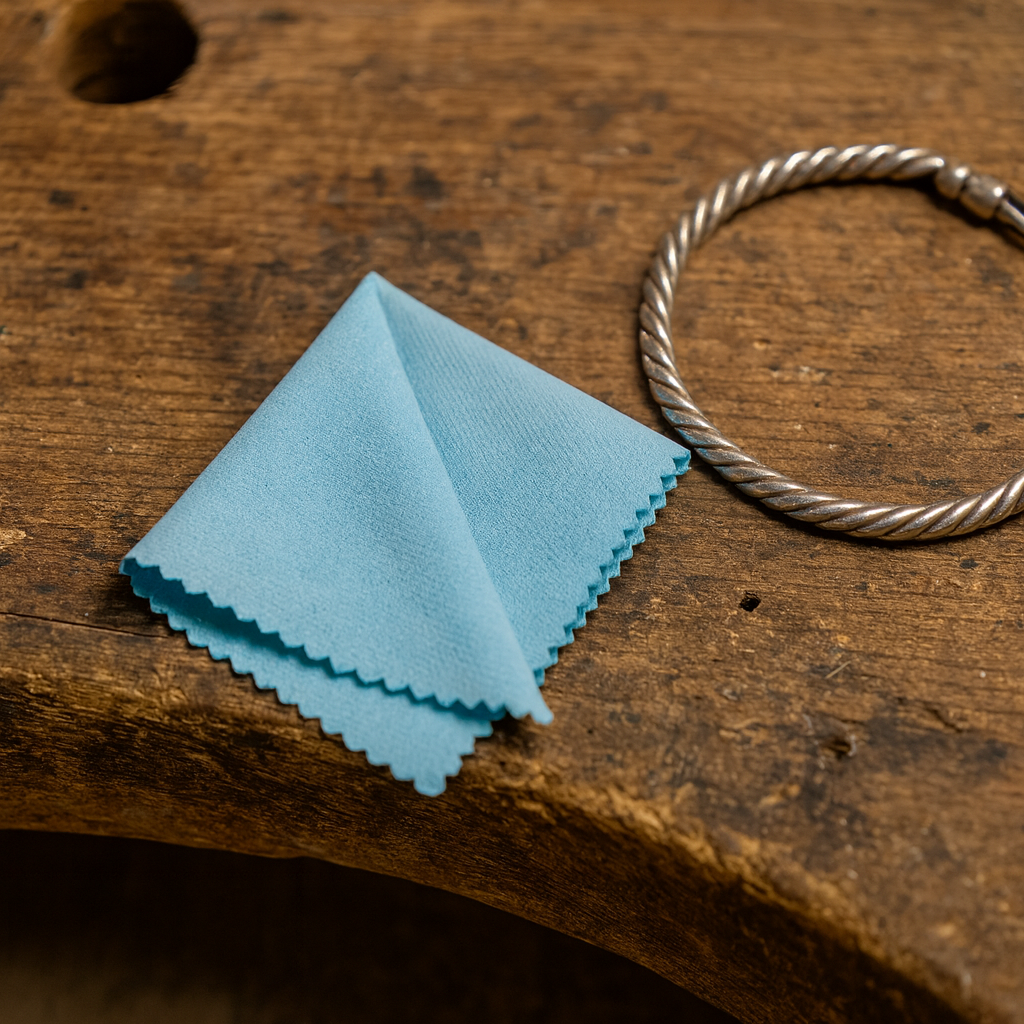
9. Silver polishing cloth
A must have for every fine metal jewellery desk and I alway have multiple floating around the studio. I get these Silver Polish Cloth. They comes quite large so I cut it up into 4!
10. Jewelry stand to dry my bracelets
When I make certain pieces, I use glue. Back in my early beading days, I’d leave freshly glued bracelets to dry on my workbench, only to return and find them stuck in all the wrong places. So, more wasted time carefully peeling off glue. The fix turned out to be simple: I bought a jewelry stand. Now I can make bracelets in bulk without the mess, which is exactly why it’s on my must-have list.
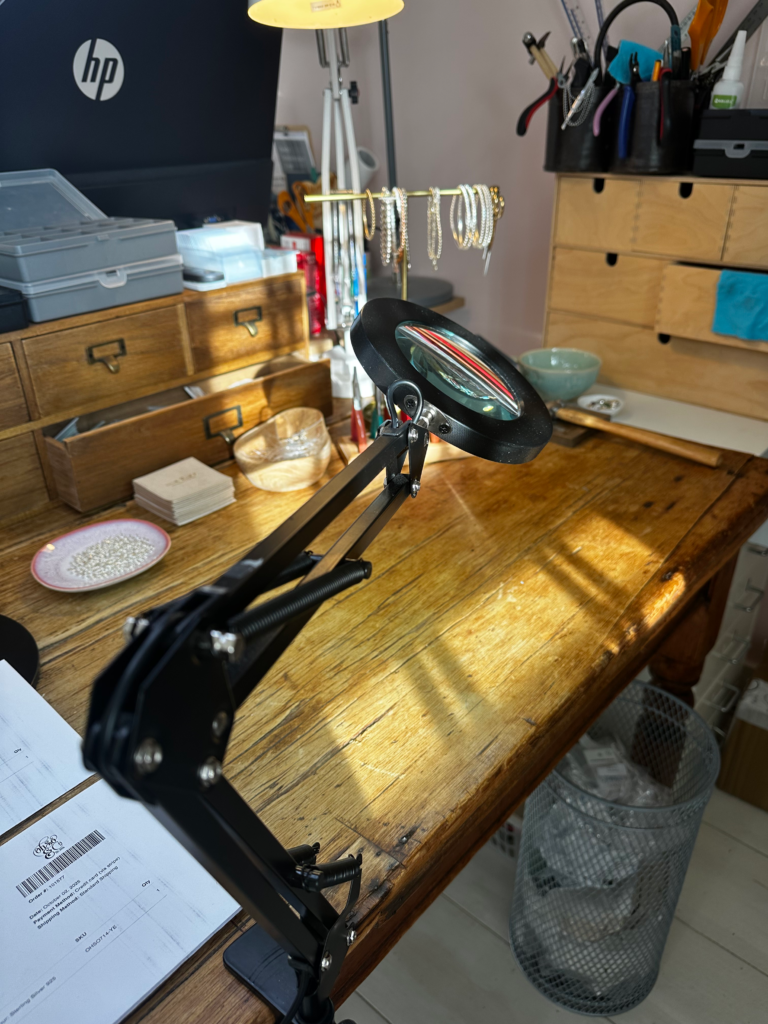
11. Magnifier lamp for beading & jewelry making
This little beauty is not just for us visually challenged folk. When I am doing fine detail work it enables me to really get close up so I don’t miss any marks, or blemishes in the metals…it’s THE best thing I’ve ever bought in my studio… so handy. This version either clips onto your desk or there is a super heavy stand option.
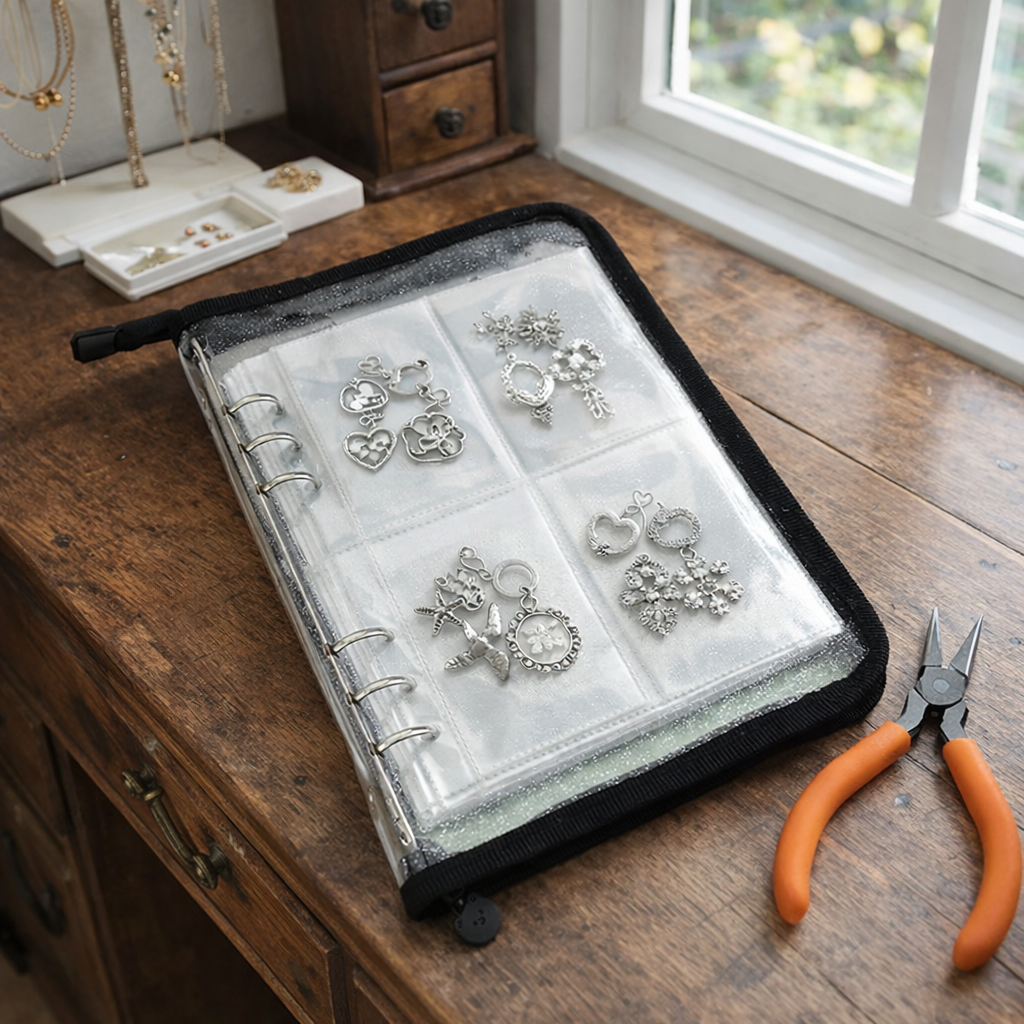
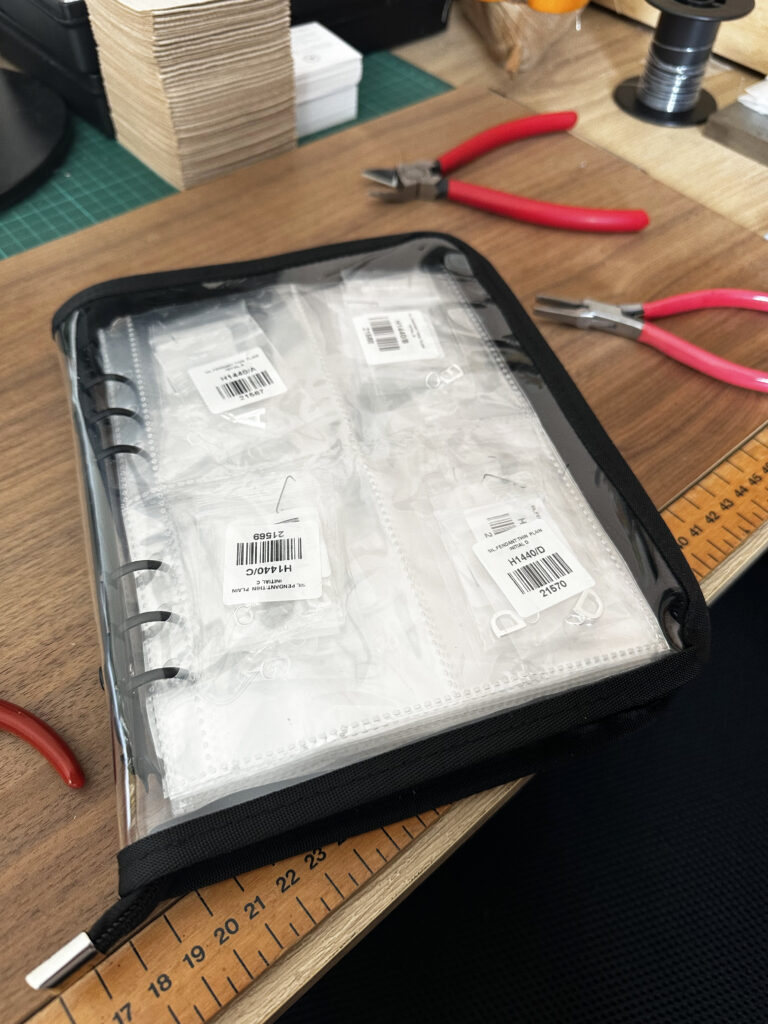
12. Jewelry charm storage book
A recent purchase and I love charm storage books. I did try many other brands and no other compared to this little fella, and I’ve purchased multiple now, one for charms, one for earrings and one for chains, when you are a jewellery maker these are great little space savers. These books are ring bound and have x160 slots to store charms, earrings, pendants, necklaces, rings etc…they come with inner Anti Oxidation Zipper Pockets to slot in the ring bound plastic pages so they keep any piece tarnish free. I do love them as I store them on my shelf like a book and it saves so much space in my studio.
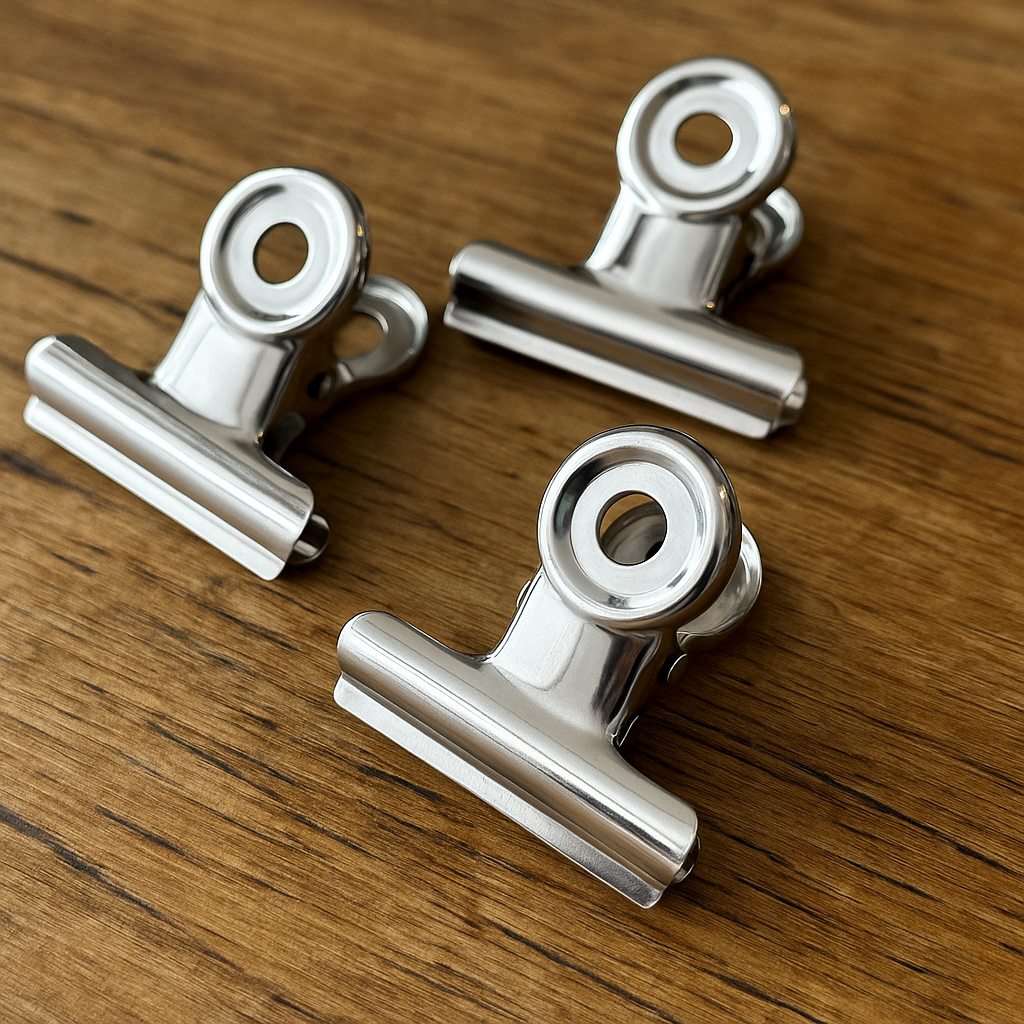
13. Mini Bull Dog Clips for Beading
I use these Mini bull dog clips daily to string bracelets, either with elastic or wire. A great little item and something I can’t live without, it’s top on my beading supplies and essentials list of jewellery making must have tools.
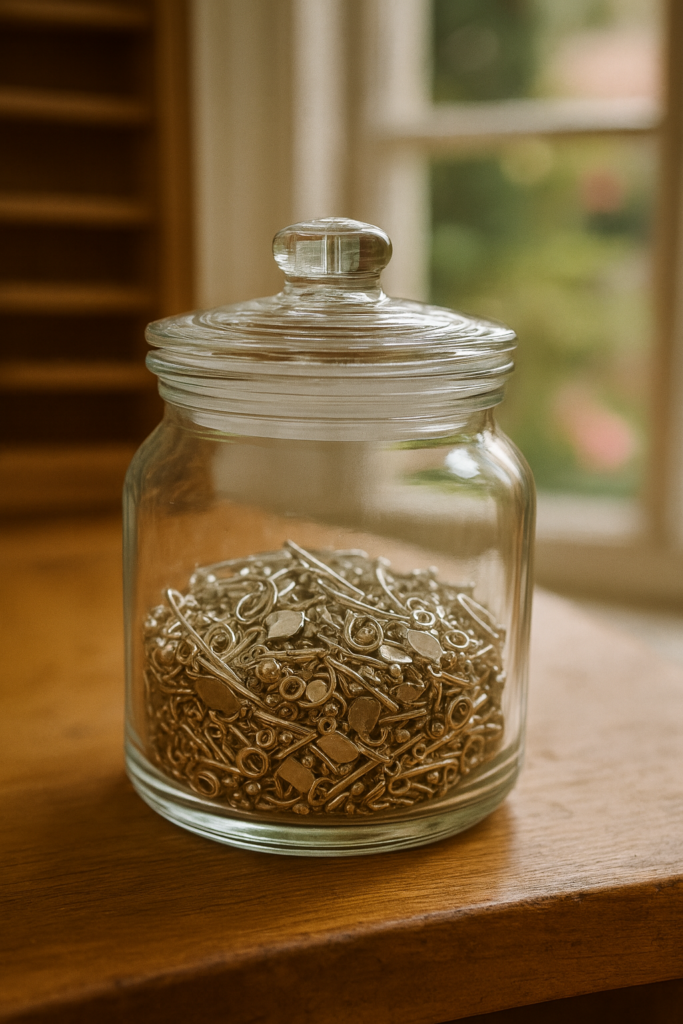
14. Fine Metal Glass Scrap Jar
I’ve got a little jar on my jewellery bench that’s become my secret holiday fund – A sterling silver scrap jar. Every offcut, trimming, and mis-engraved charm goes in there, and before I know it, it’s enough to pay for flights or a weekend away, I save it up for the whole year and recycle, It’s oddly satisfying and rewarding. Checkout my Tiny Tip post – it’s the easiest money-maker your jewellery bench will ever see. ✨
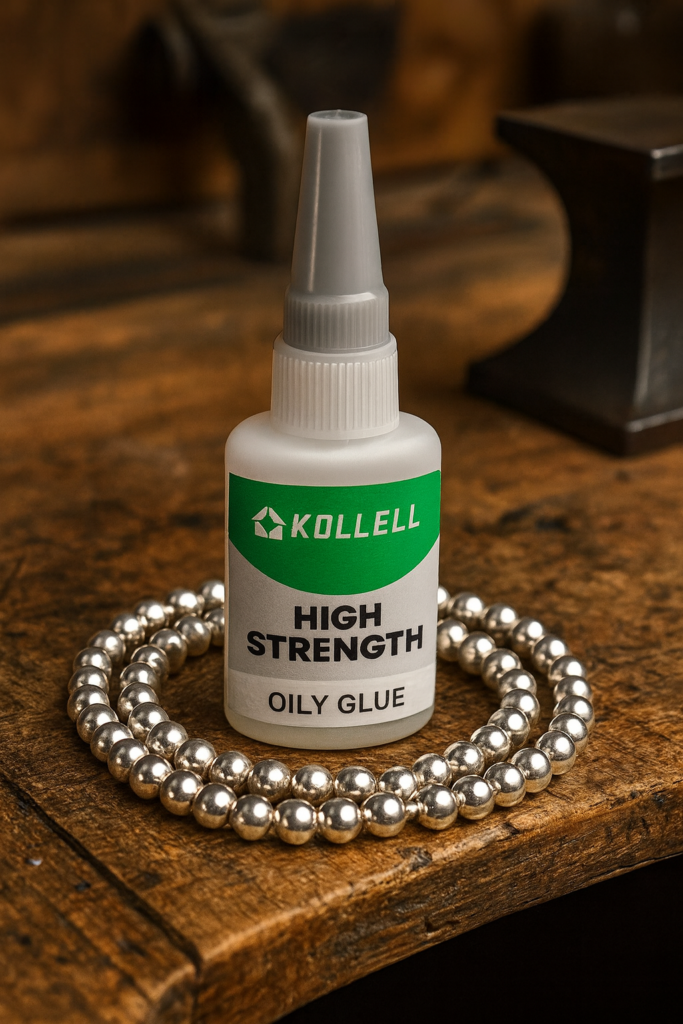
15. High strength Jewelry glue
I’ve tried many jewellery glues over the years, but now only use High Strength Oily Glue. I just don’t want my glue to fail on customer orders and for me this is the best I’ve found. Always let your jewellery glue dry overnight and be super strict with this, I don’t send orders out unless they have had a full night drying.
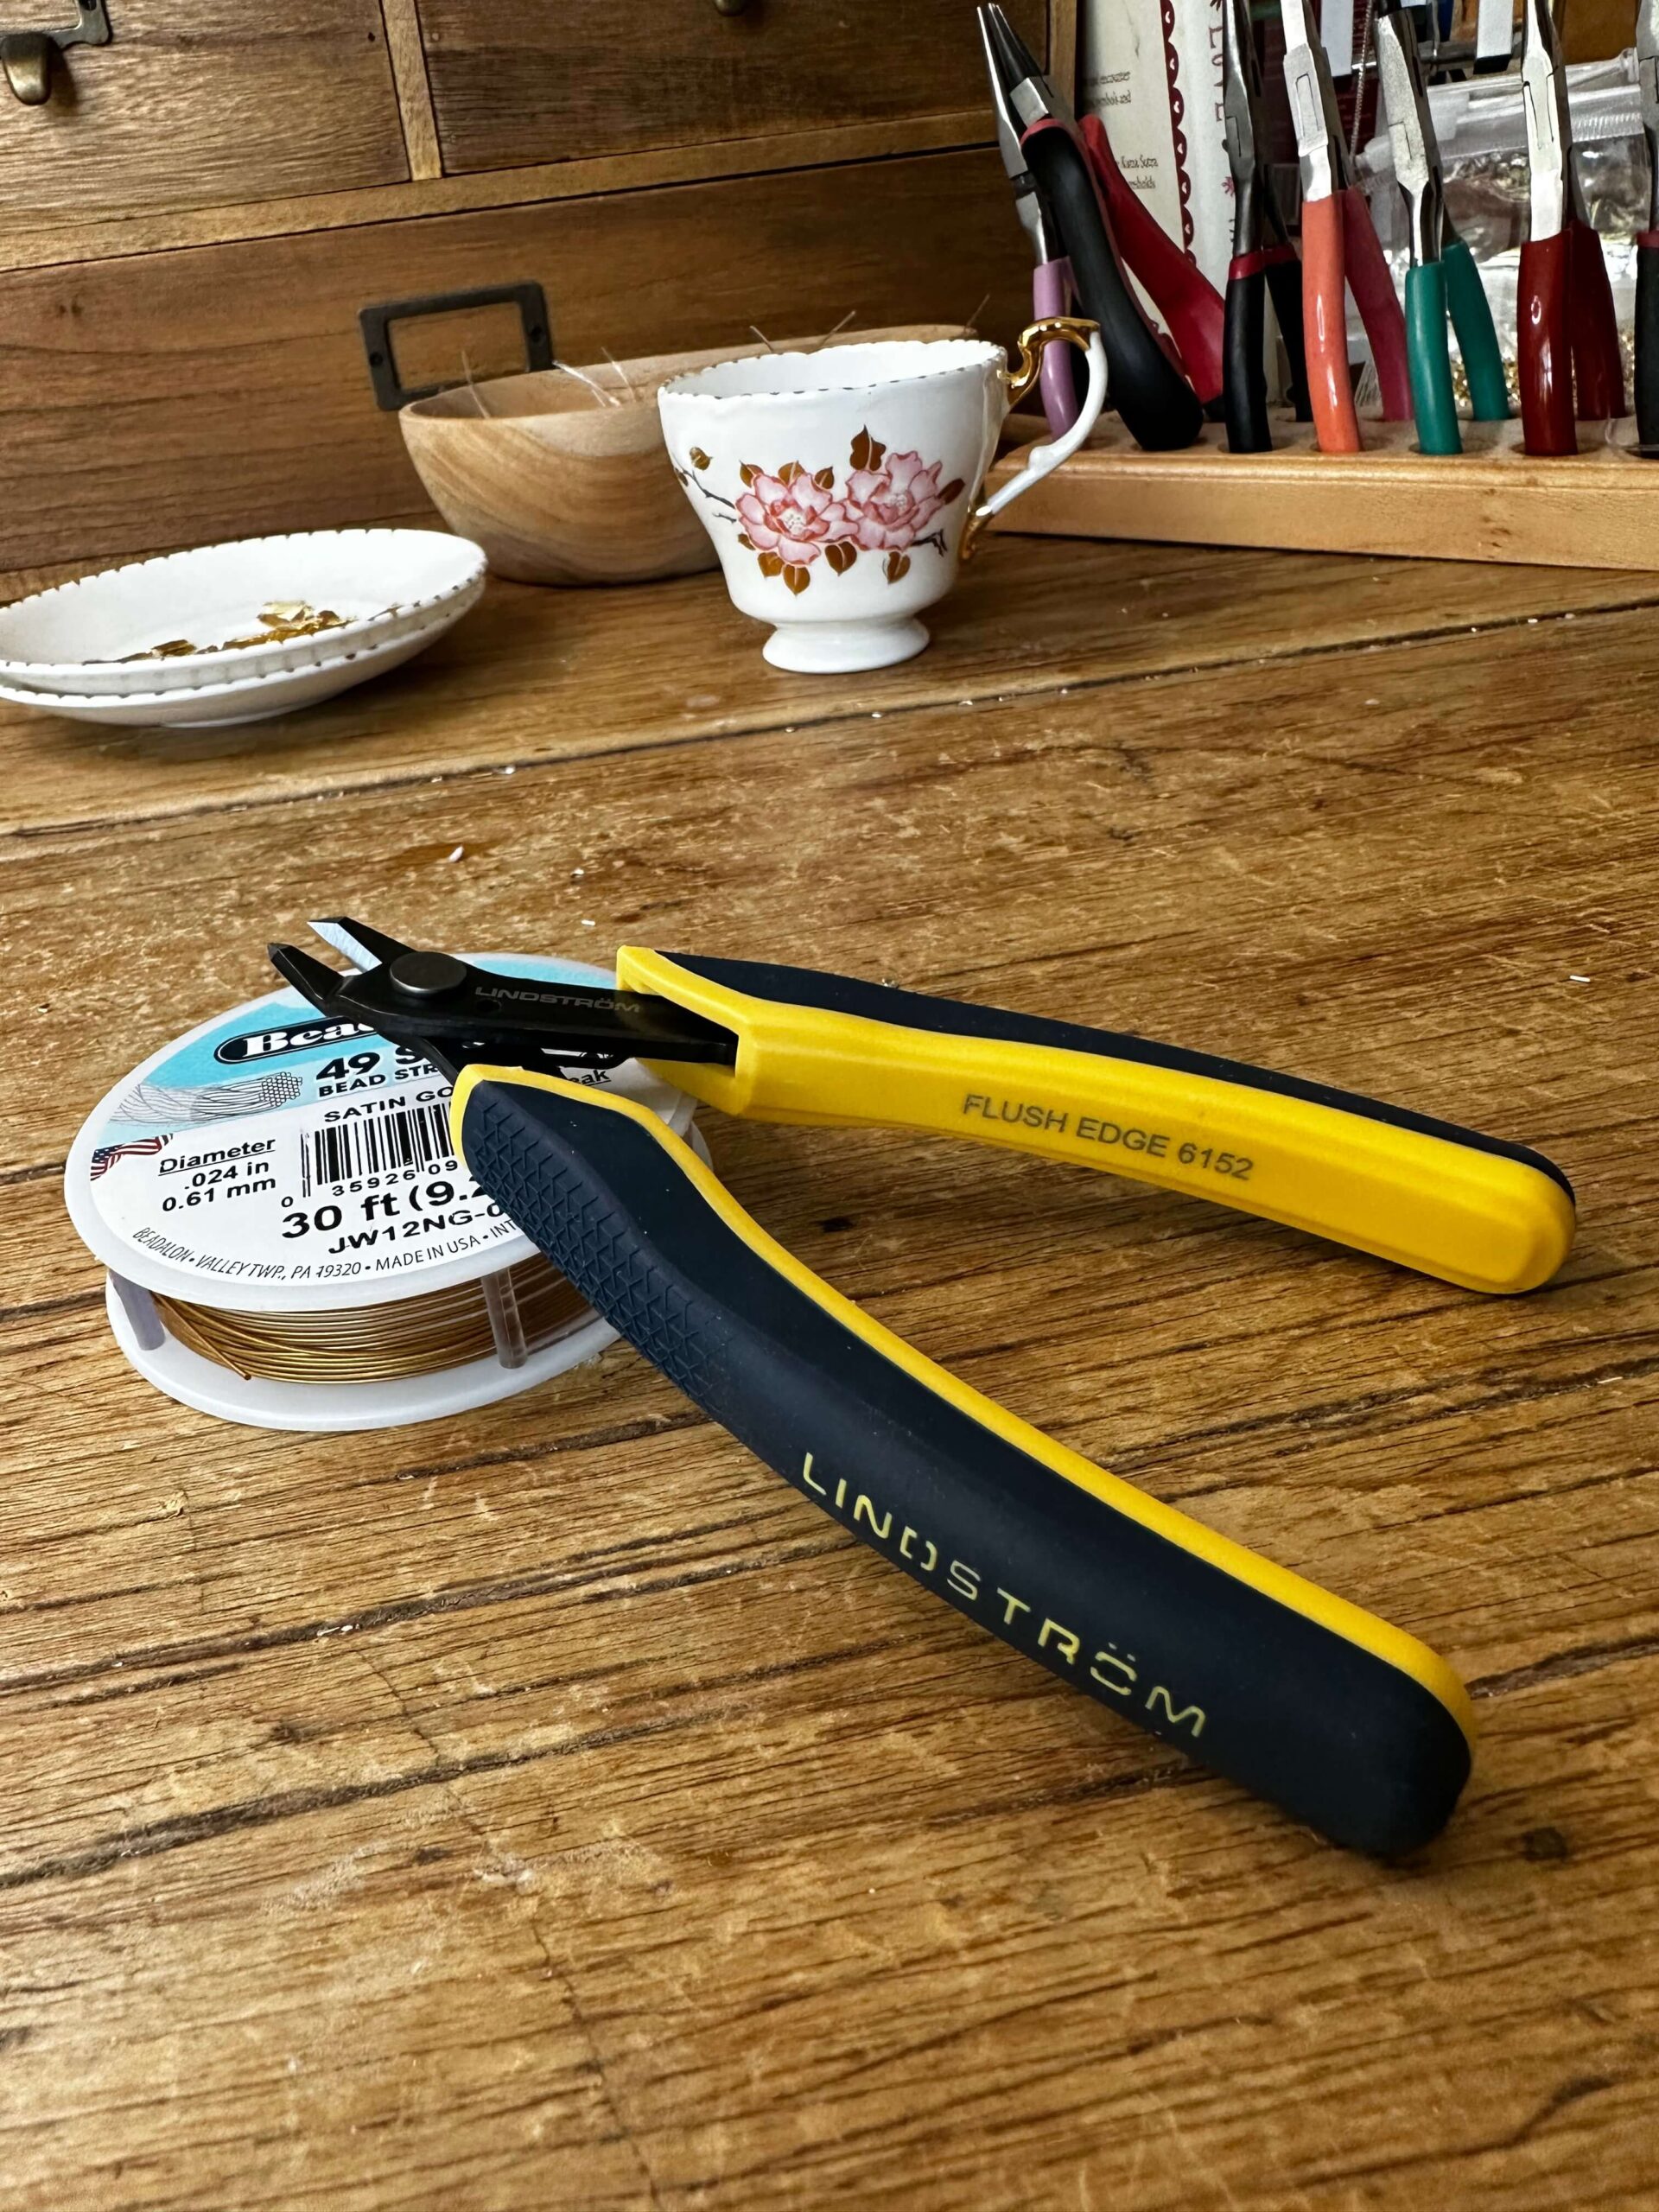
16. An amazing cutter
My cutter of choice is the flush edge Lindström cutter and honestly… I love it.
But I definitely didn’t start there. My first cutters came from a hardware store and were so chunky I probably could’ve cut myself out of Alcatraz!
I talk more about different cutters and what they do here in my professional cutters blog post.
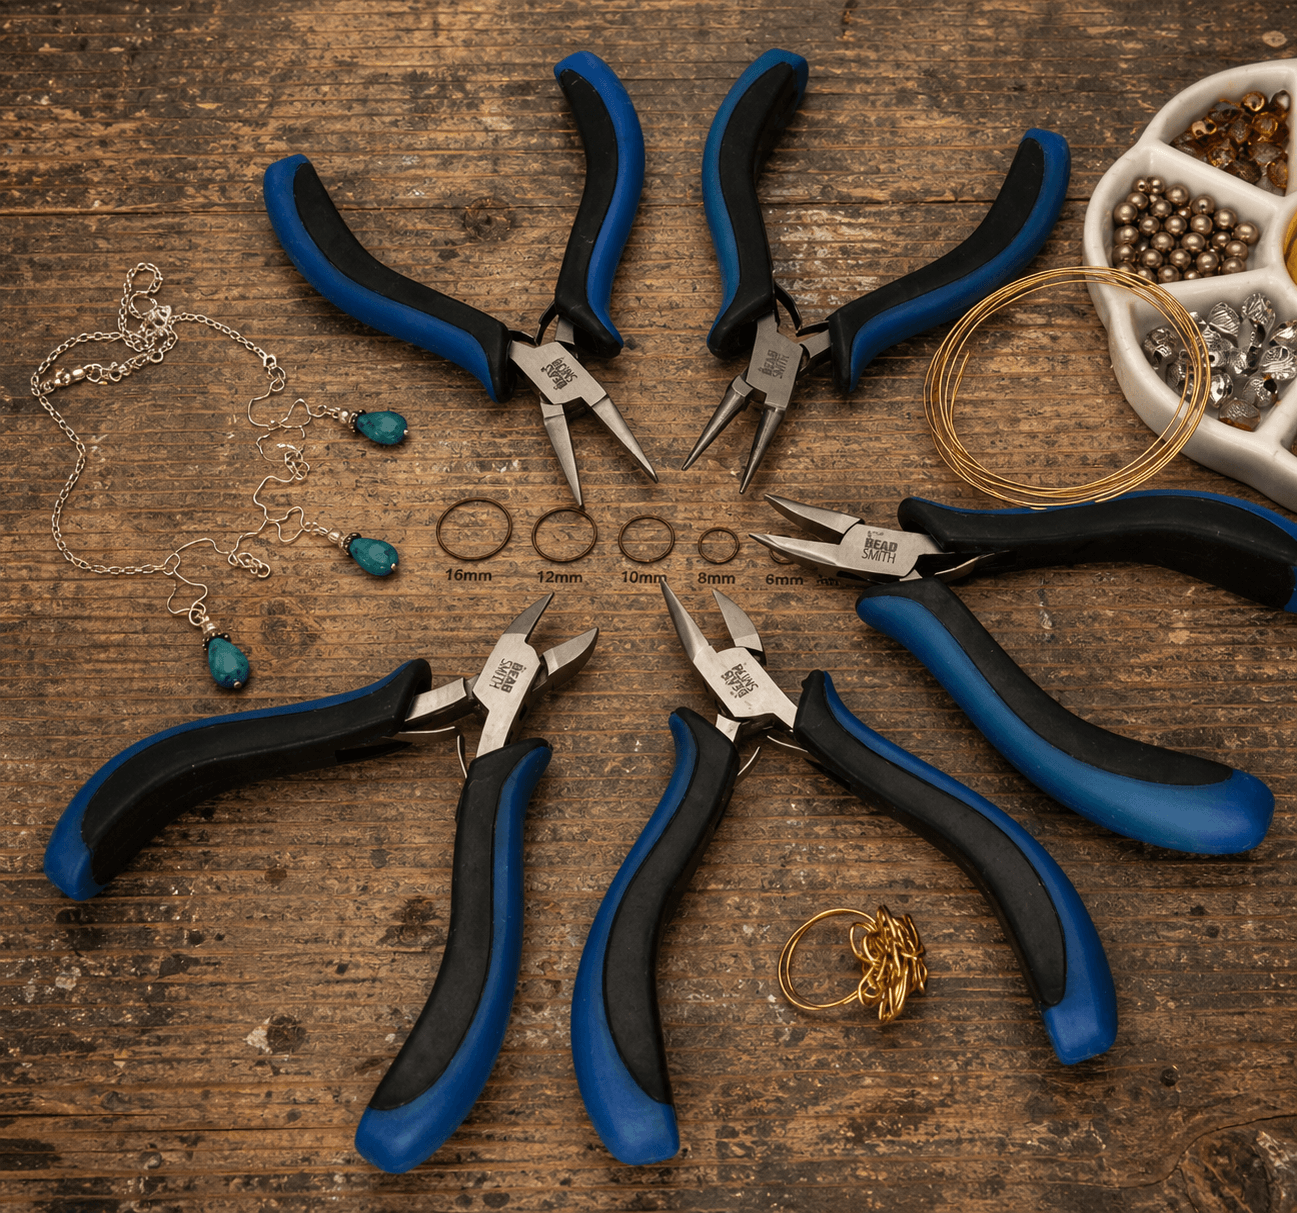
17. Professional plier set
I didn’t start with a professional plier set – I pieced things together slowly, replacing tools as they annoyed me. In hindsight, this is the set I wish I’d bought much earlier. Quality tools are so important for getting consistently beautiful pieces.
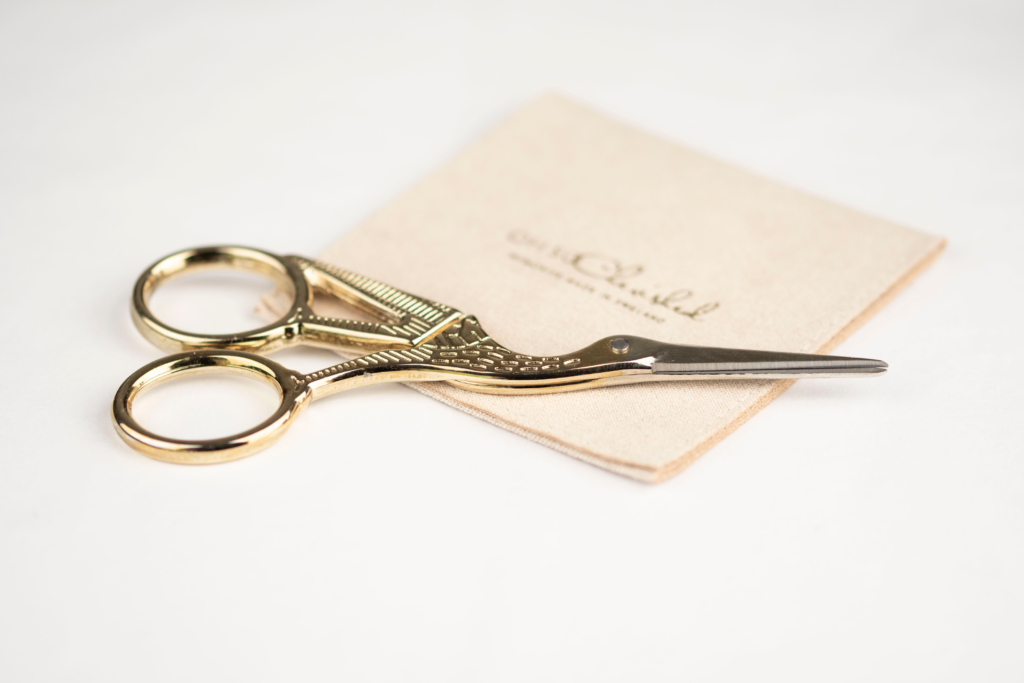
My final cute little tool…🤗
I just bought these as there too cute, I couldn’t resist, great for elastic trimming.
to finish off…
Don’t get overwhelmed. You don’t need a professional jeweller’s workshop to create something beautiful. A few basic tools and a spot at the kitchen table (or an old desk like mine!) are more than enough. Start with a simple project – like a simple stretch bracelet – and build up from there or read ‘Beaded jewelry for beginners‘, it’s a great starting point.
I’d love to hear anyone else’s recommendations of jewelry tools or storage that they can’t live without – comment below, and Enjoy making!

RELATED READS
Beaded jewelry for beginners
Elastic trouble shooting!
Tiny Tips – Small Bite-Sized Jewellery Tips
The Humble Stacking Bracelet
How to make simple stretch bracelets