Crimp Stoppers vs Crimp Tubes & Covers

Are they really easier, or does the finish tell a different story?
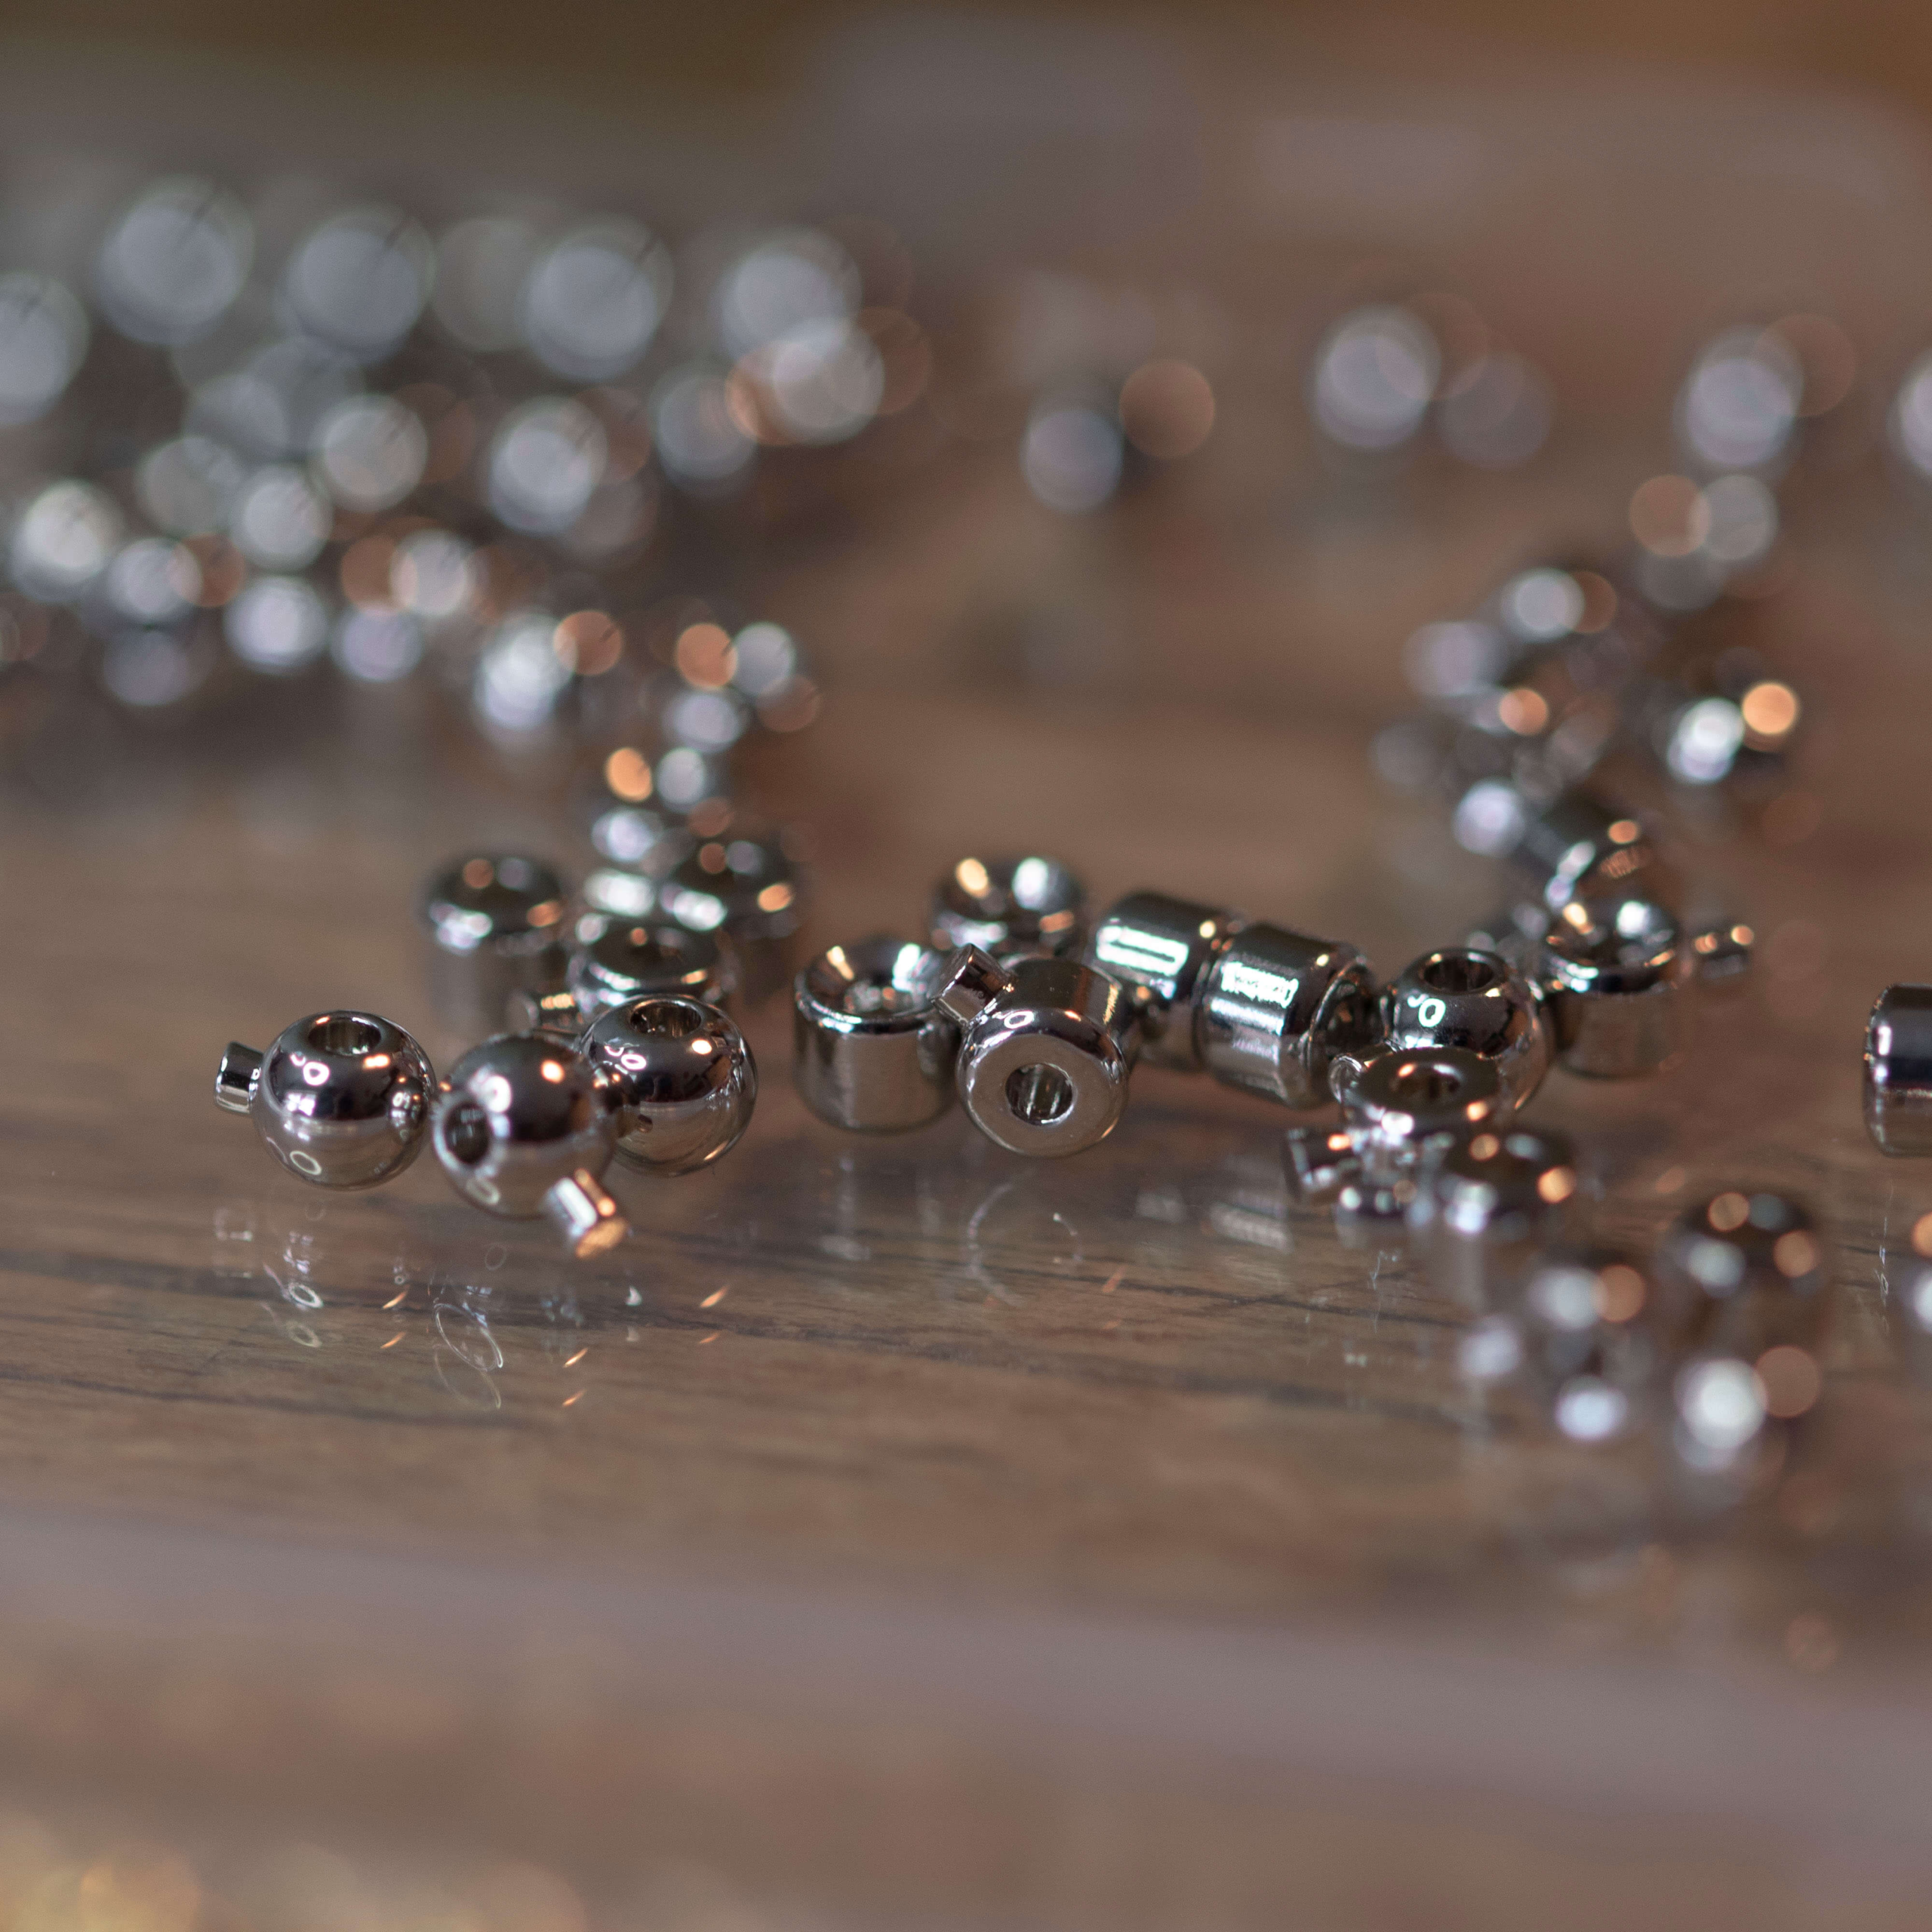
For twenty years I’ve been perfectly happy using crimp tubes and crimp covers.
Then these little crimp stoppers came into my life.
Apparently they’re amazing.
AND apparently they will change my world.

Well, I gave them the benefit of the doubt and decided to give them a whirl.
I started by creating a beaded bracelet exactly how I normally would, adding my wire guardian, looping the wire back around, and securing everything with my new stopper bead.
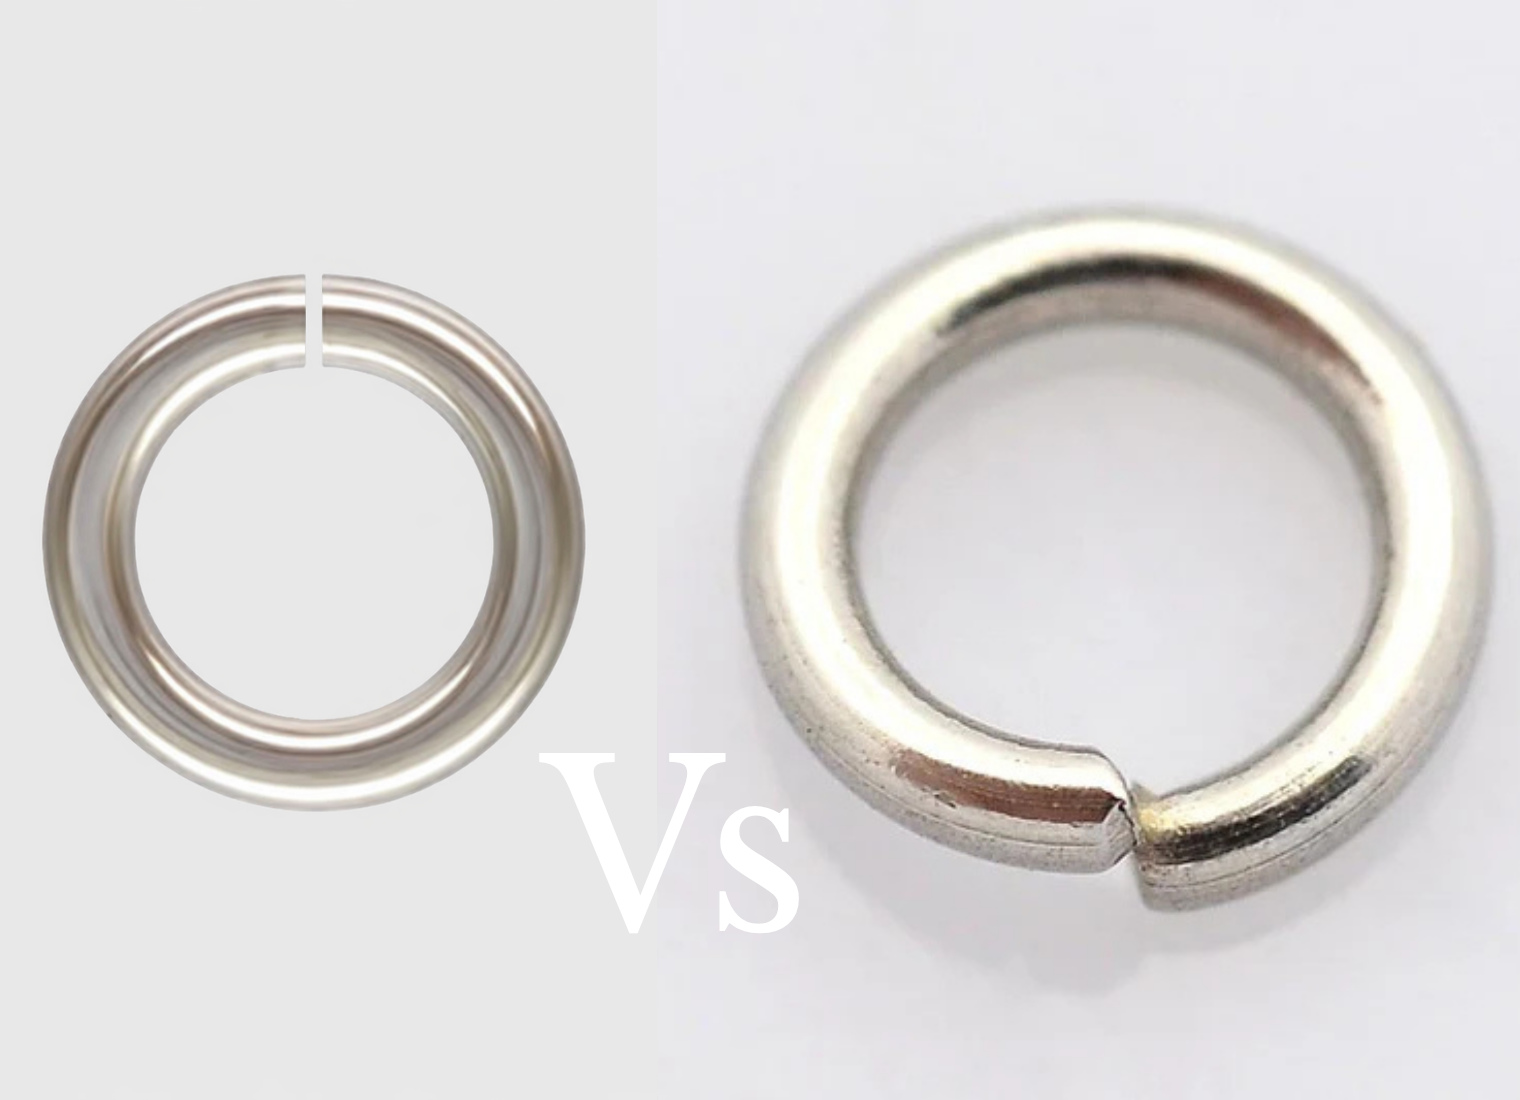
Then came the slightly nerve-wracking part… pressing down the tiny sticky-out prong with my pliers so it tucked all the way in and (apparently) clamped the wire securely in place.
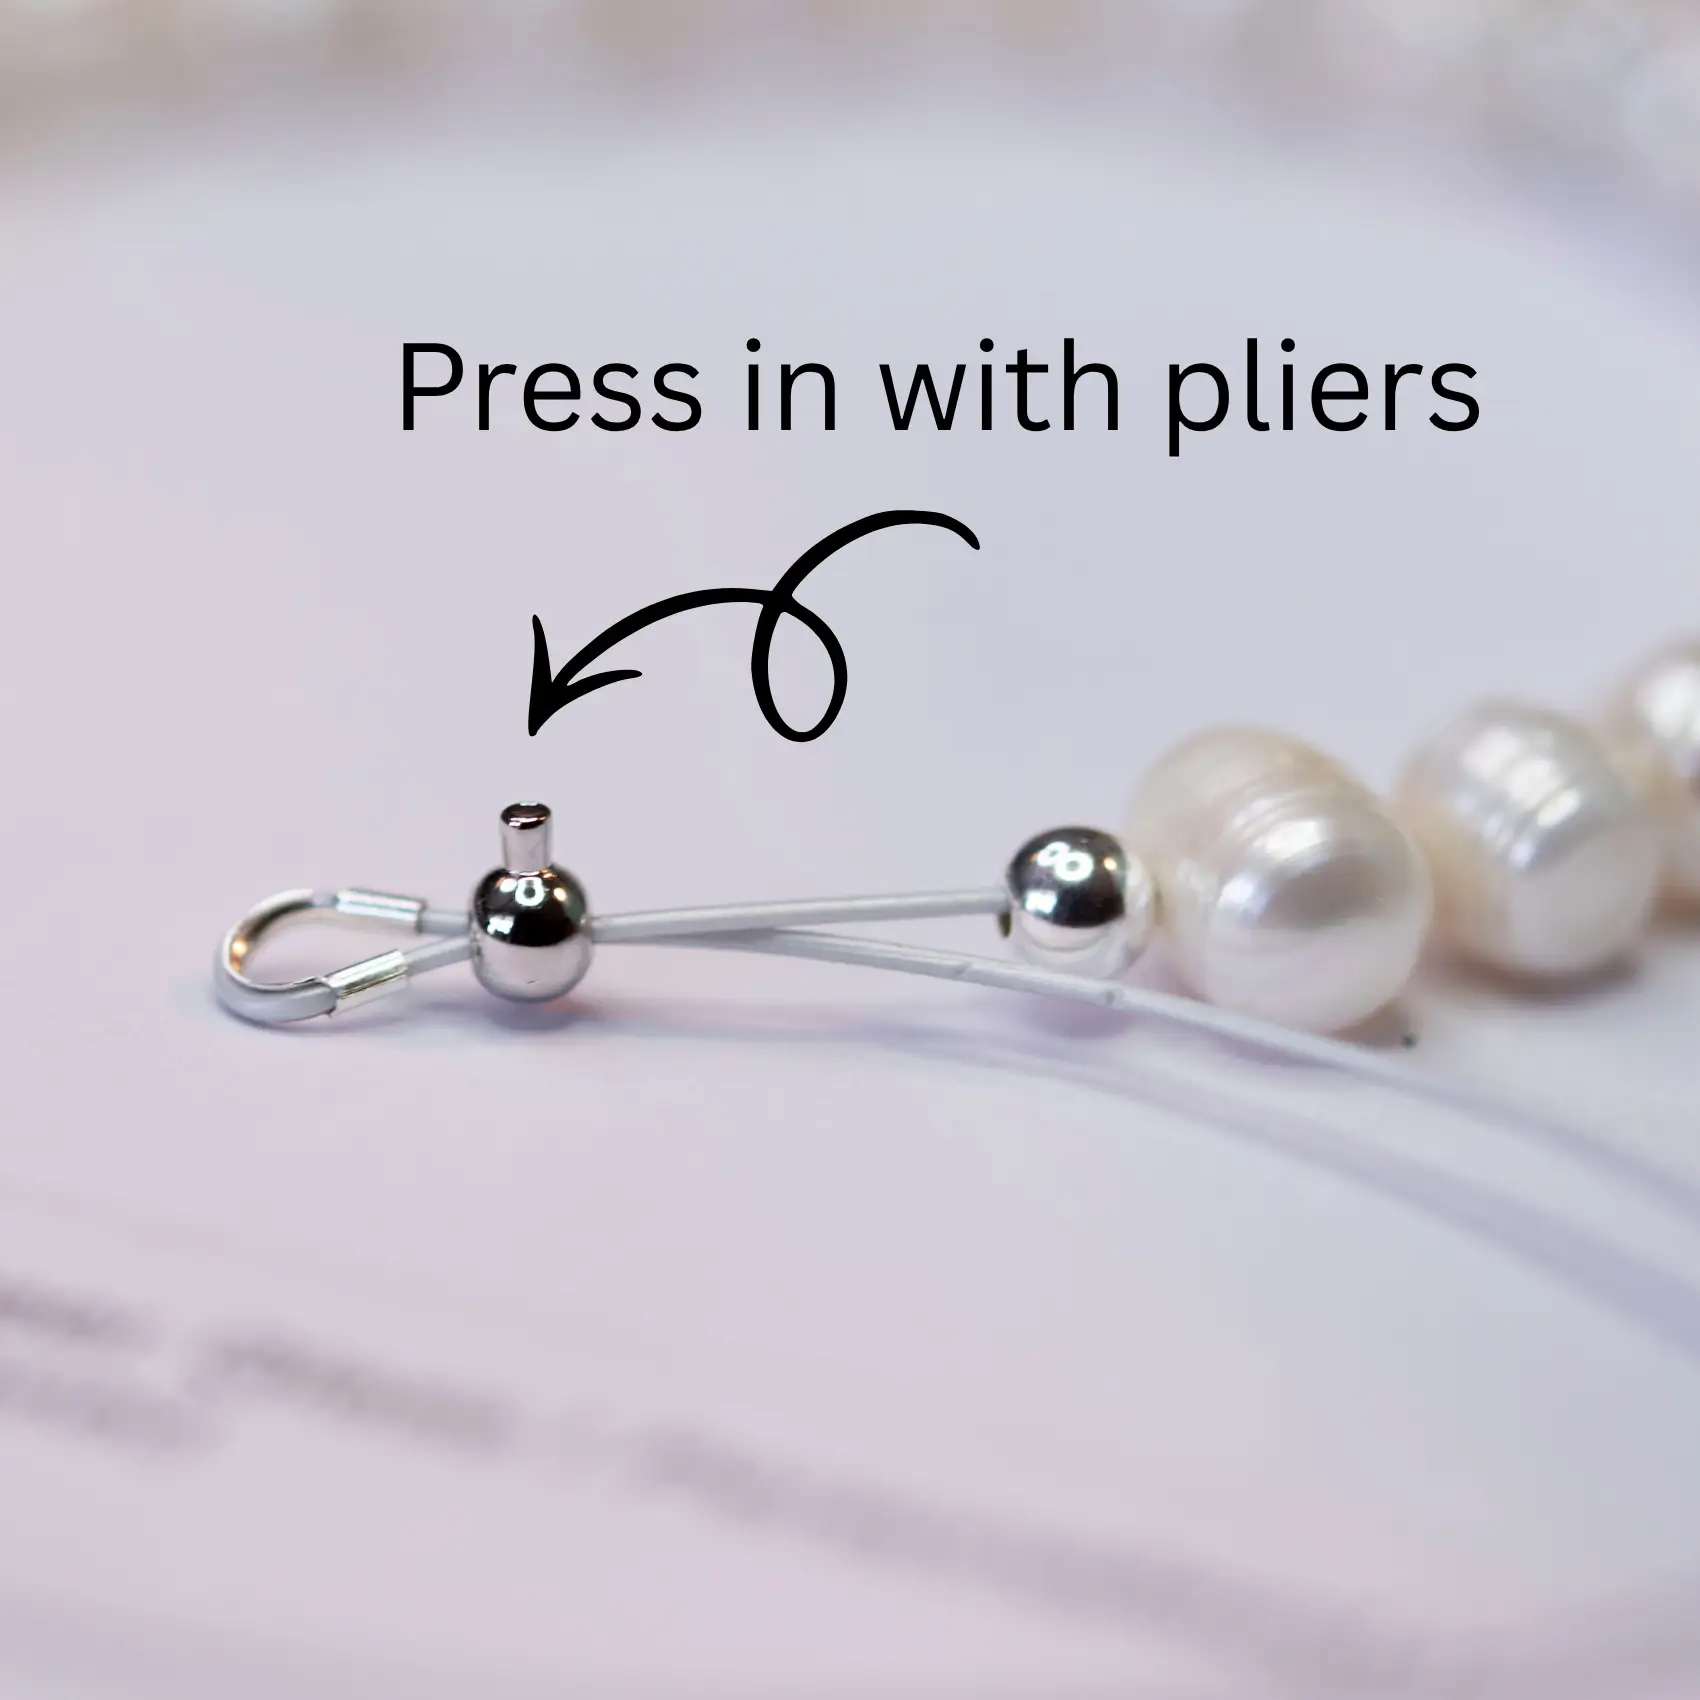
Well, some might say I achieved it.
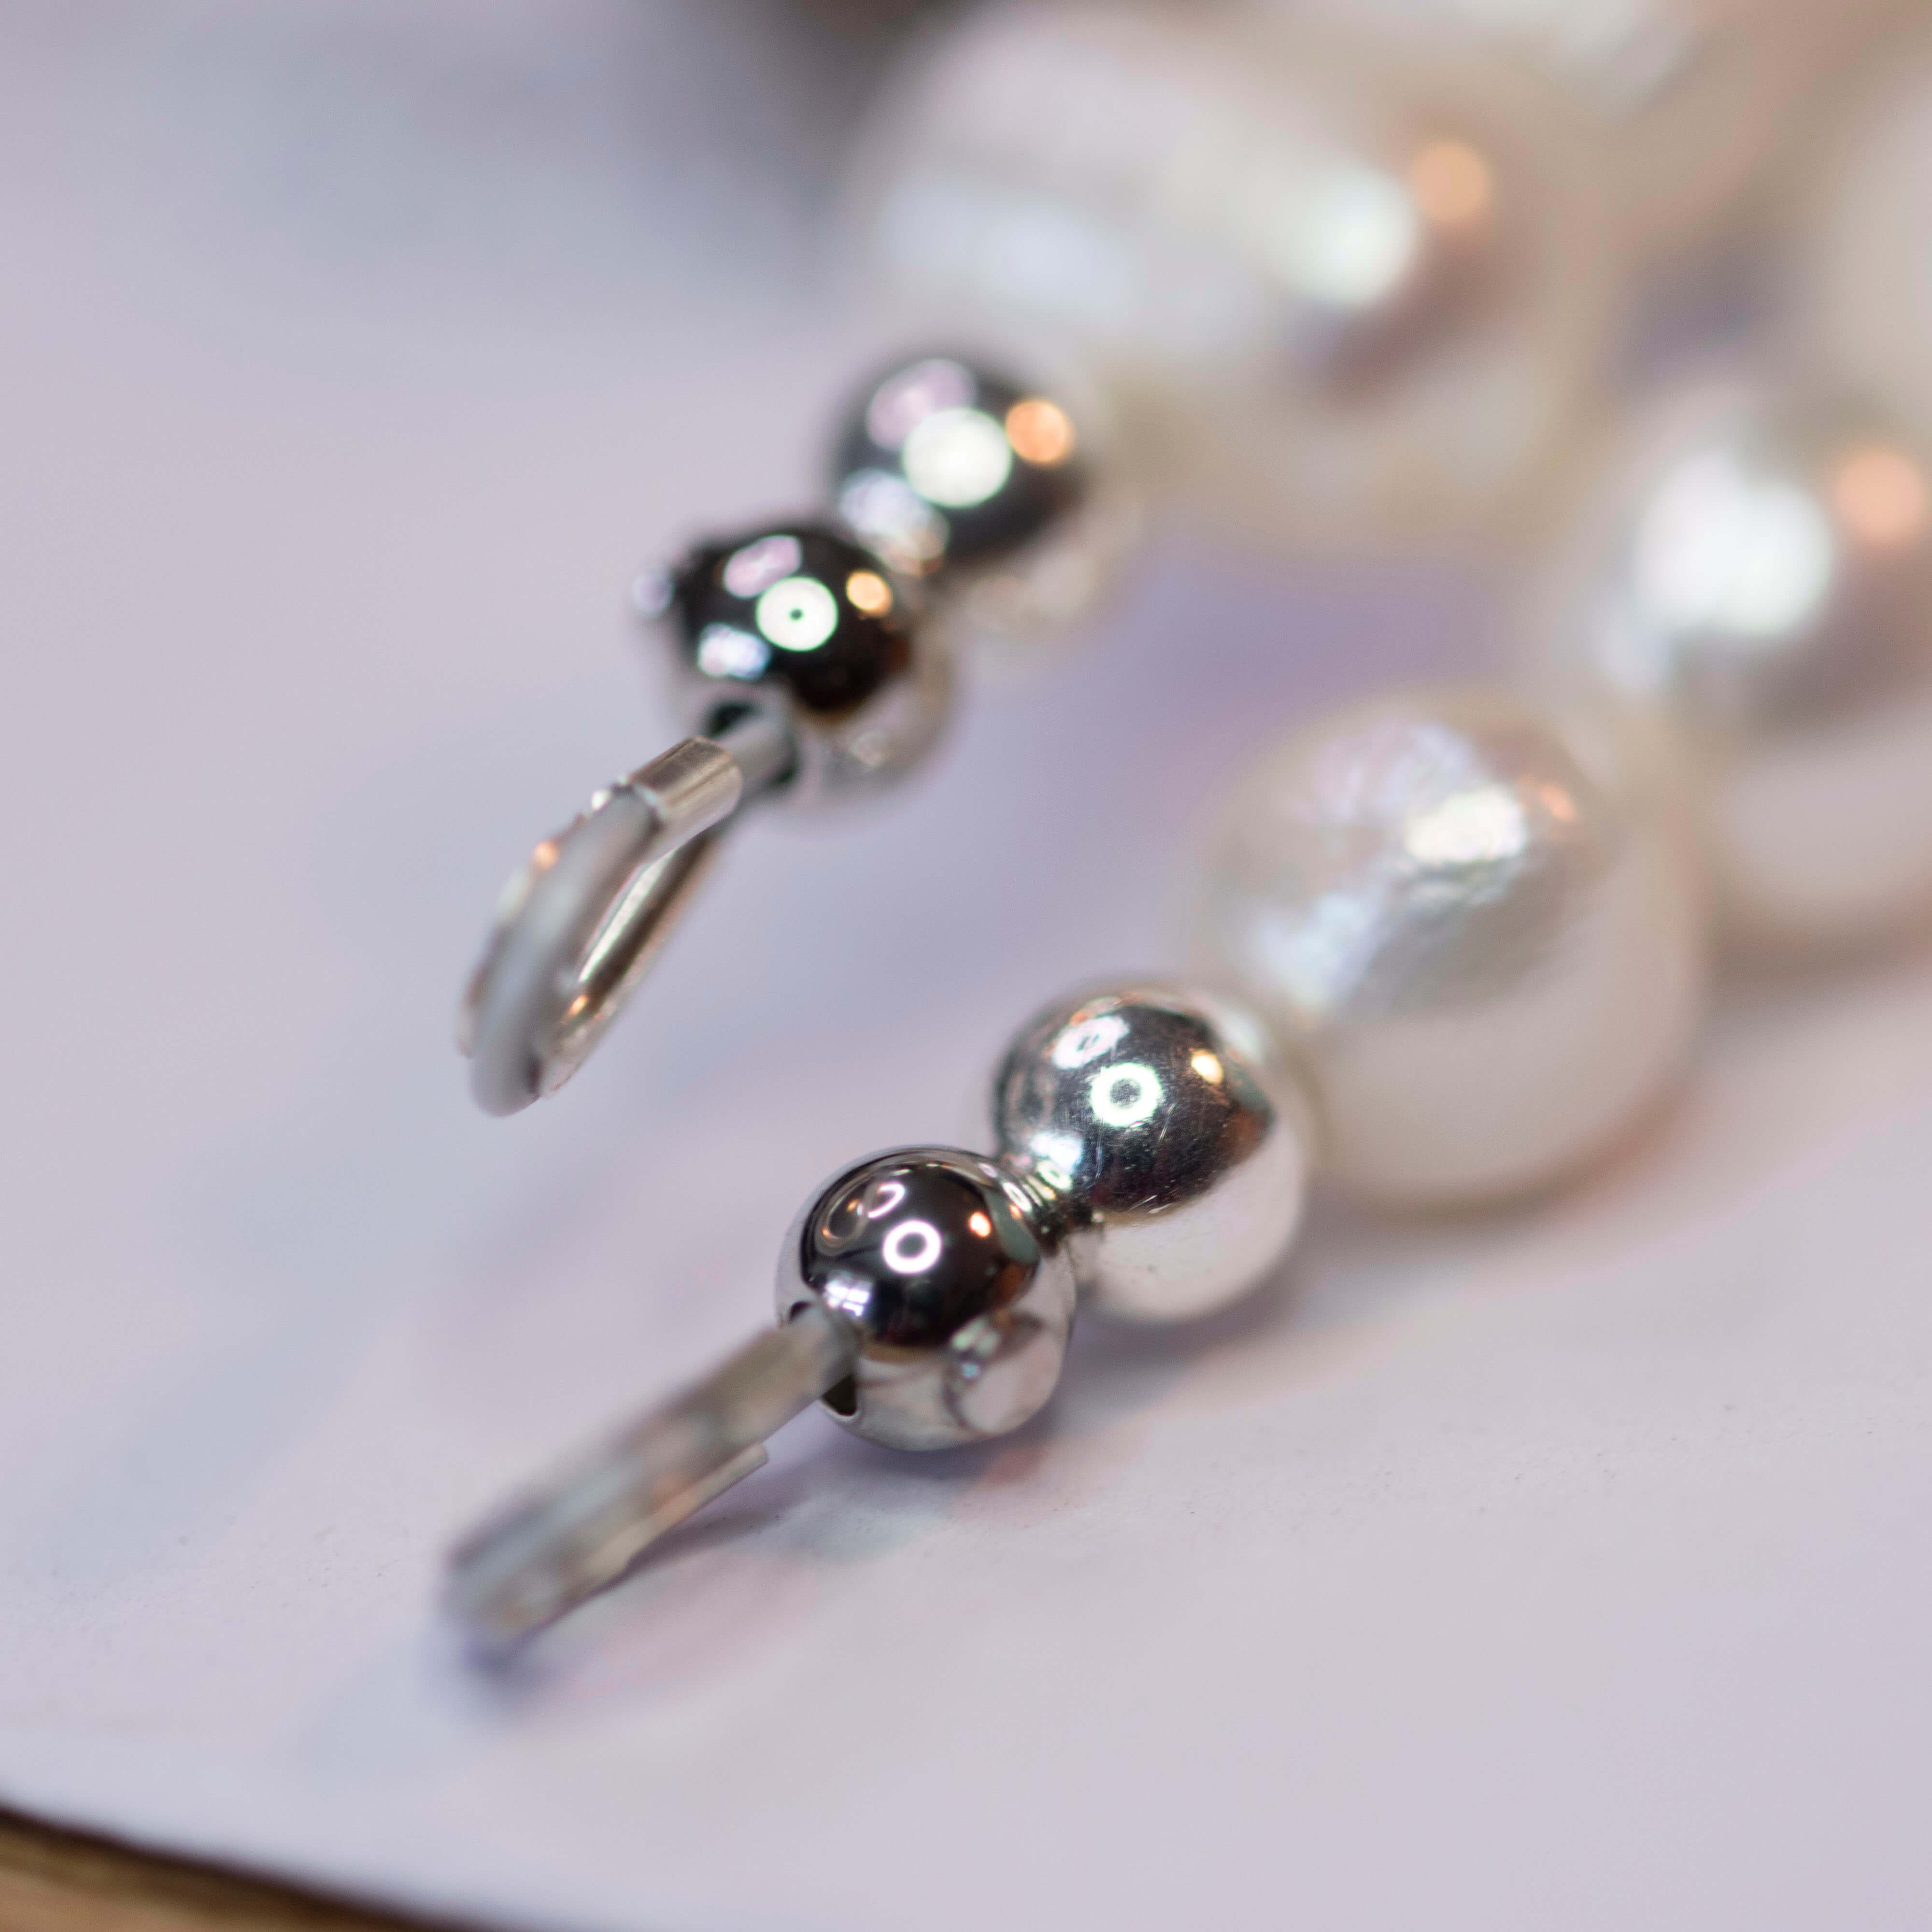
I, on the other hand, found the whole process a little more like a test of patience!
As you can see from my image below, the prong didn’t quite go all the way in flush. And believe me, it wasn’t through lack of trying. I used brute force, determination, and possibly pulled the same facial expression when trying to open a stubborn lid… but still, the little guy refused to fully surrender.
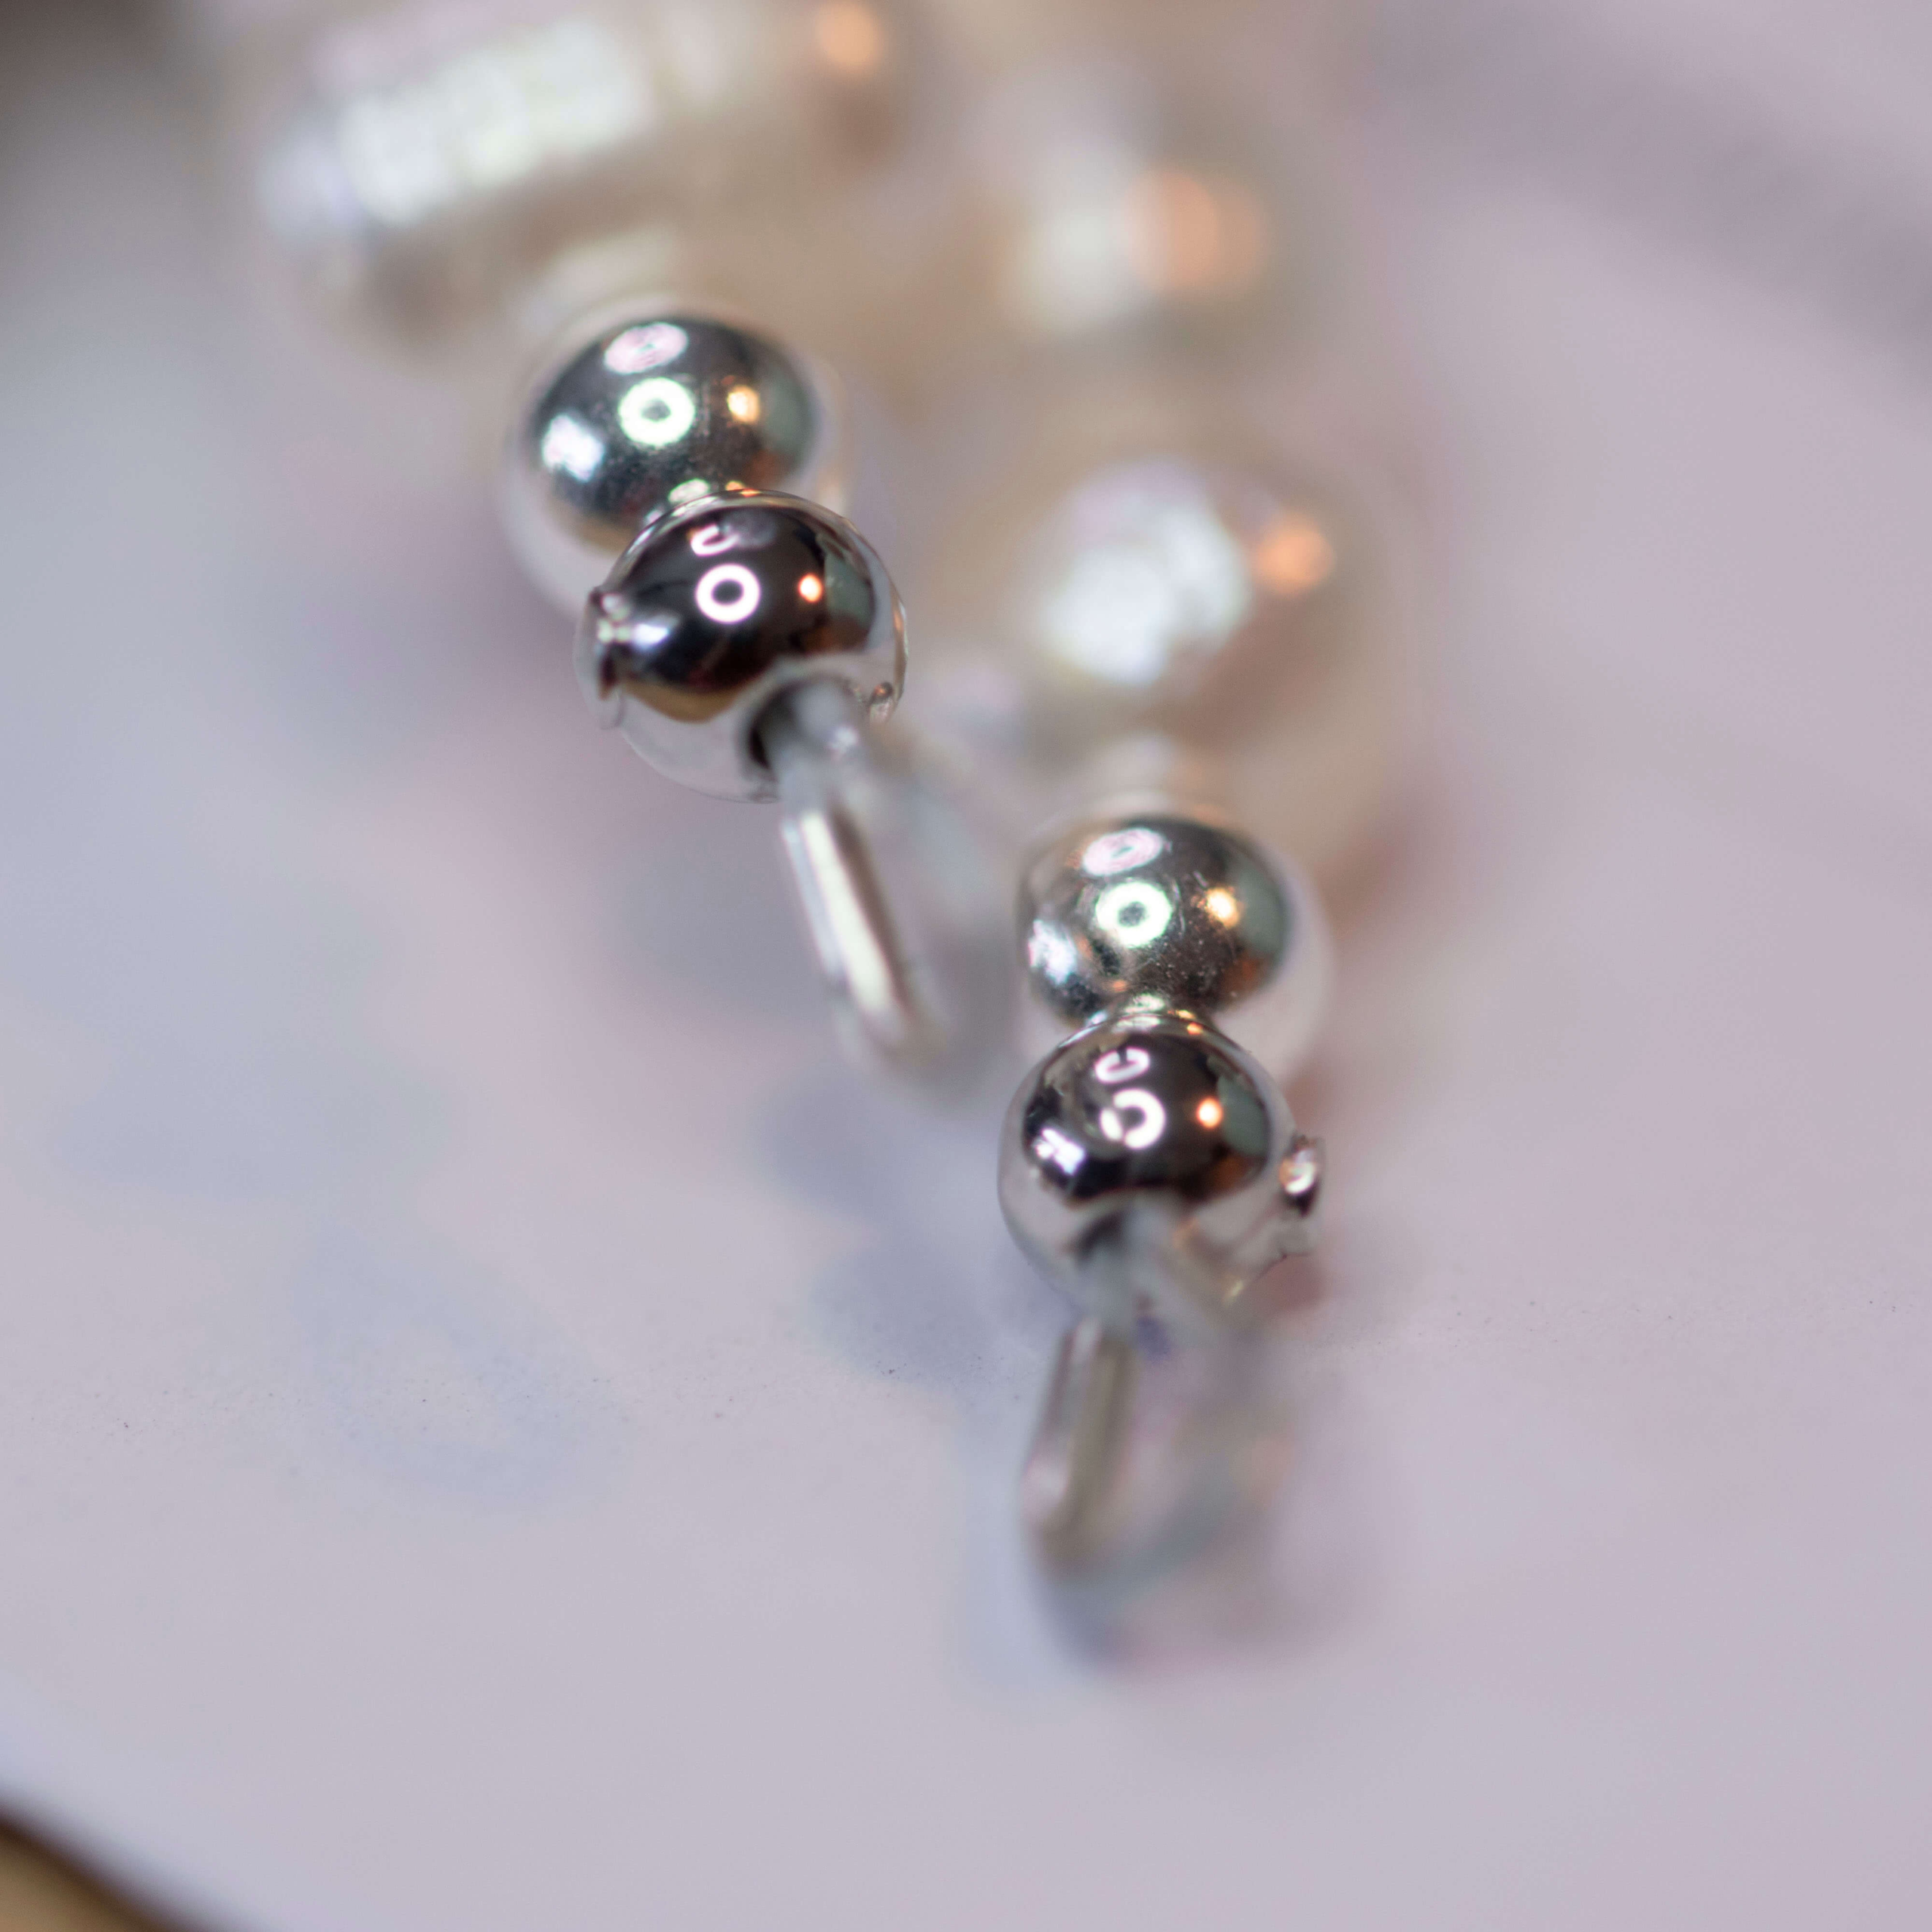
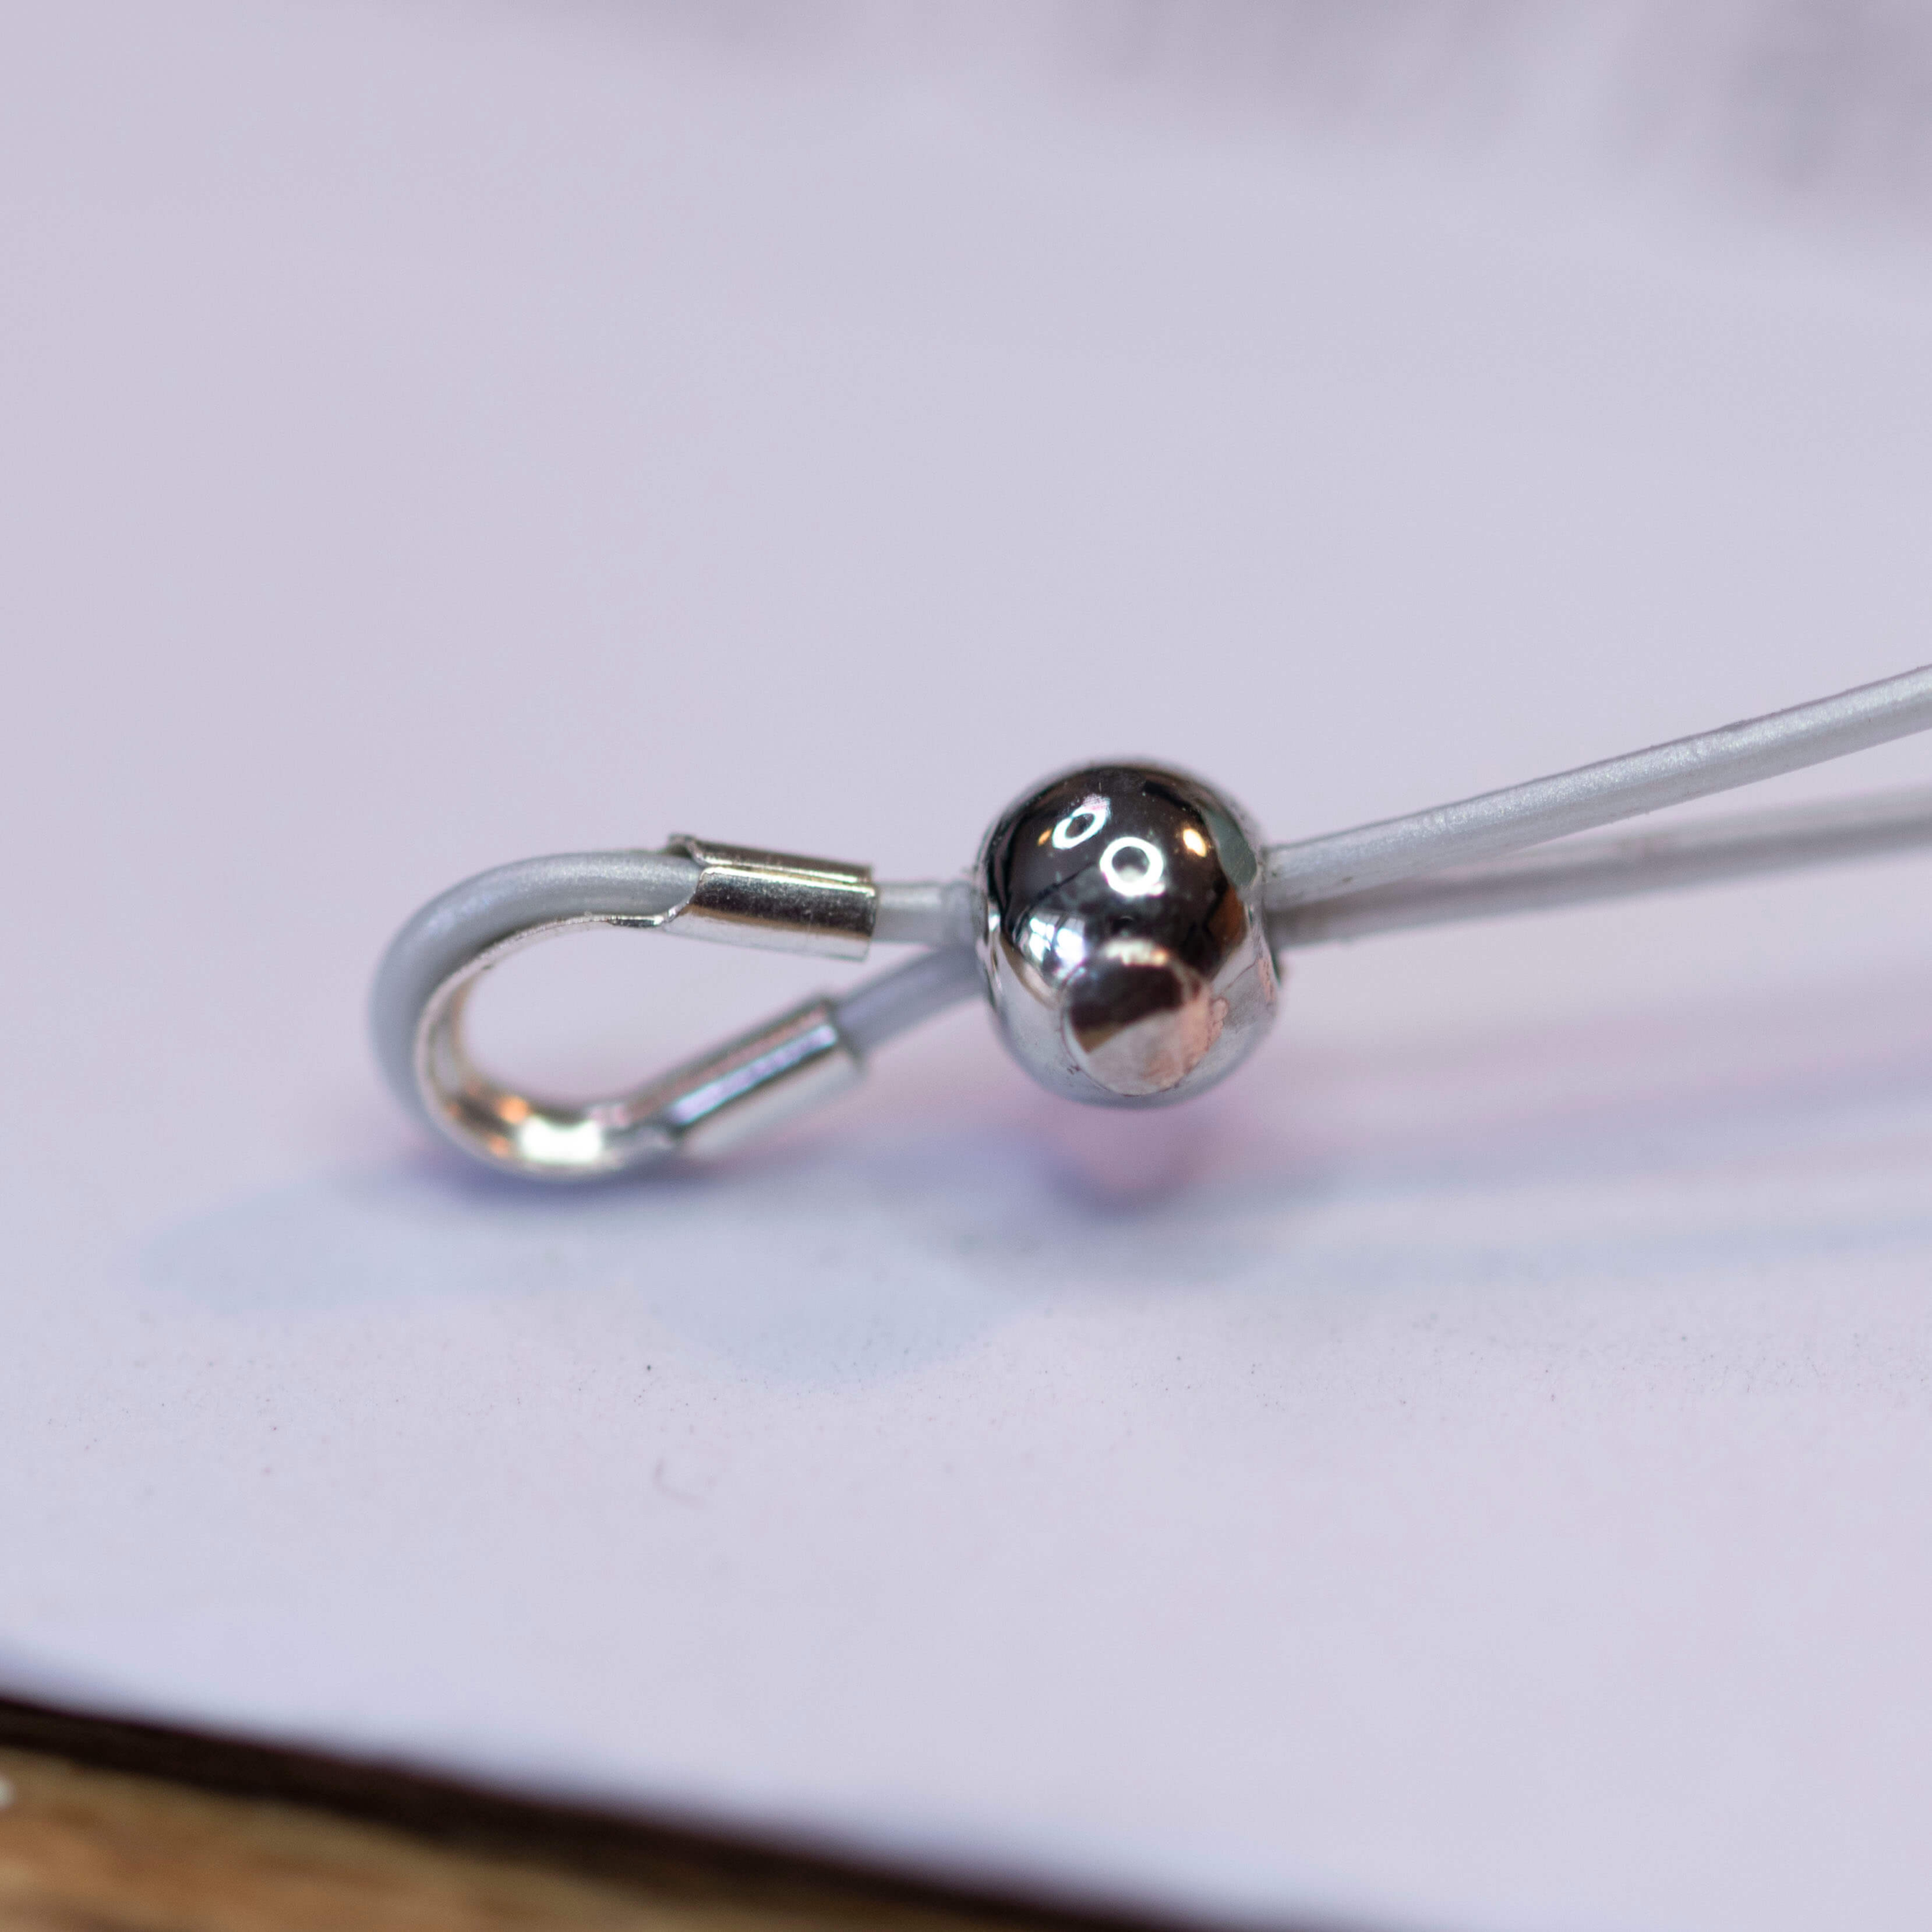
Now, I know I’m particular about refinement. Some may even say slightly obsessed,
(I prefer quality control enthusiast) 🤗
But really… is this the best we can do?
Maybe I was using too thick a wire? I’m using Beadalon 49 Strand, which is what I always use for my wire bracelets. Could I have swapped to something thinner? Possibly. But this is one of those areas where I just won’t compromise. For me, the quality, flexibility and drape of 49 strand is what gives a bracelet that lovely professional feel, so changing my wire just to fit a fad finding makes me twitch.
I have to say, I wasn’t overly impressed and with the hammered look I was left with either.
Not exactly the polished, professional finish I was hoping for.
Now, to be fair, you can use nylon jaw pliers to prevent that slightly attacked hammered look.
If you haven’t discovered nylon jaw pliers yet, they are basically a little lifesaver every jewelry maker should have tucked away. The soft nylon jaws let you shape, mould, and straighten metal without leaving behind those lovely little battle scars that regular pliers can.
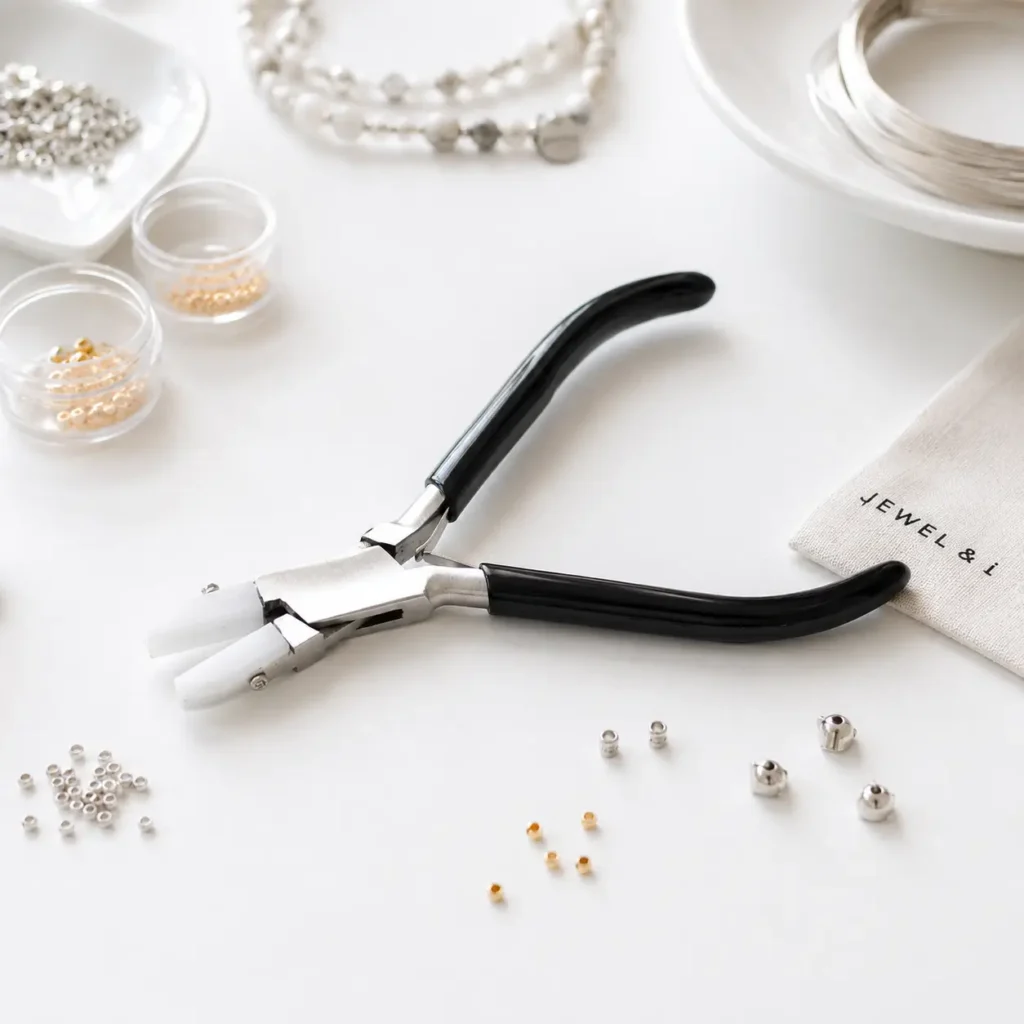
Mine, however, decided this was the perfect moment to mysteriously disappear. They did eventually reappear, but by then I’d already gone in with my normal square nose pliers.
That said, even my lovely nylon pliers wouldn’t have solved my main issue… the little prong still wasn’t sitting flush, and that was the part that was really distracting me.
But were they strong?
Now I will give crimp stoppers their moment here. Once I had wrestled that tiny prong thing into place (even though I couldn’t get it completely flush), I did my all-important tug test.
And credit where credit’s due… they weren’t going anywhere!
I gave the wire a really good pull and the crimp stopper held firm, so strength wasn’t my issue at all. For me, it simply came down to the finish and whether I could achieve the polished look I want for my jewelry.
So My Verdict on Crimp Stoppers
I can absolutely see the appeal of crimp stoppers. They are handy little things and I completely understand why makers love the idea of having one finding that does the work of two little findings.
But for me? I’m not quite ready to make the switch.
I found them a very fiddly to use and I struggled to get that neat, polished finish I’m always chasing. Maybe I could try a slightly larger size, but then I run into another problem… they start becoming bigger than my end beads, and aesthetically that’s not quite the look I’m going for.
Now, I may simply have bought a shockingly bad brand, so I’m keeping an open mind and will happily try another before writing them off completely.
I also won’t compromise on my 49 strand beading wire. It’s one of my non-negotiables.
So, for now, my trusty crimp tubes and covers are staying. Crimp stoppers, you were interesting. We had a moment. But not sure if we’re destined for a long-term relationship…yet!
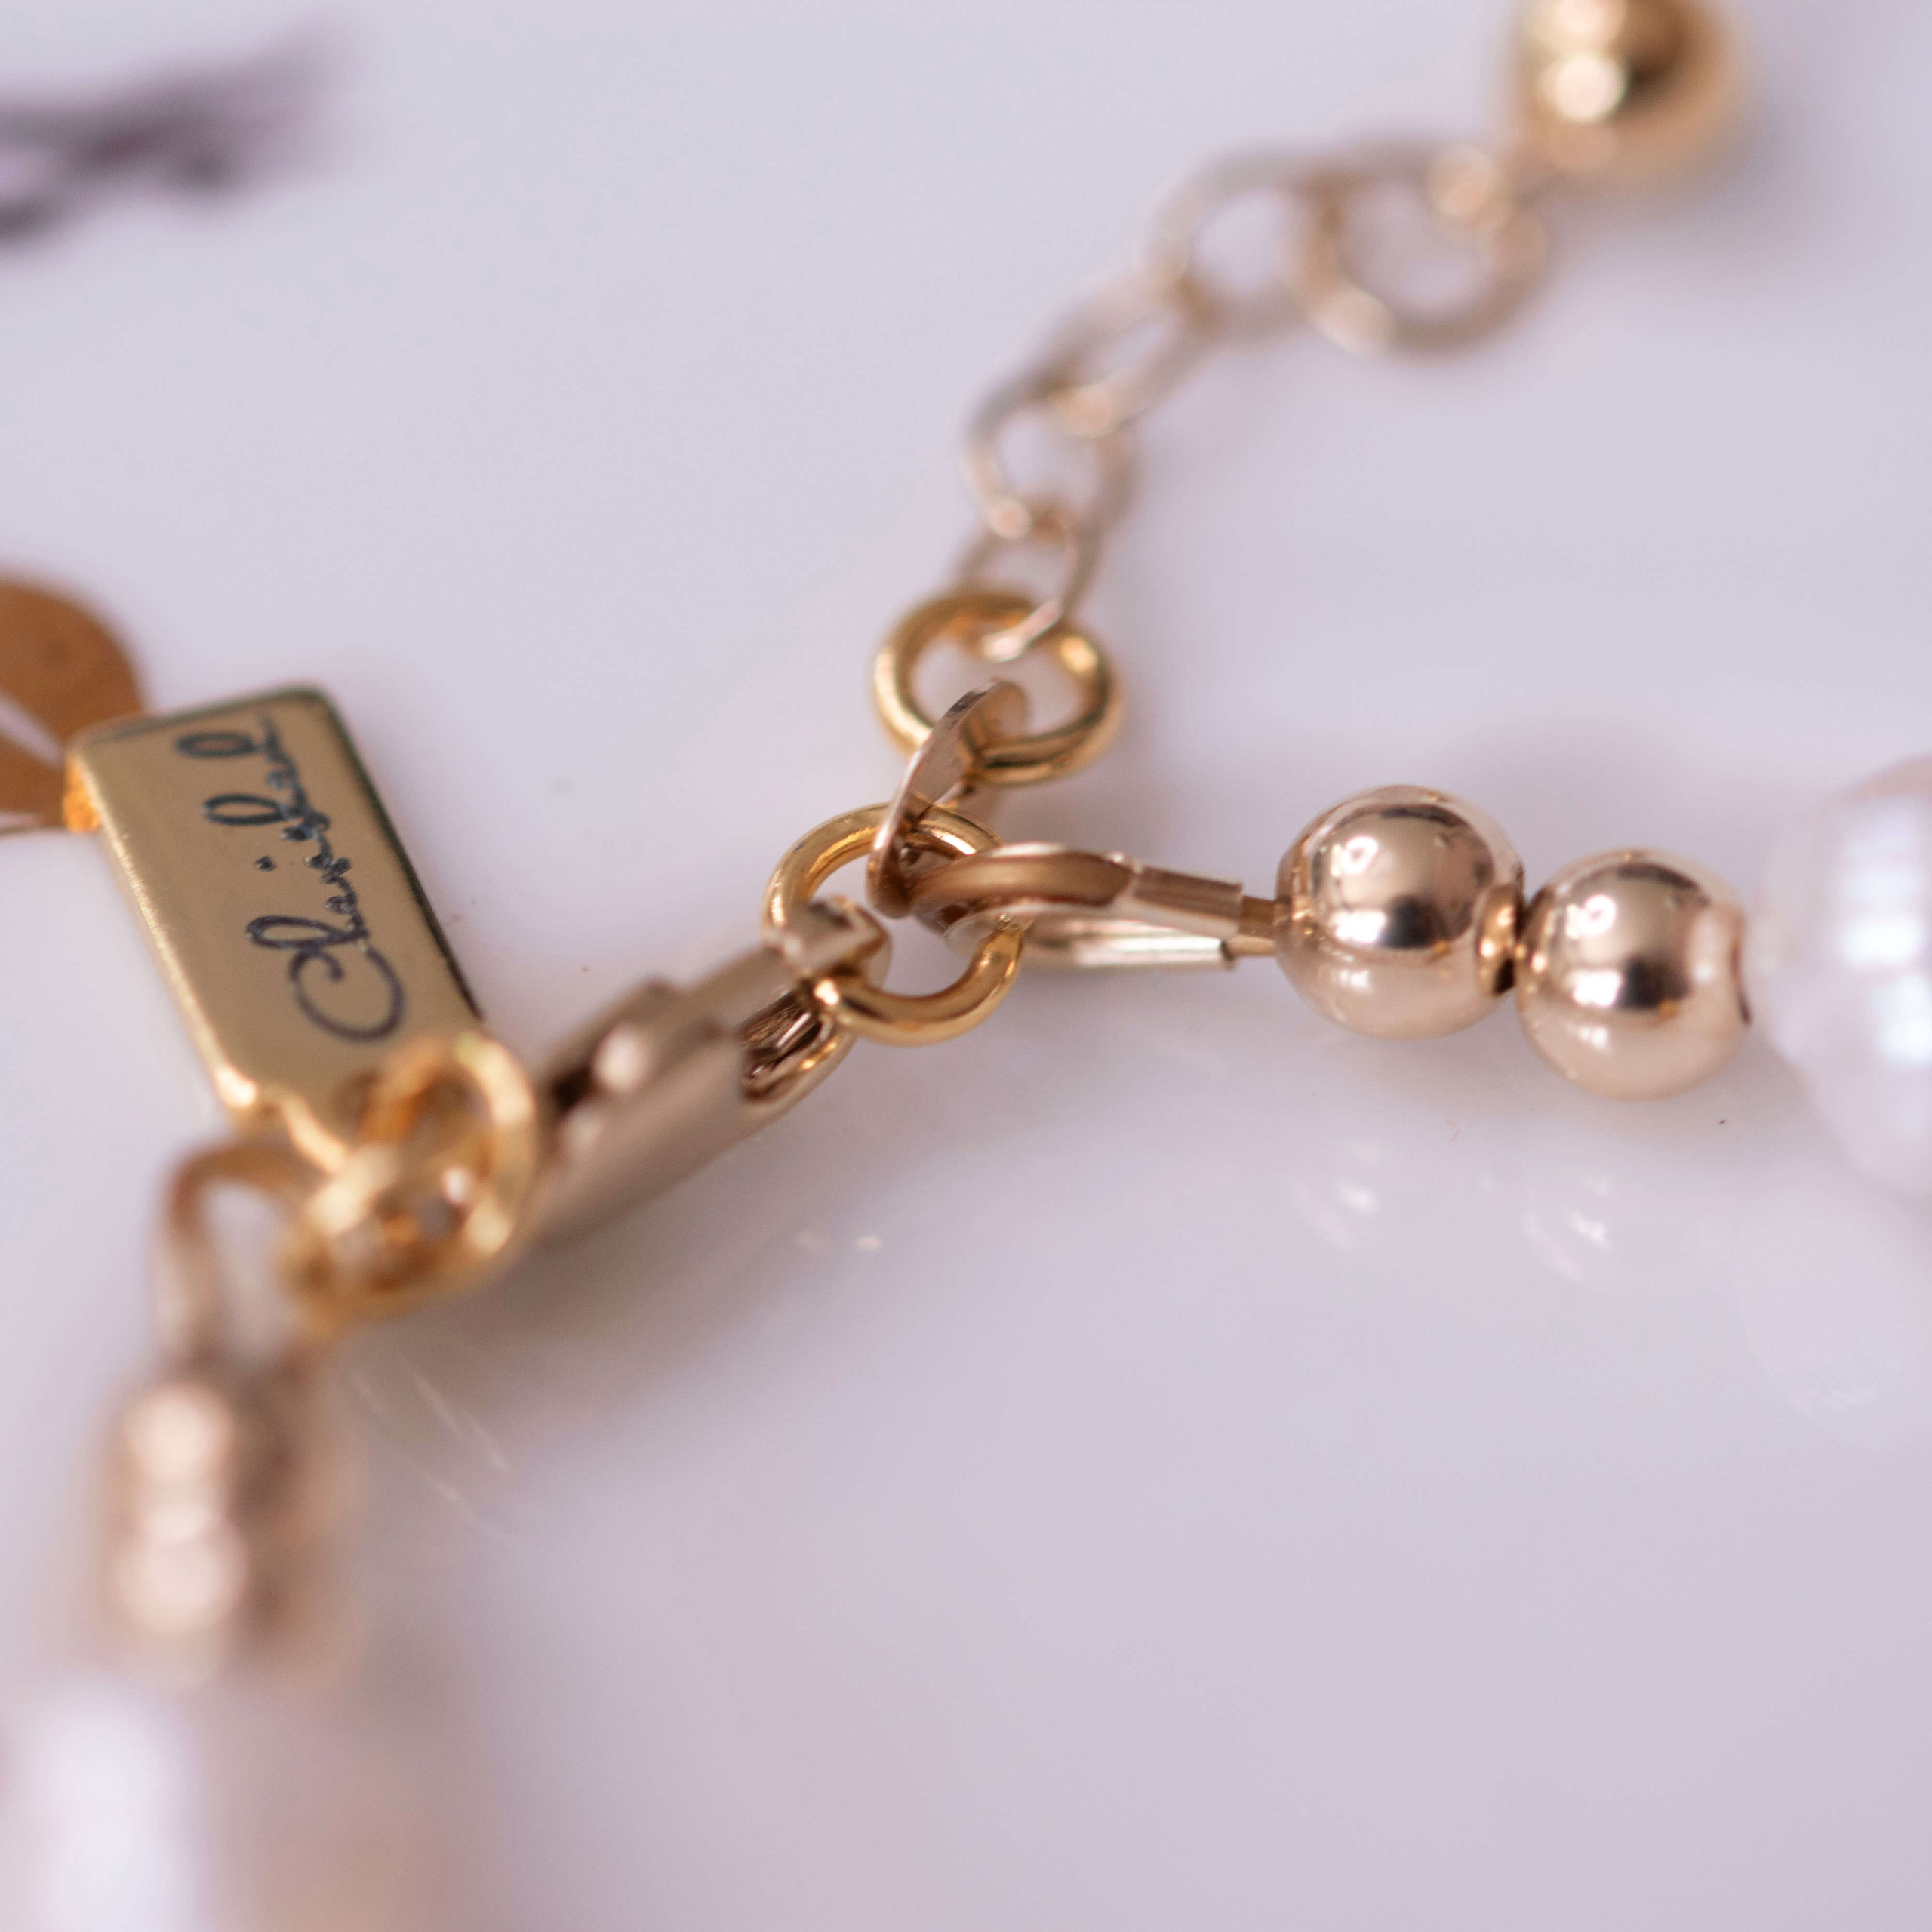
If you’re wondering why I’m so attached to my 49 strand wire, have a read of the below article:
→ 7-Strand vs 49-Strand Beading Wire
→ 5 Common Beaded Bracelet Problems



I have used the crimp stoppers and I love them.
Hi Shirley,
Thanks for sharing! 😊 I make quite a lot of baby jewelry, so I’m always chasing the most professional finish I can achieve. For me, a crimp tube with a crimp cover still gives a smoother, more seamless result, but I’ll be interested to see if trying another brand of crimp stopper changes my view.
I do want to love them!!
Which brand do you use?
Sarah 🤗
I always use 49 strand for the drape and the strength. I have a few of the mechanical crimps. My fear is that the tiny screw I’m supposed to screw in is going to compromise my beading wire.
Gina
I know exactly what you mean! That tiny screw makes me a bit nervous too. 😅
I stick with traditional crimps and crimp covers on my 49 strand wire. They’ve never let me down, so I haven’t felt the need to switch.
Although, I did get another brand in this week to try…will keep you posted!
Sx