The double wrap stretch bracelet recipe

How To Make A Simple double wrap Stretch Bracelet


Heads up! – I’ve included Amazon affiliate links in this post. Please read Affiliate Disclosure for more information.
If you’re anything like me, you make one stretch bracelet… then immediately think, “But what if it went round again?” Enter the double wrap stretch bracelet – the slightly show-offy cousin of the humble stretch bracelet, with twice the impact and still zero clasps.
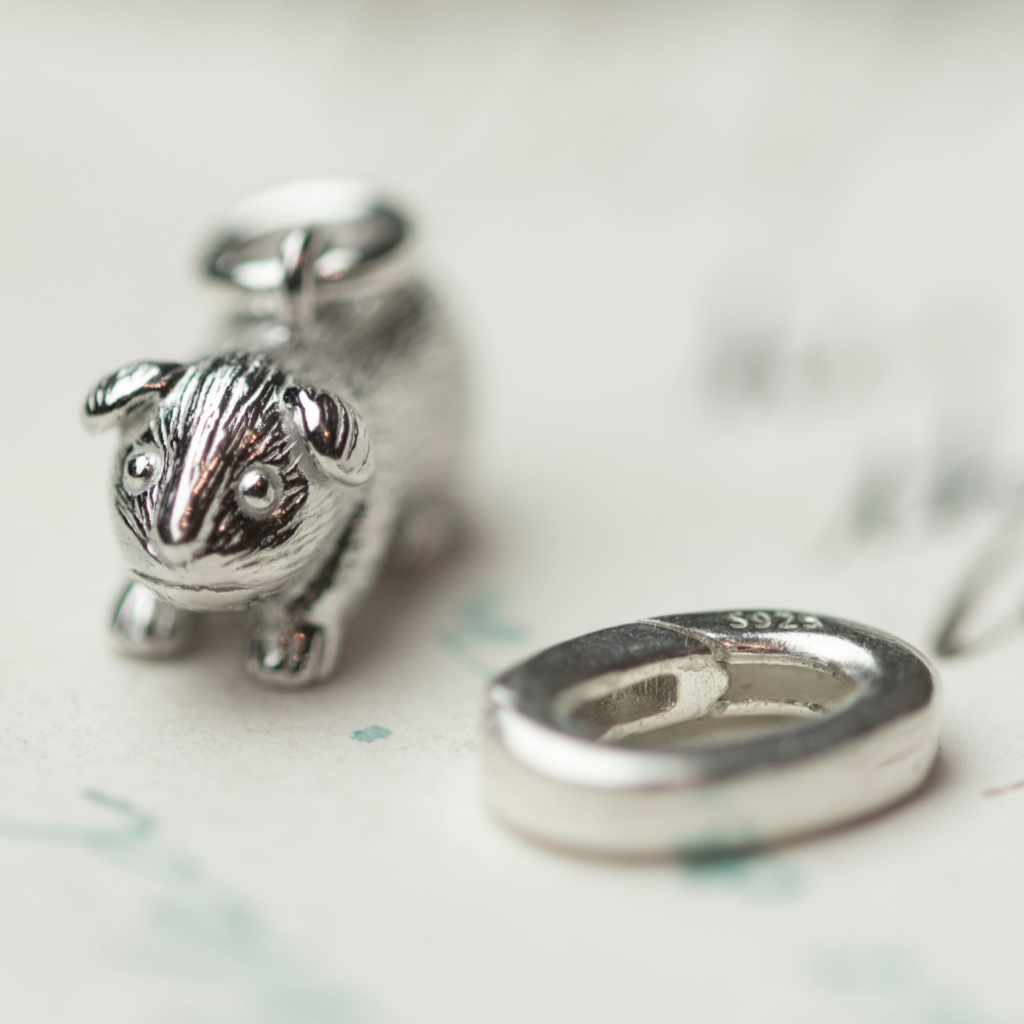
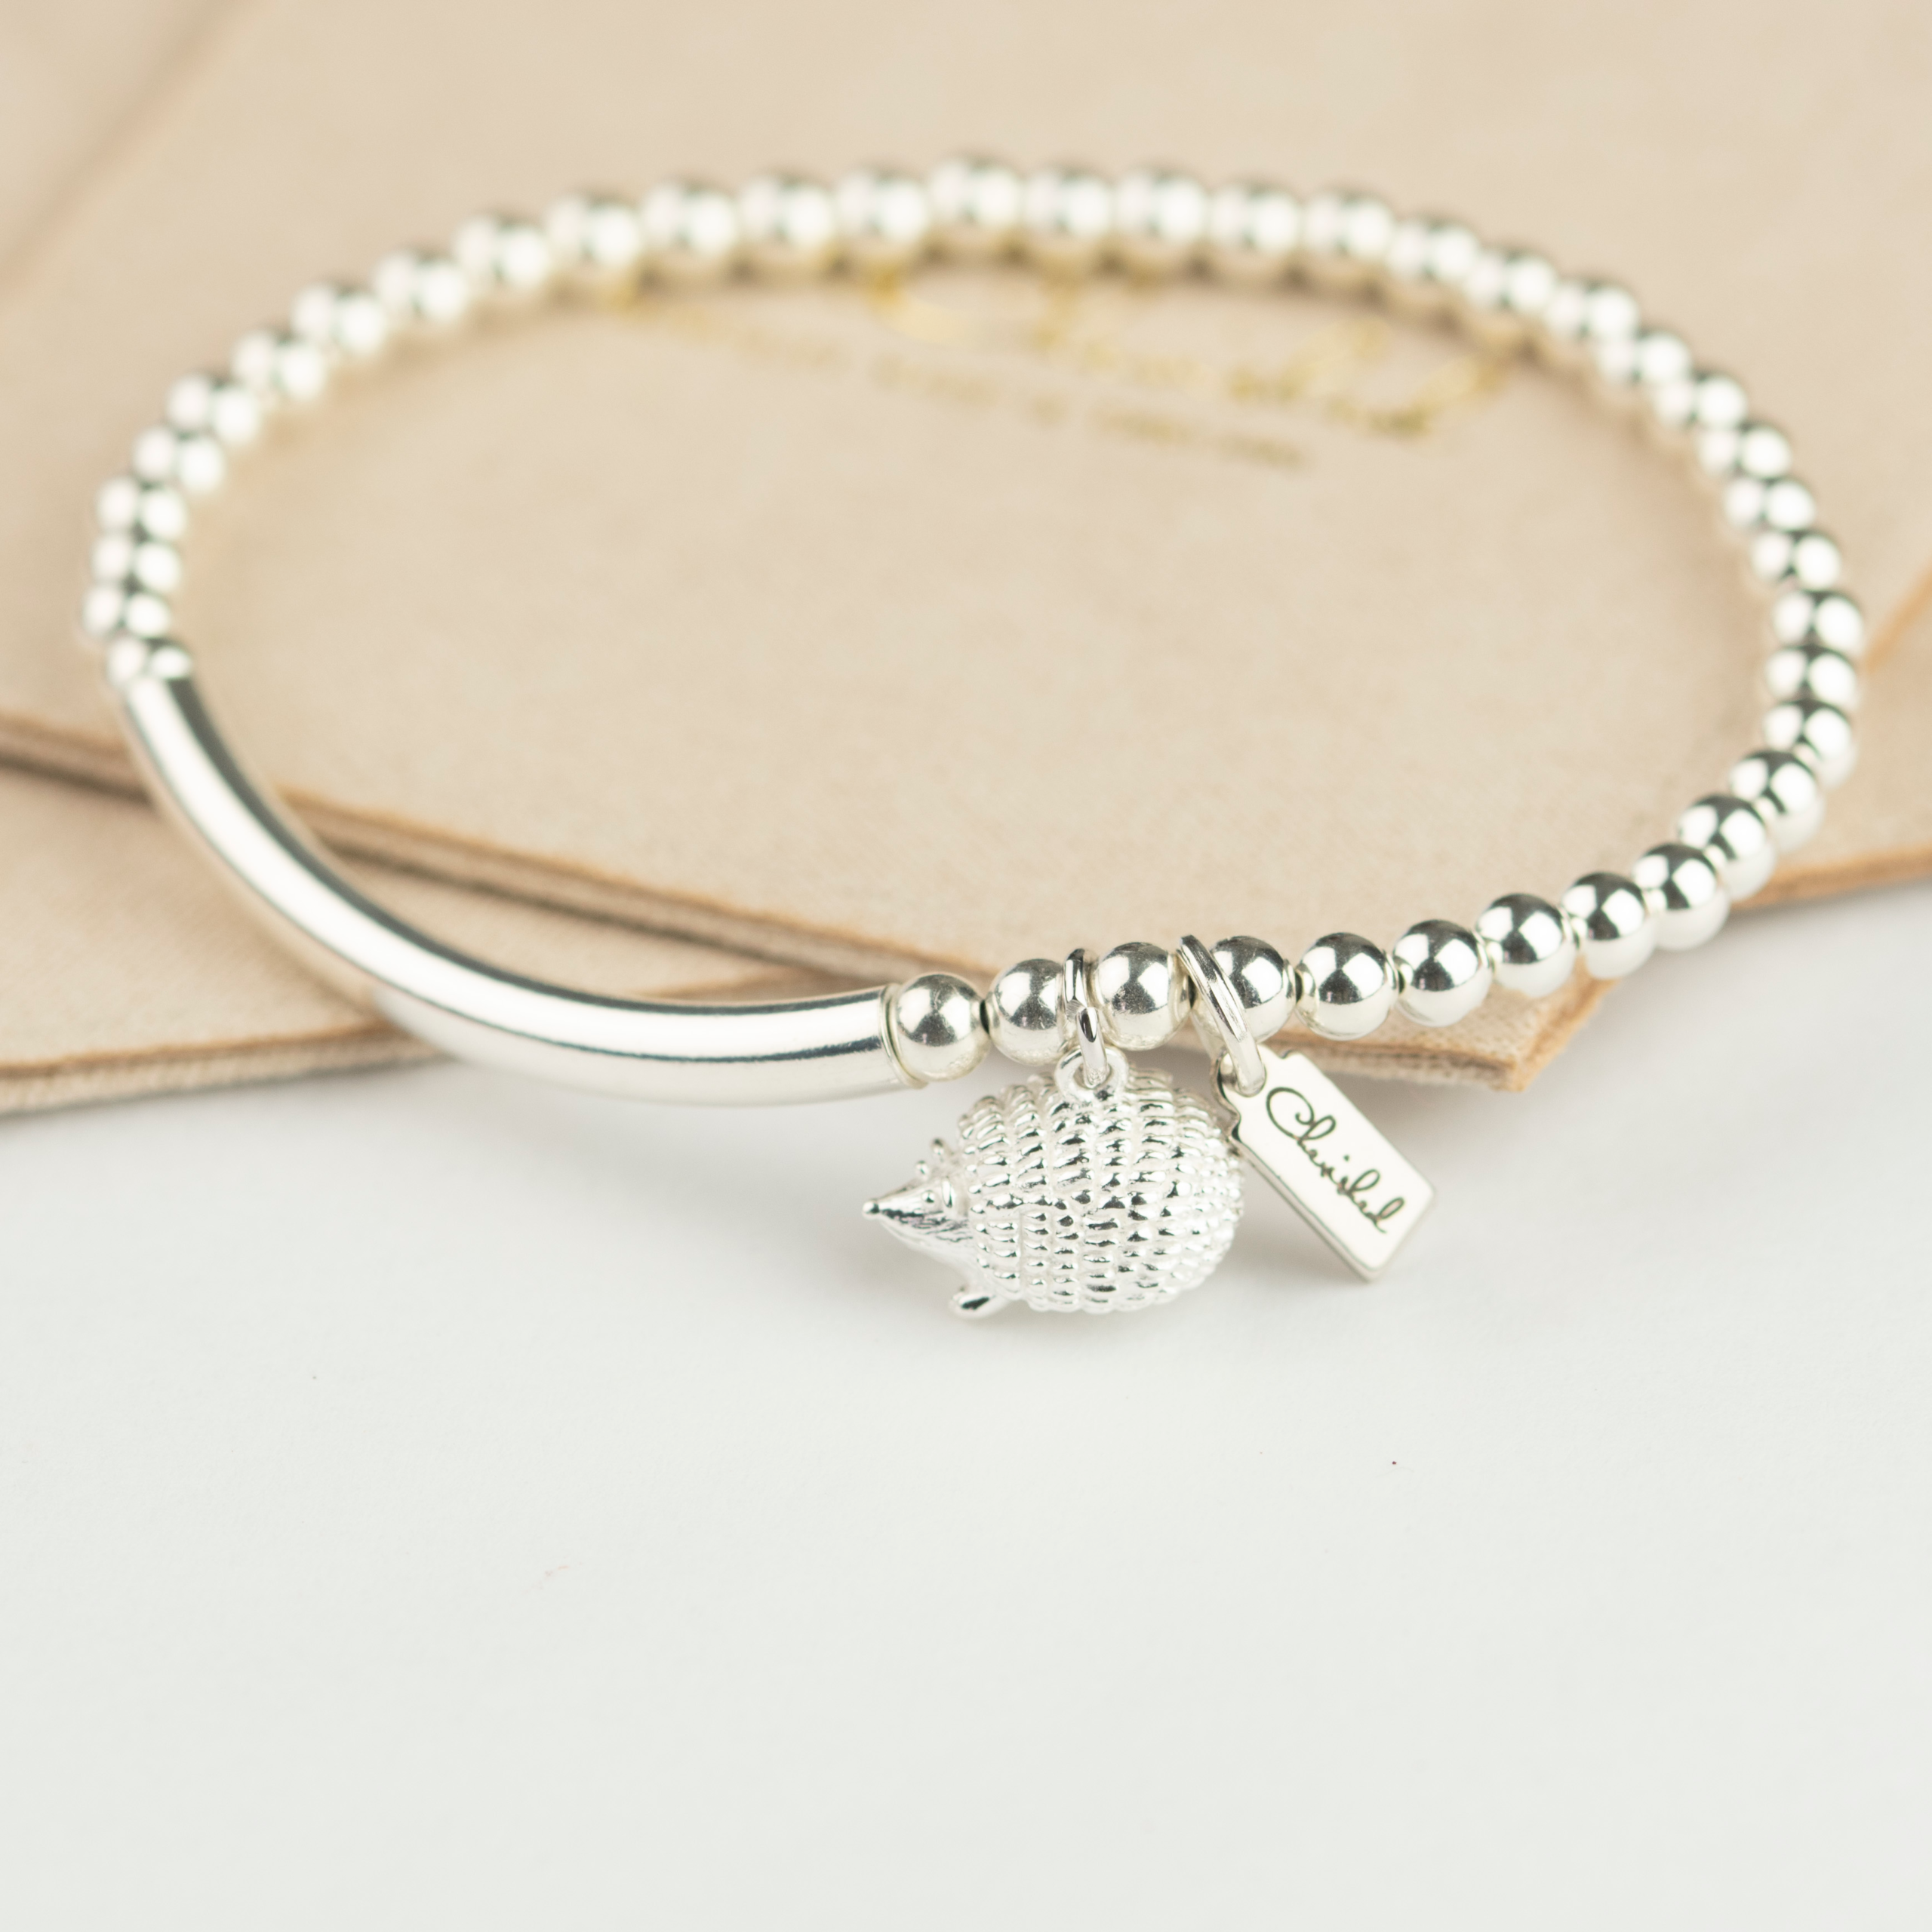
This one’s built on the same beautifully simple stretch bracelet technique, but the double wrap instantly makes it feel more intentional, more styled, and dare I say… more sellable. Add a charm – any charm – and suddenly you’ve got a piece that feels personal without being complicated. I’ve gone with a guinea pig because, well… priorities 🐹.
It’s beginner-friendly, fast to make, endlessly adaptable and dangerously satisfying – which is exactly why it earns its place in my recipe series.
Right. Elastic at the ready….
| Skill level: Easy | Time: 10 Minutes | Style: Fun |
Ingredients
I have made this stacking bracelet in sterling silver which is a little more expensive, but if you want to give it a go you can do it in silver plated to which is cheaper!
- x54 (for a 19cm bracelet) Sterling Silver 4mm Beads
OR 4mm Silver Plated version which are a little more cost effective! - x22 6mm Aquamarine beads
- 2mm Silver Seed Beads
- x1 38cm Beadalon 1mm Thick Stretch Elastic
- x1 Any super cute charm!
- x1 S/S Oval Spring Gate Conector Clasp
- x1 4mm Silver Crimp Cover Bead
- Metal Jewelry Glue
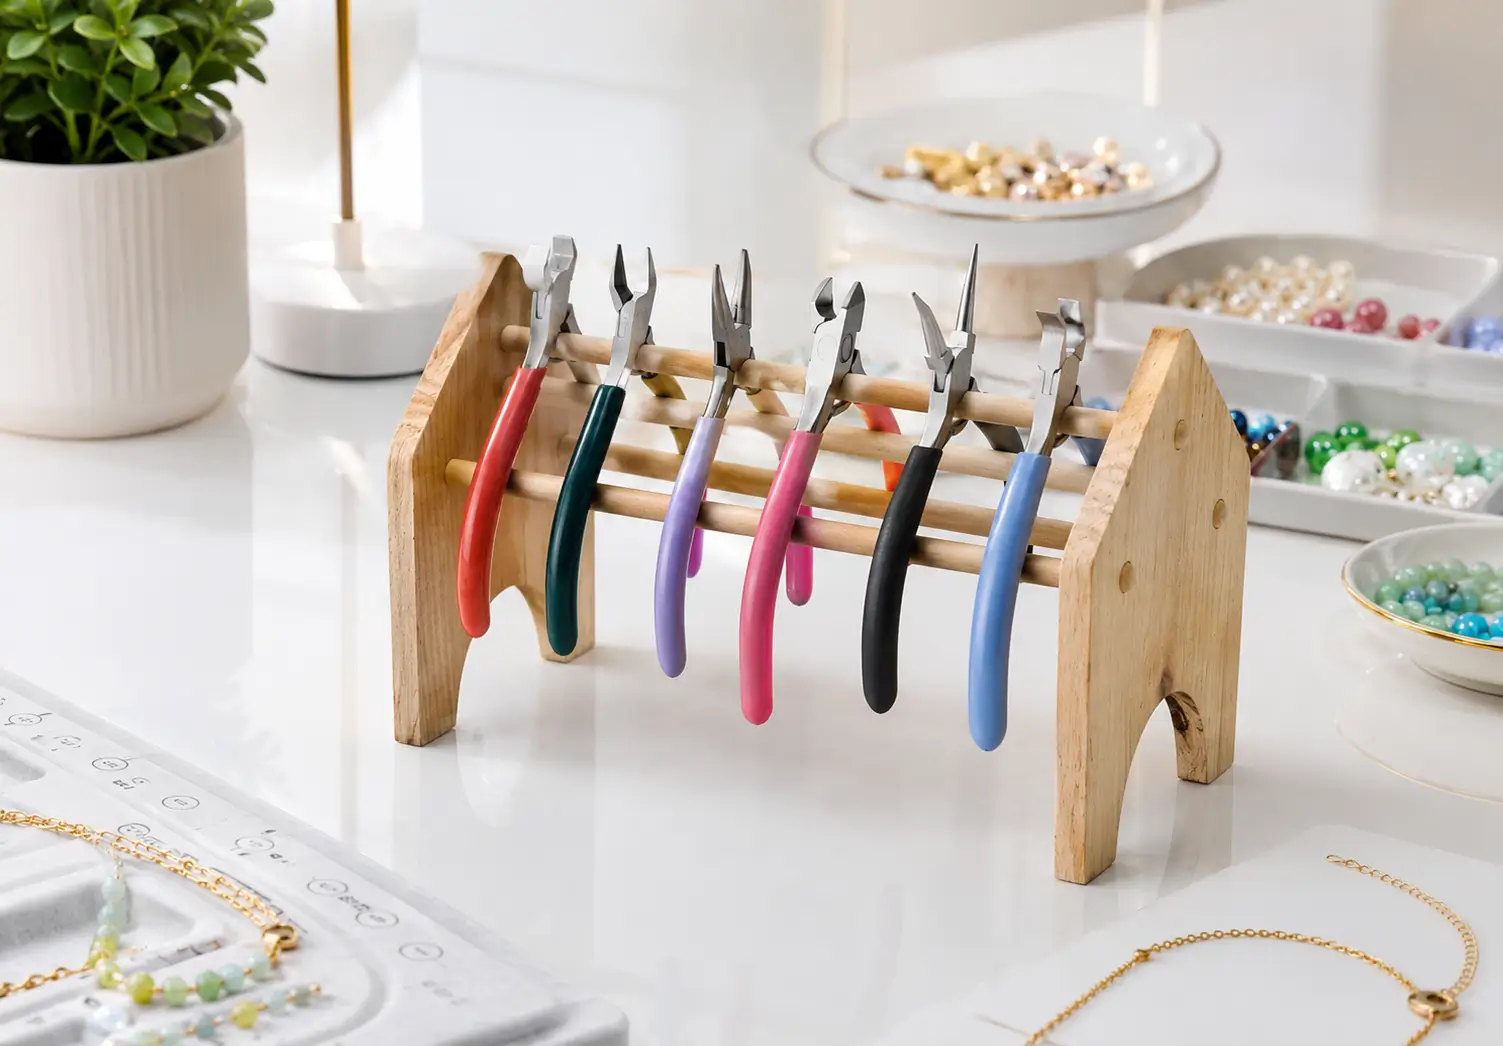
Tools
Steps
1
Measure your wrist – Wrap a thin strip of paper around your wrist and measure your wrist for size, then add a couple of extra centimetres so you’ve got room to roll on and off. I sell three sizes of stretch bracelets at www.OhSoCherished.co.uk, a small 17cm, a standard at 19cm and a large at 21cm just to give you an idea.
2
The number one reason stretch bracelets snap is due to low quality, cheap elastic 😬 sorry, but it’s true!
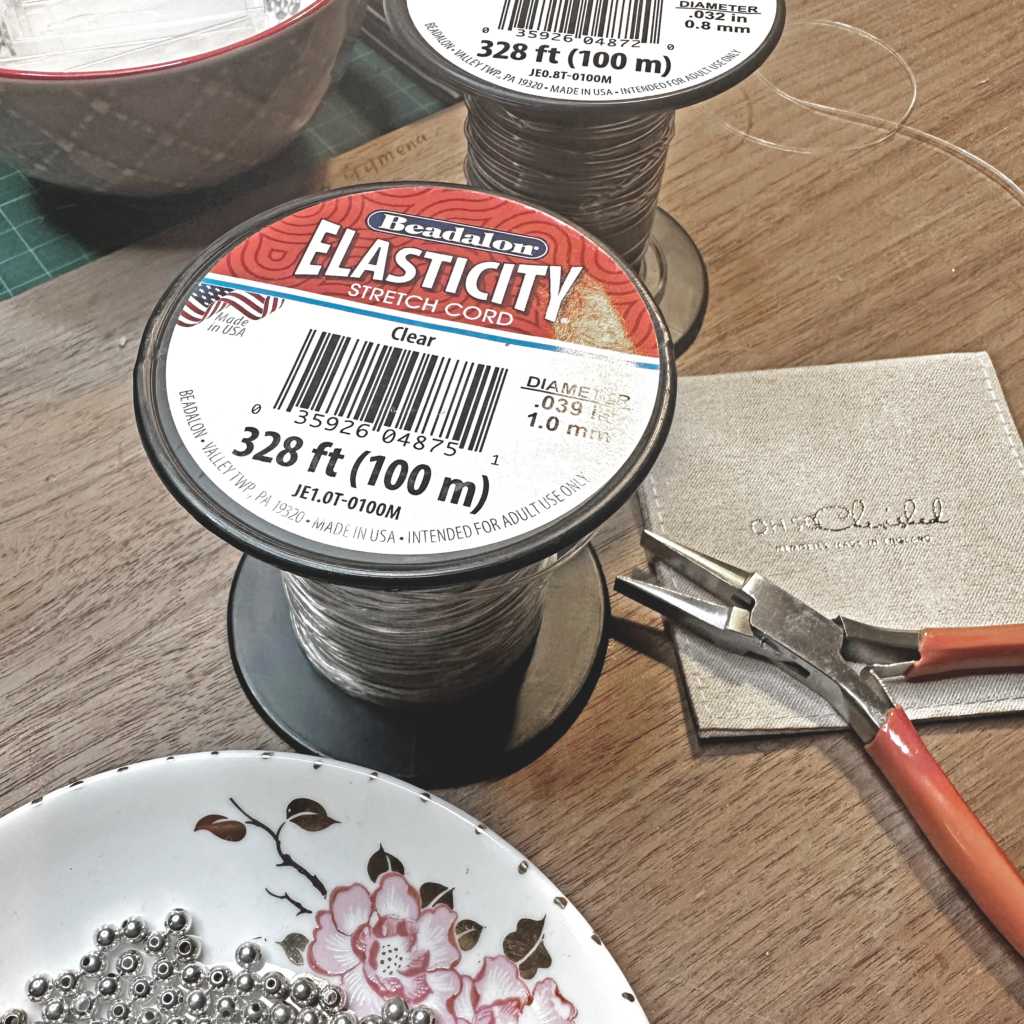
When someone buys one of my pieces on my website, I just need it to last, not just look pretty for one day. Long-term success depends on durability. Reliable construction means fewer breakages and happier customers if you make for a living. After years of testing many, many brands, I now only ever use Beadalon Elasticity Elastic, the best elastic cord for bracelets – it’s super strong, stretchy, and feels like a rubber band.
My go-to size is 1mm thick (depending on the bead hole size of course). I cut a length of elastic of around 45cm per wrap bracelet, leaving that extra bit for a neat, secure knot.
👉 Here’s the Beadalon Elasticity I use. You can pick this up at most good craft stores or on Amazon, why not give it a try for yourself with this small 5 metre roll, you’ll really notice a difference.
REMEMBER: Elastic doesn’t last forever. After a bit of wear, it starts to relax, or loses its bounce, and that once-snug fit becomes a bit…floppy.
One of the best little tricks I’ve learned over the years is to pre-stretch your elastic before you start beading. Just hold each end of the cord and give it a good firm tug a few times – three or four usually does the trick. It helps take out that initial ‘give’ so your bracelet keeps its shape better. A teeny habit that makes a big difference 😅.
3
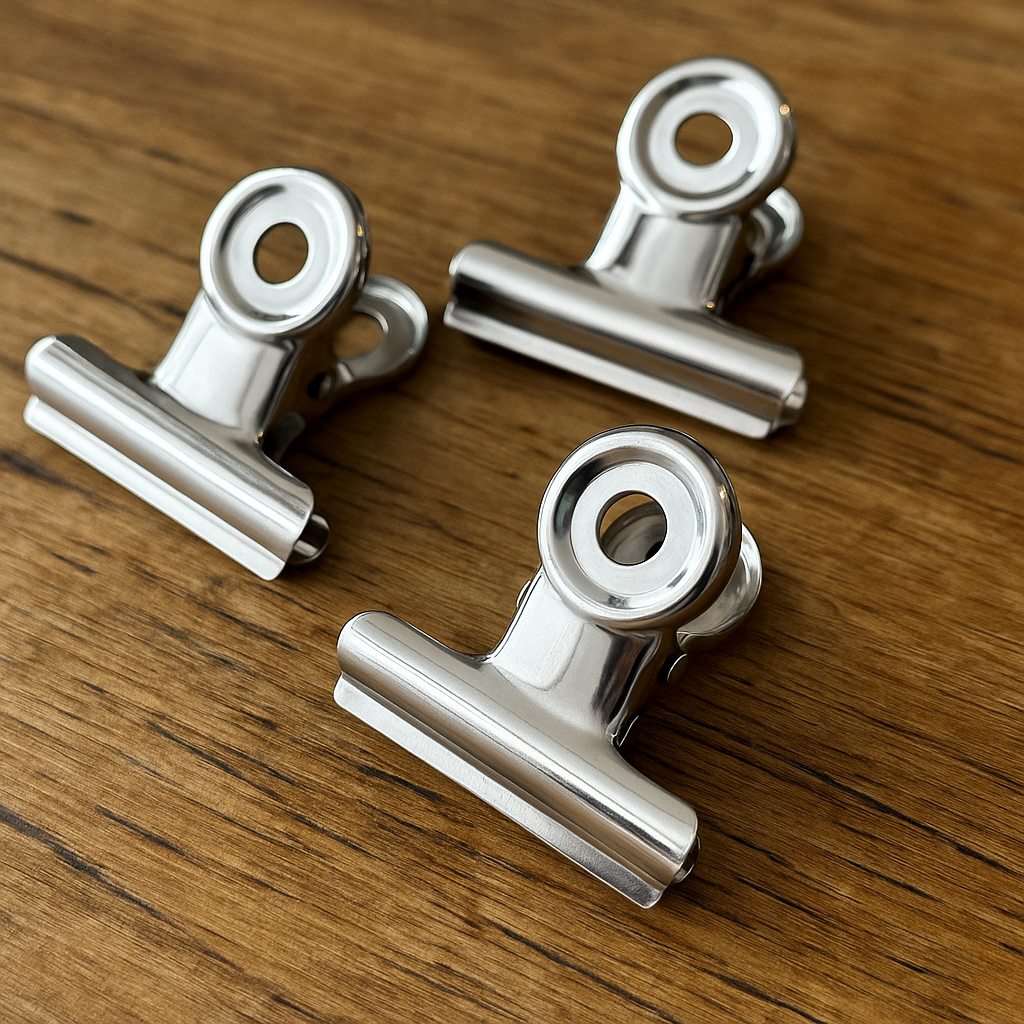
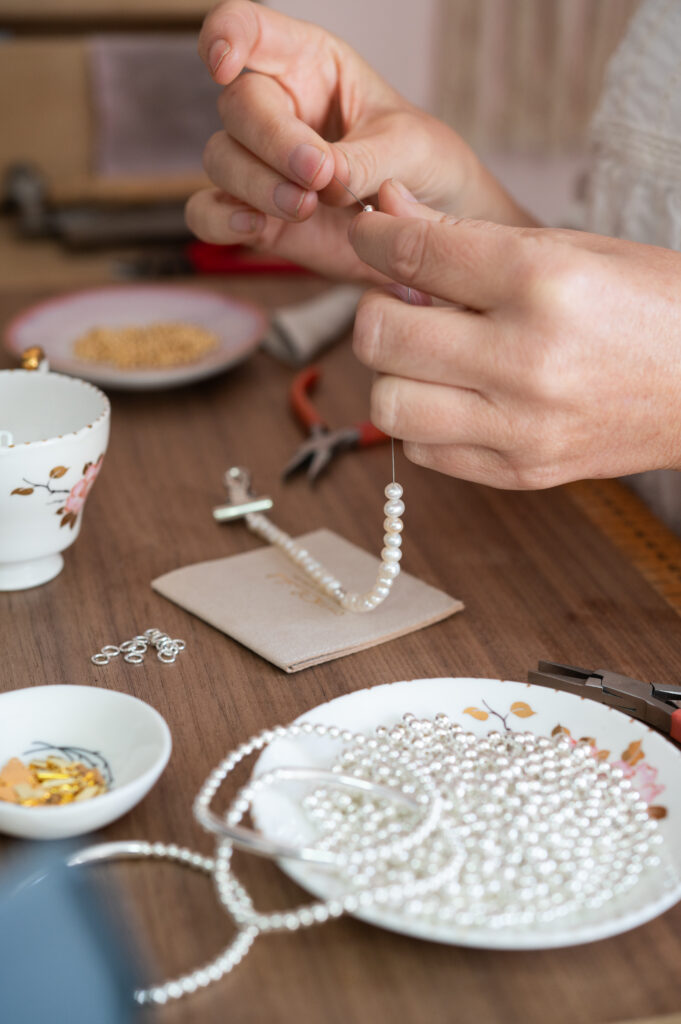
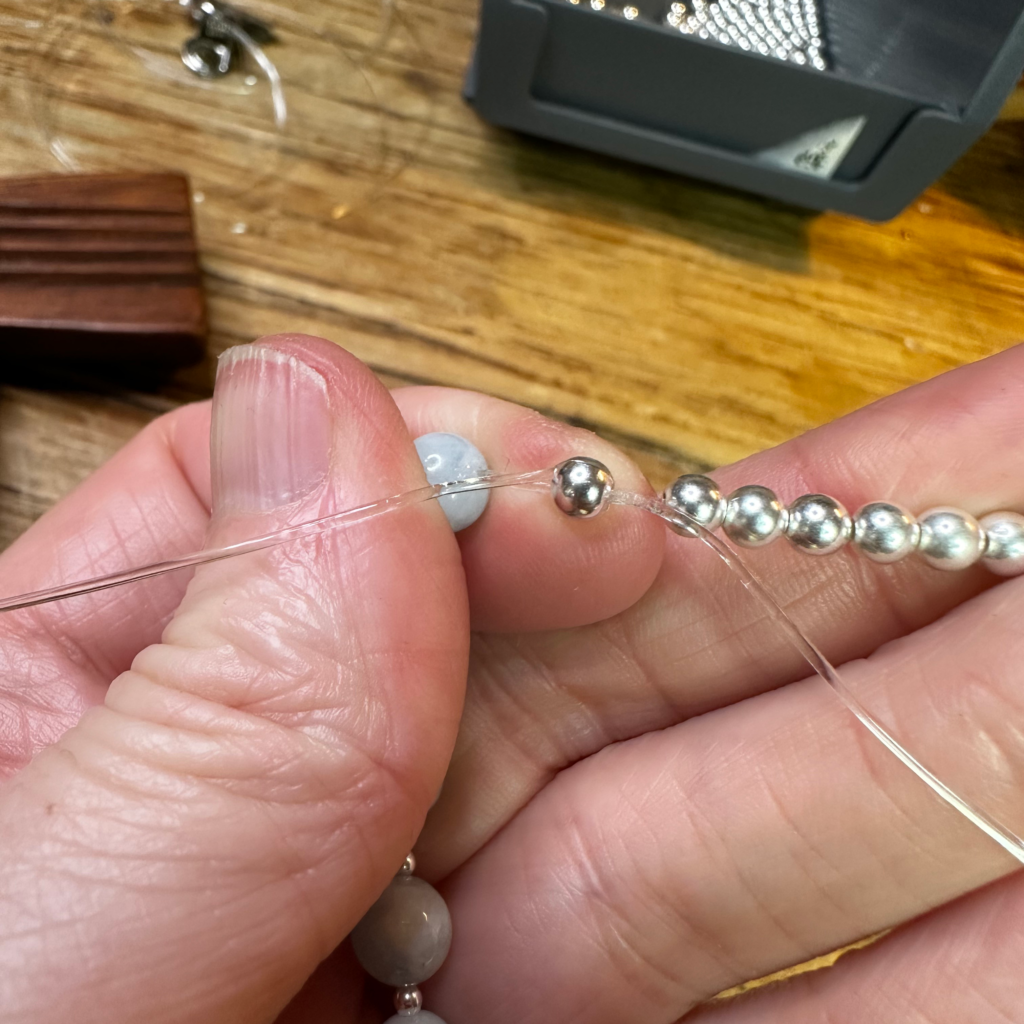
String your 4mm sterling silver beads onto your elastic – I use my trusty old mini bulldog clips to hold the beads onto my elastic…love em!
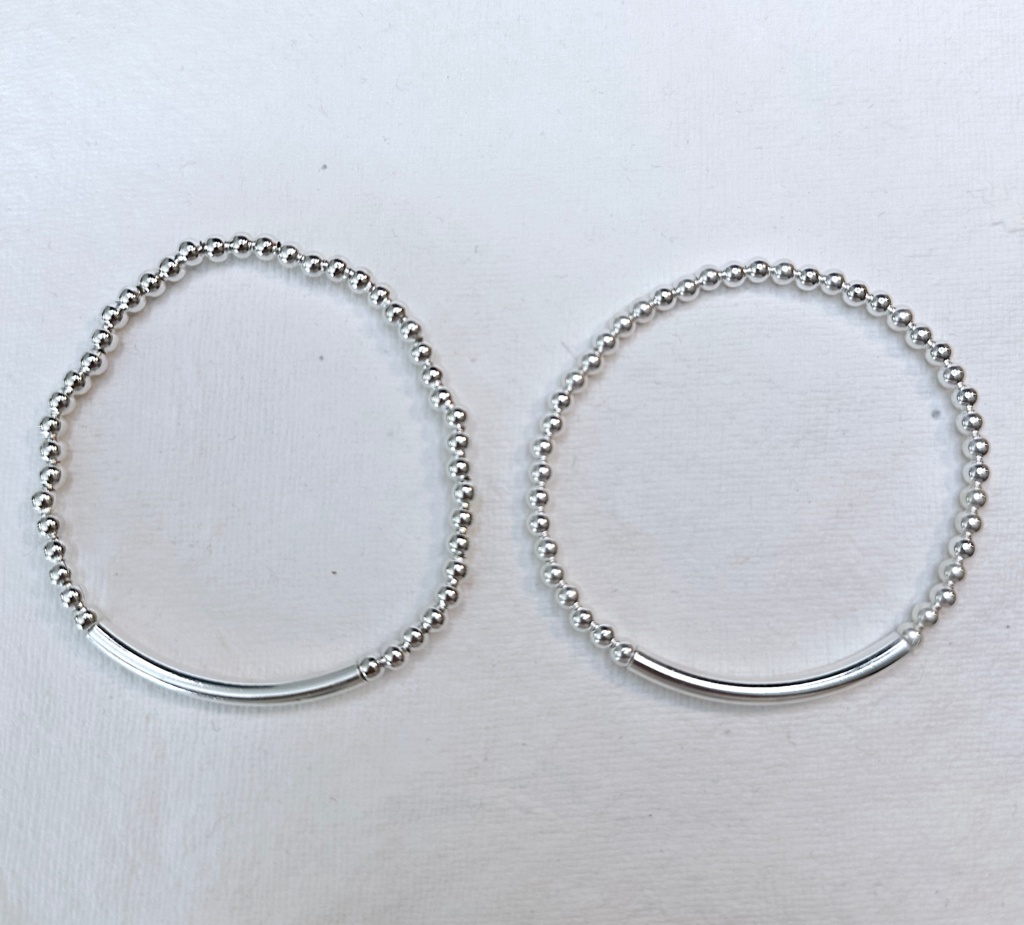
I normally use heavier weight beads, many beads you buy online have large holes like 1.5 – 2mm+, this means less sterling content, lighter in weight and cheaper, but I don’t ever want to compromise on quality when sending to a customer. It also means if you have a larger hole bead the bracelet can look almost bunched together (see the image below), it’s not beautifully round like the bracelet on the right, so be careful of this as it tends to make the bracelet look less refined.
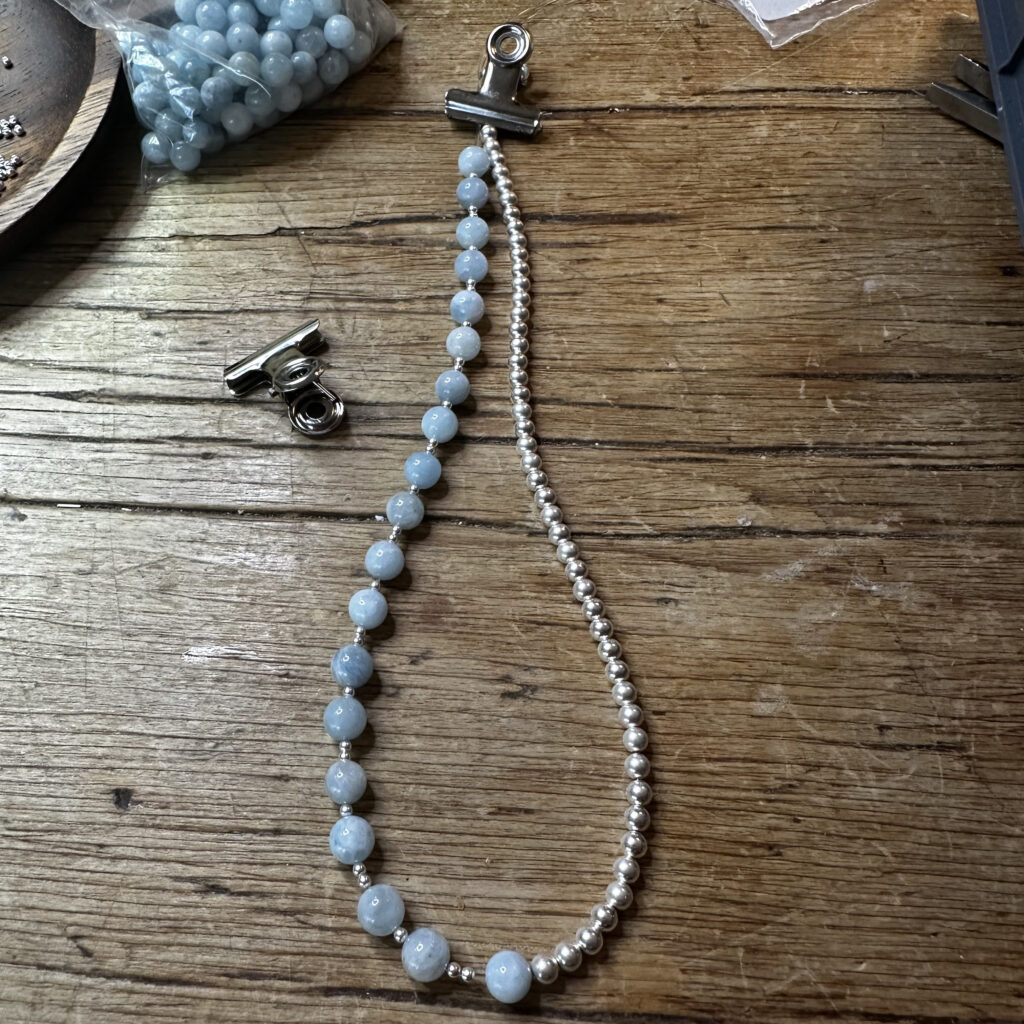
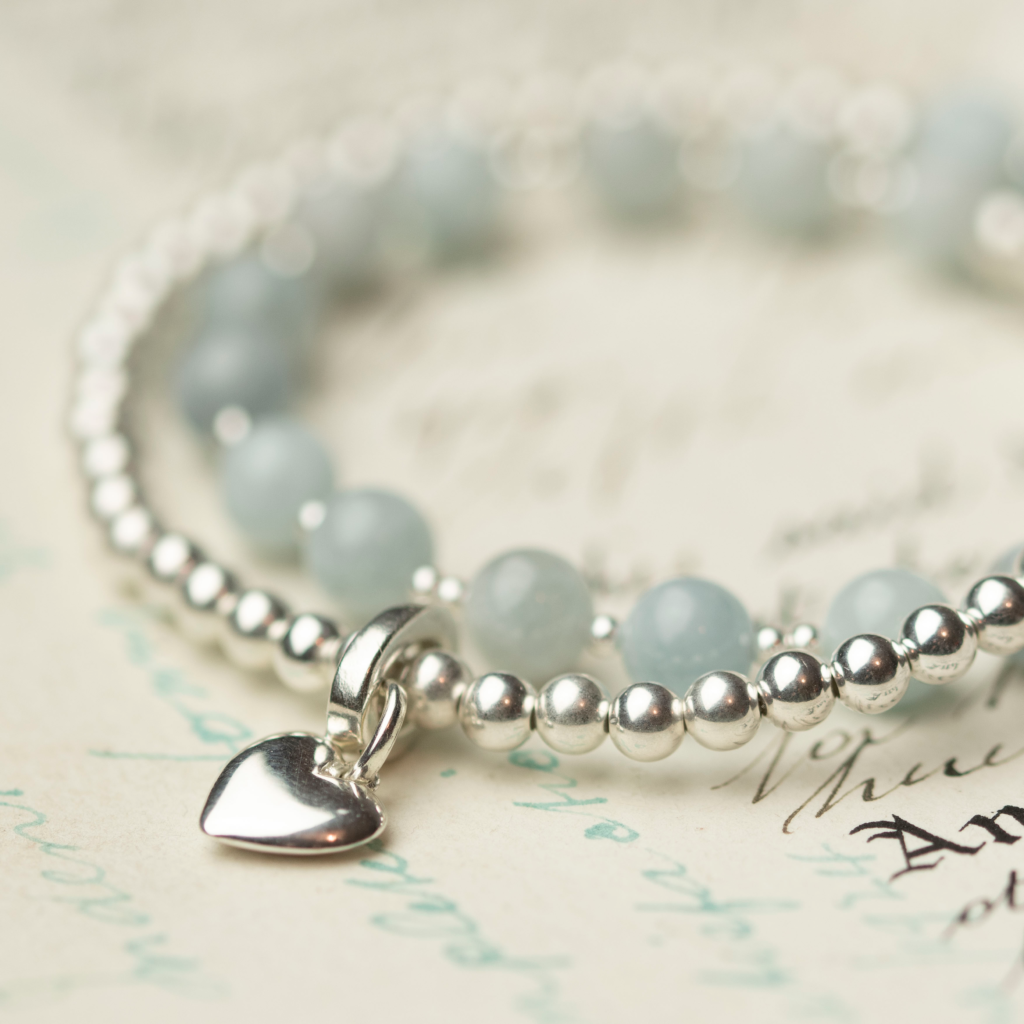
Once you’ve added your silver beads, in whatever pattern you like add an alternative bead for the second half of the bracelet. I’ve chosen a 6mm Aquamarine stone with tiny 2mm silver seed beads in between.
4
Test the fit – Before tying, wrap it around your wrist to check it’s the right size for you – not too tight, not too loose.
5
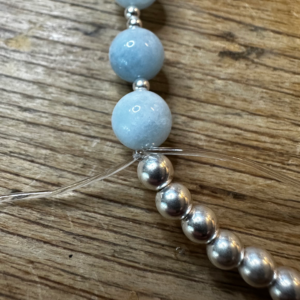
Tie your knots – A good old fashioned simple knot x2 is what I do. Give it a good pull to make sure it’s secure, not to tight that it snaps!
6
Trim – Trim any excess elastic, leaving around 1.5cm.
7
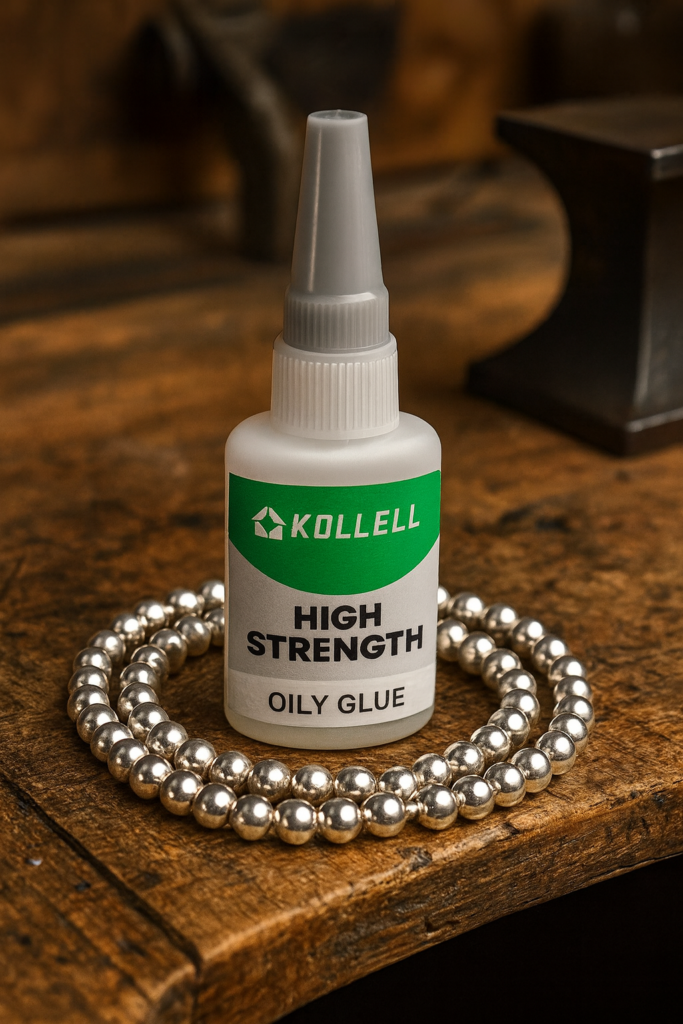
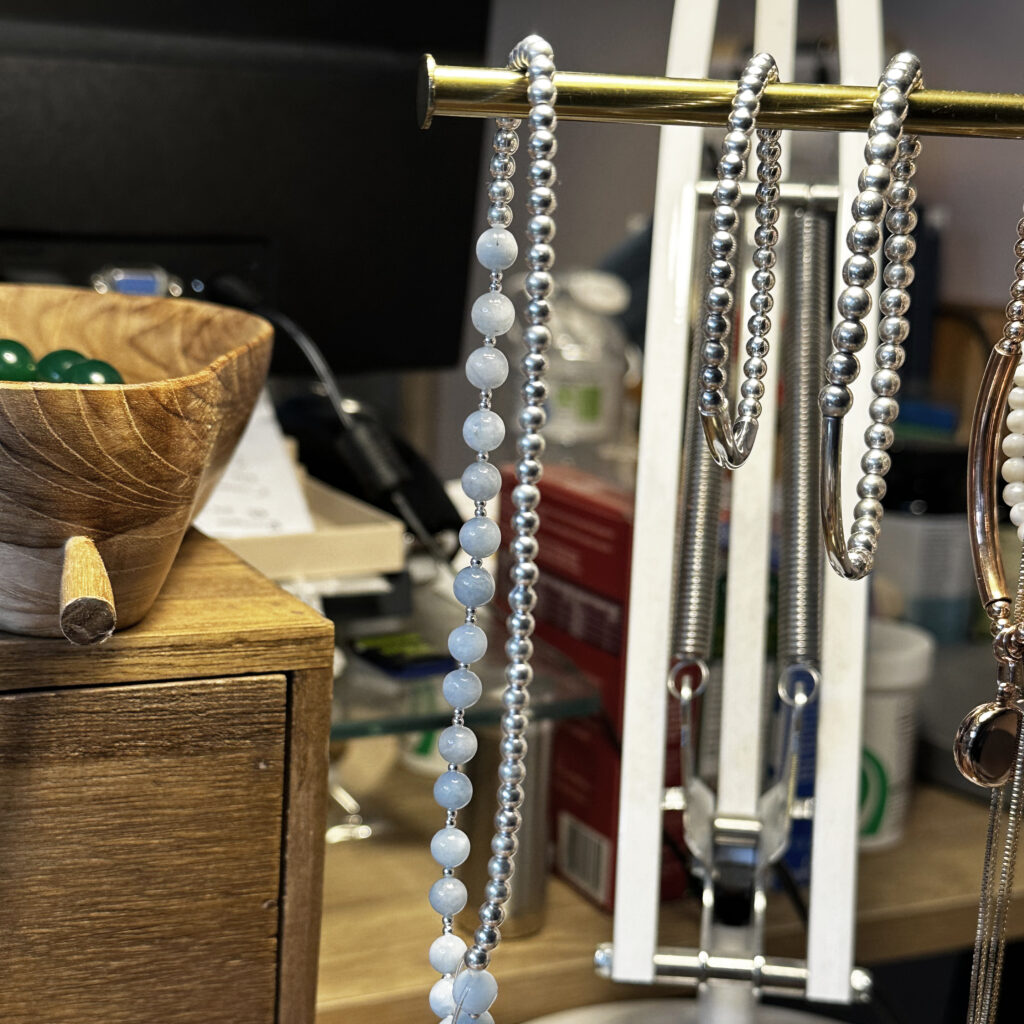
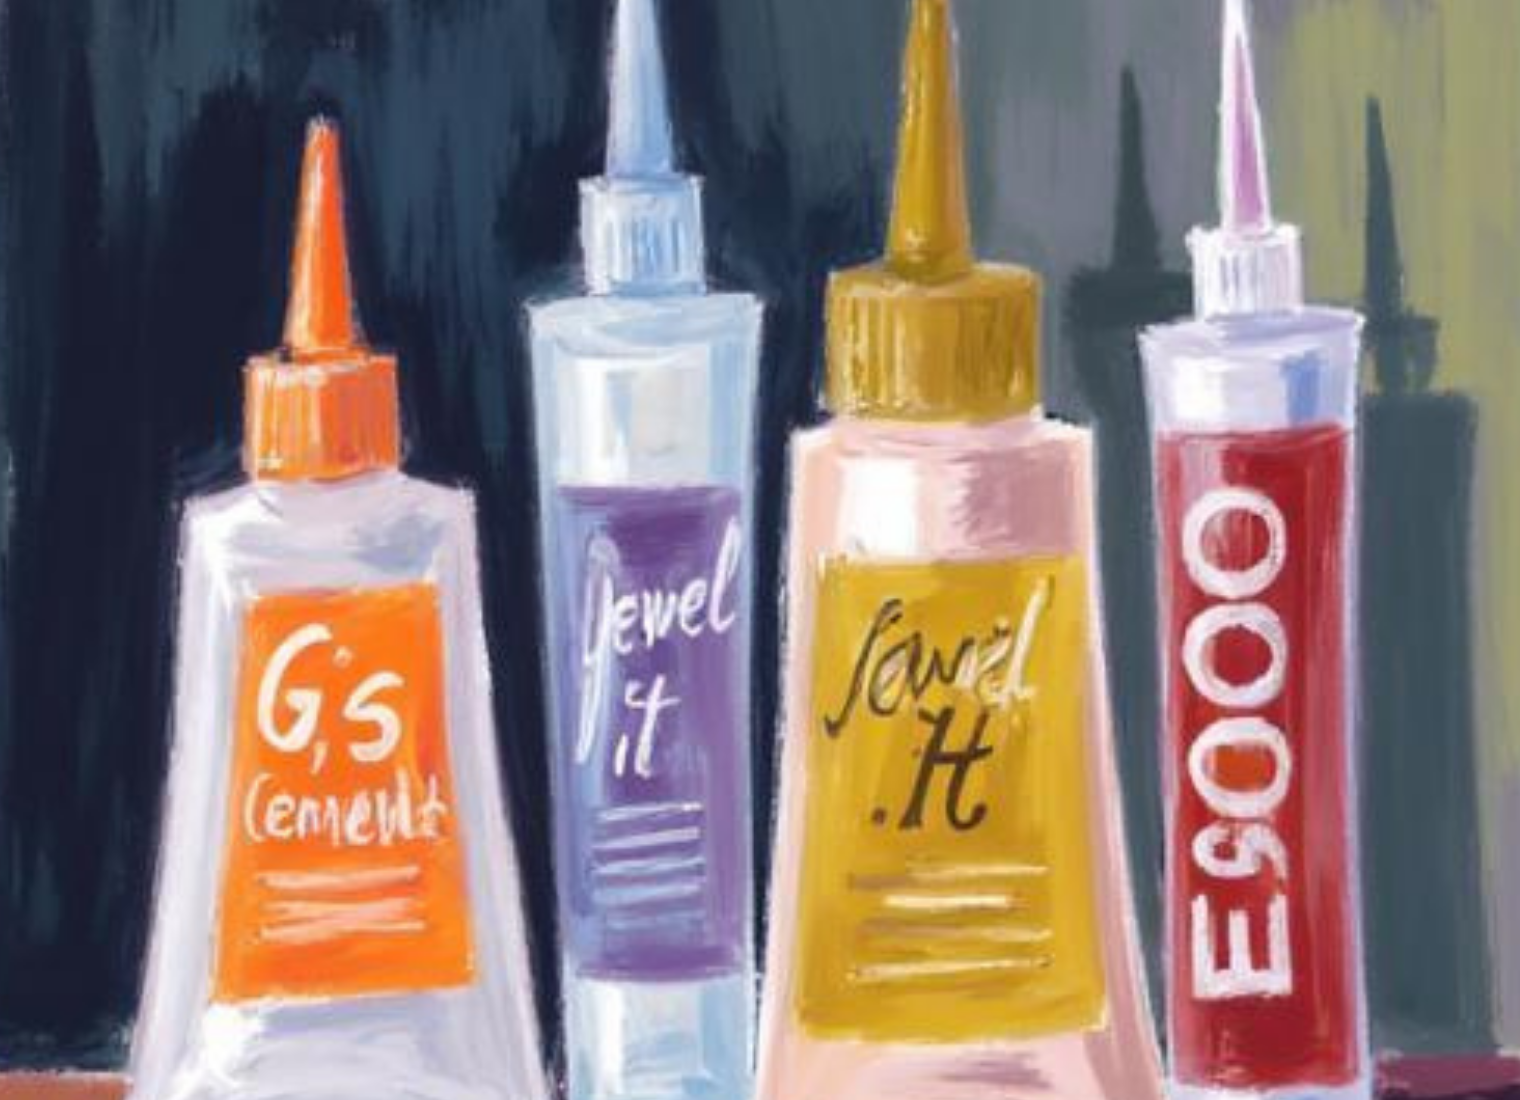
Pop a tiny dot of glue on to your knot for extra security. I’ve tried many jewellery glues over the years, but now only ever use High Strength Oily Glue. I just don’t want my glue to fail on customer orders and for me this is the best I’ve found. Always let your jewelry glue dry overnight and be super strict with this, I don’t send orders out unless they have had a full night drying. I hang mine to dry off my jewelry stand.
8
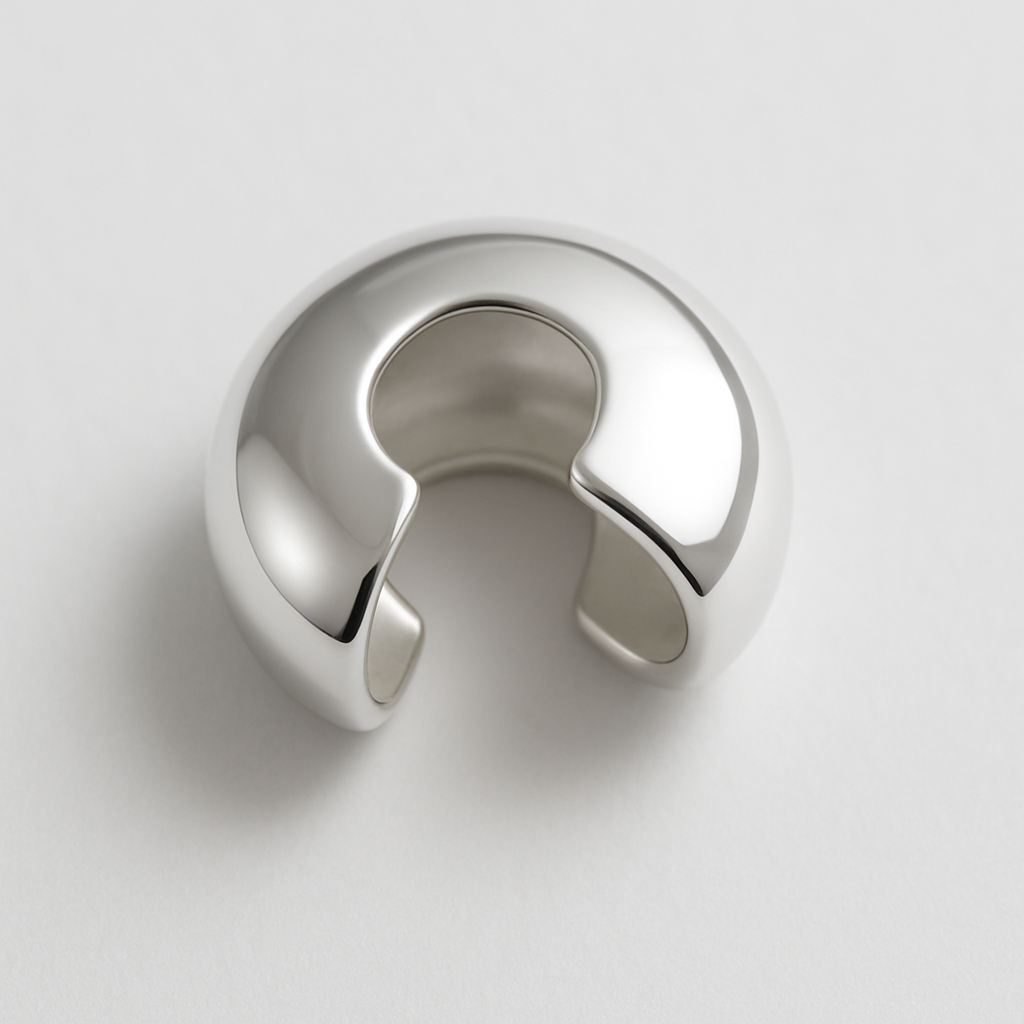
Little Tip! – Once the glue’s dry, add a 4mm crimp bead cover to your bracelet – slot it in and around your knot and close together. Once closed you’ll not notice it at all as it will blend with the other sterling beads – your knots all hidden! – and the bracelet feels tighter.
9
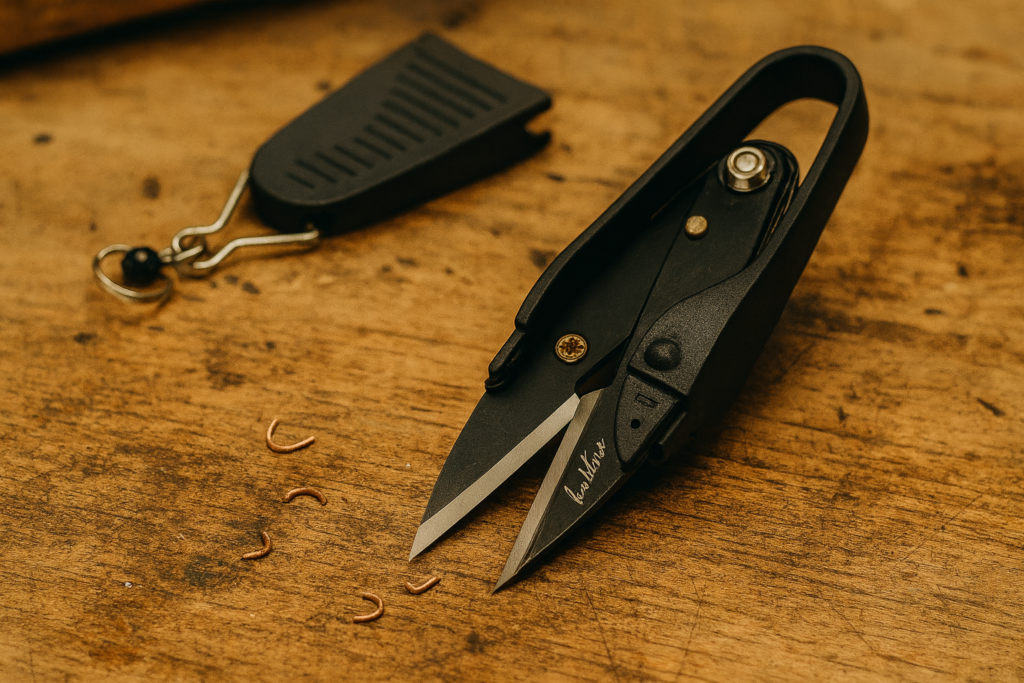
Snip off the ends of elastic.
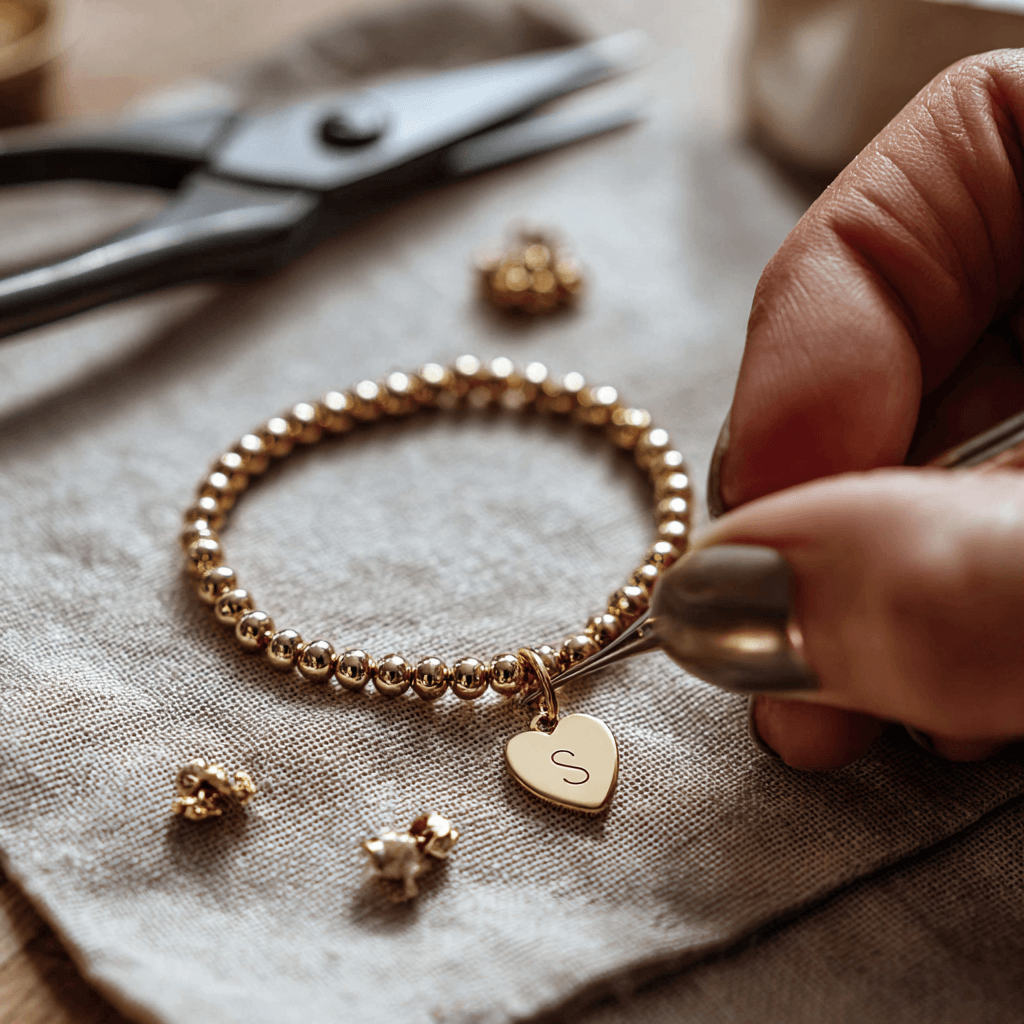
Once you’ve mastered the technique, you can go wild with adding lovely charms, I use these great little oval spring gate clasps to attach charms to my bracelets, just part the beads and slot it in and hang your charm from it. They add weight and quality to a piece.
I’m afraid my super cute guinea pig charm is from one of my wholesale suppliers so I can’t pop a link (I know he’s adorable) 🥰. But there are lots and lots of gorgeous silver charms to chose from online.
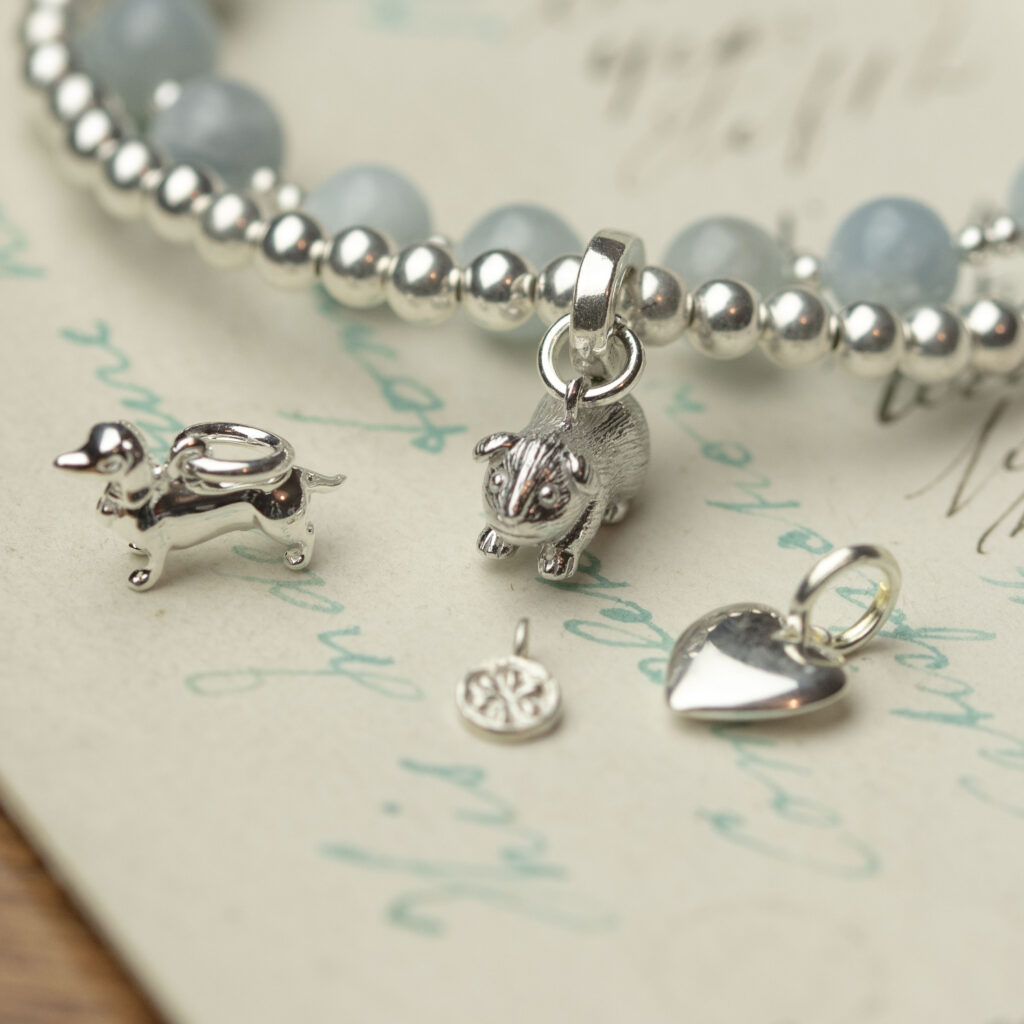

Like this adorable heart charm…
If your looking for reliable wholesale jewelry suppliers.
You’ll find my trusted list inside my Supplier Directory eGuide.
Enjoy making!

Get jewelry inspiration straight into your inbox each Tuesday! Sign Me Up!
RELATED READS
Jewelry Elastic Troubleshooting
Tiny Tips – small bite-sized jewelry tips
Beading essentials I wish I had from day one
If you’re curious about my daily beading tools – take a peek at my resources page
or Don’t forget to check out my post about Elastic Troubleshooting.

Thank you so much for taking the time to share your knowledge and experience. I’m learning so much just from reading them. Denise
Thanks Denise,
It’s really lovely for you to let me know. I really appreciate it.
Have a lovely day!
Sarah