The humble stacking bracelet recipe
How To Make A Simple Stretch Bracelet
Because who doesn’t need a little extra silver on their wrist?
If you’re like me, you probably look at your wrist and think, “You know what this needs? More stacking bracelets.” A simple silver stacking bracelet is a jewellery box hero – simple, stylish, and ridiculously satisfying to make and, I make a lot of them in a day! Whether you’re a total beginner or a head bead hoarder (guilty!), this is the perfect place to start for a new jewellery maker, they may be easy, but there is a technique and over the years I’ve sold thousands of them, their Simple, Profitable, Beginner-Friendly and a whole business can be built around them! So let’s get stuck in…
| Skill level: Easy | Time: 8 Minutes | Style: Classic |
Ingredients
I have made this stacking bracelet in sterling silver which is a little more expensive, but if you want to give it a go you can do it in silver plated to which is cheaper!
- x40 (for a 19cm bracelet) Sterling Silver 4mm Beads
OR 4mm Silver Plated version which are a little more cost effective! - x1 25cm Beadalon 1mm Thick Stretch Elastic
- x1 Sterling Silver Tube Bead 4 x 40mm
- x1 4mm Silver Crimp Bead Cover
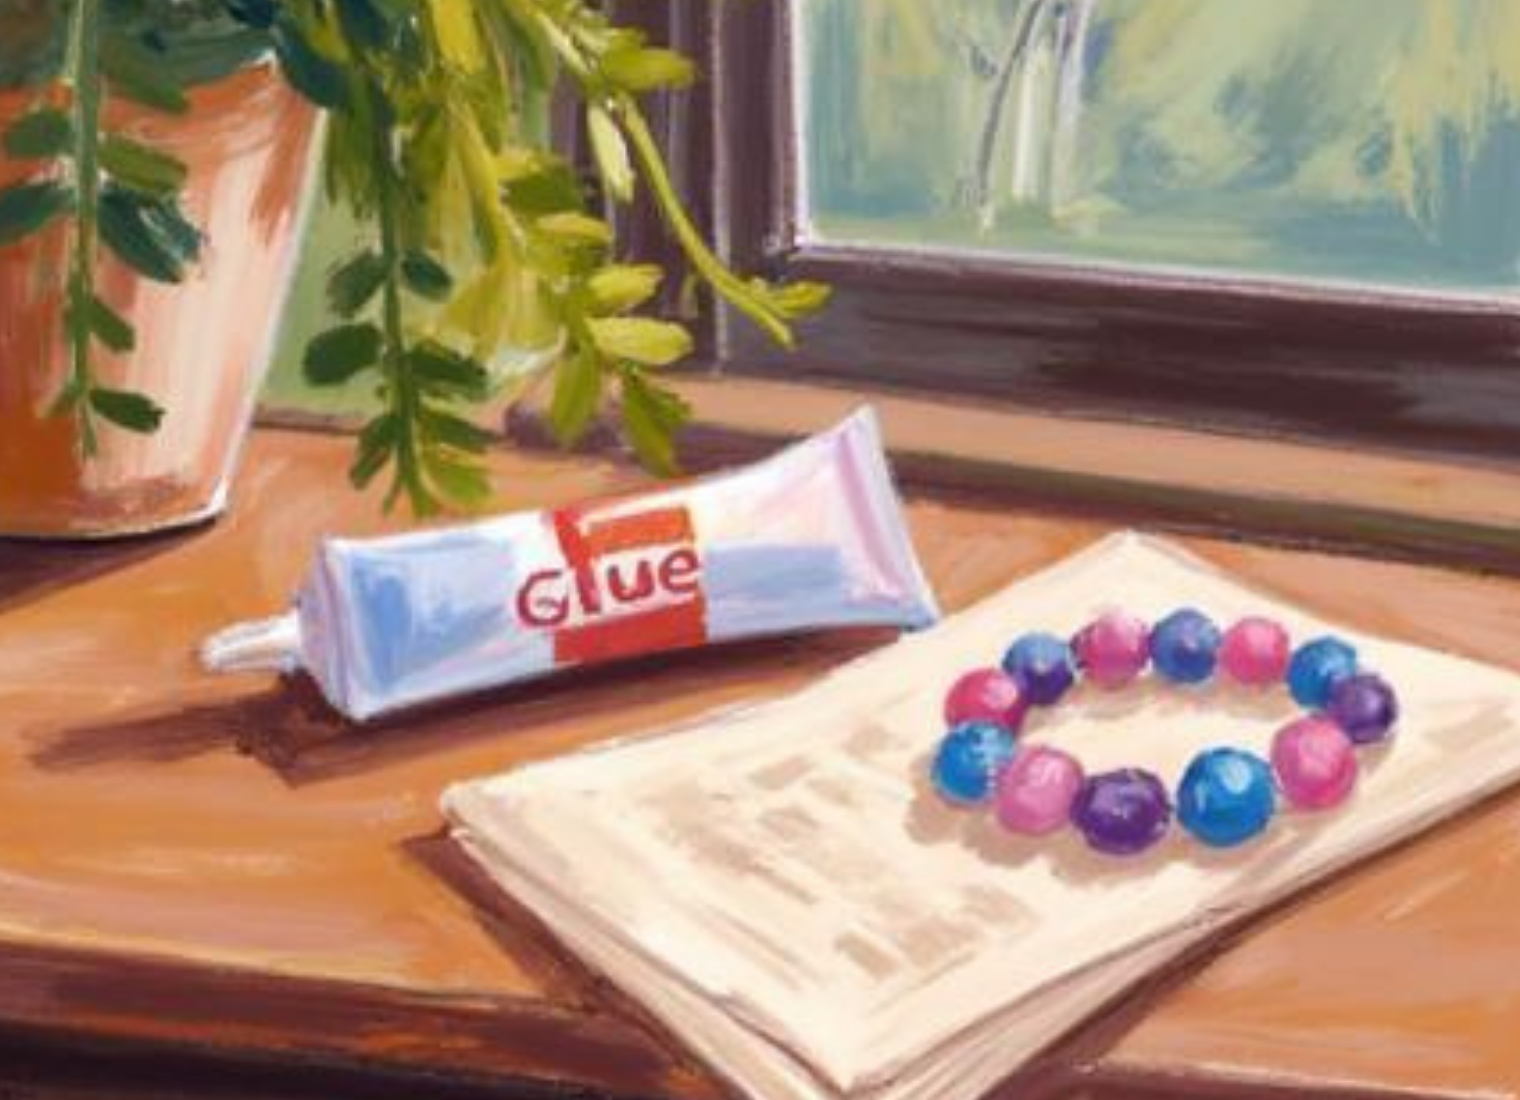
- Metal Jewelry Glue
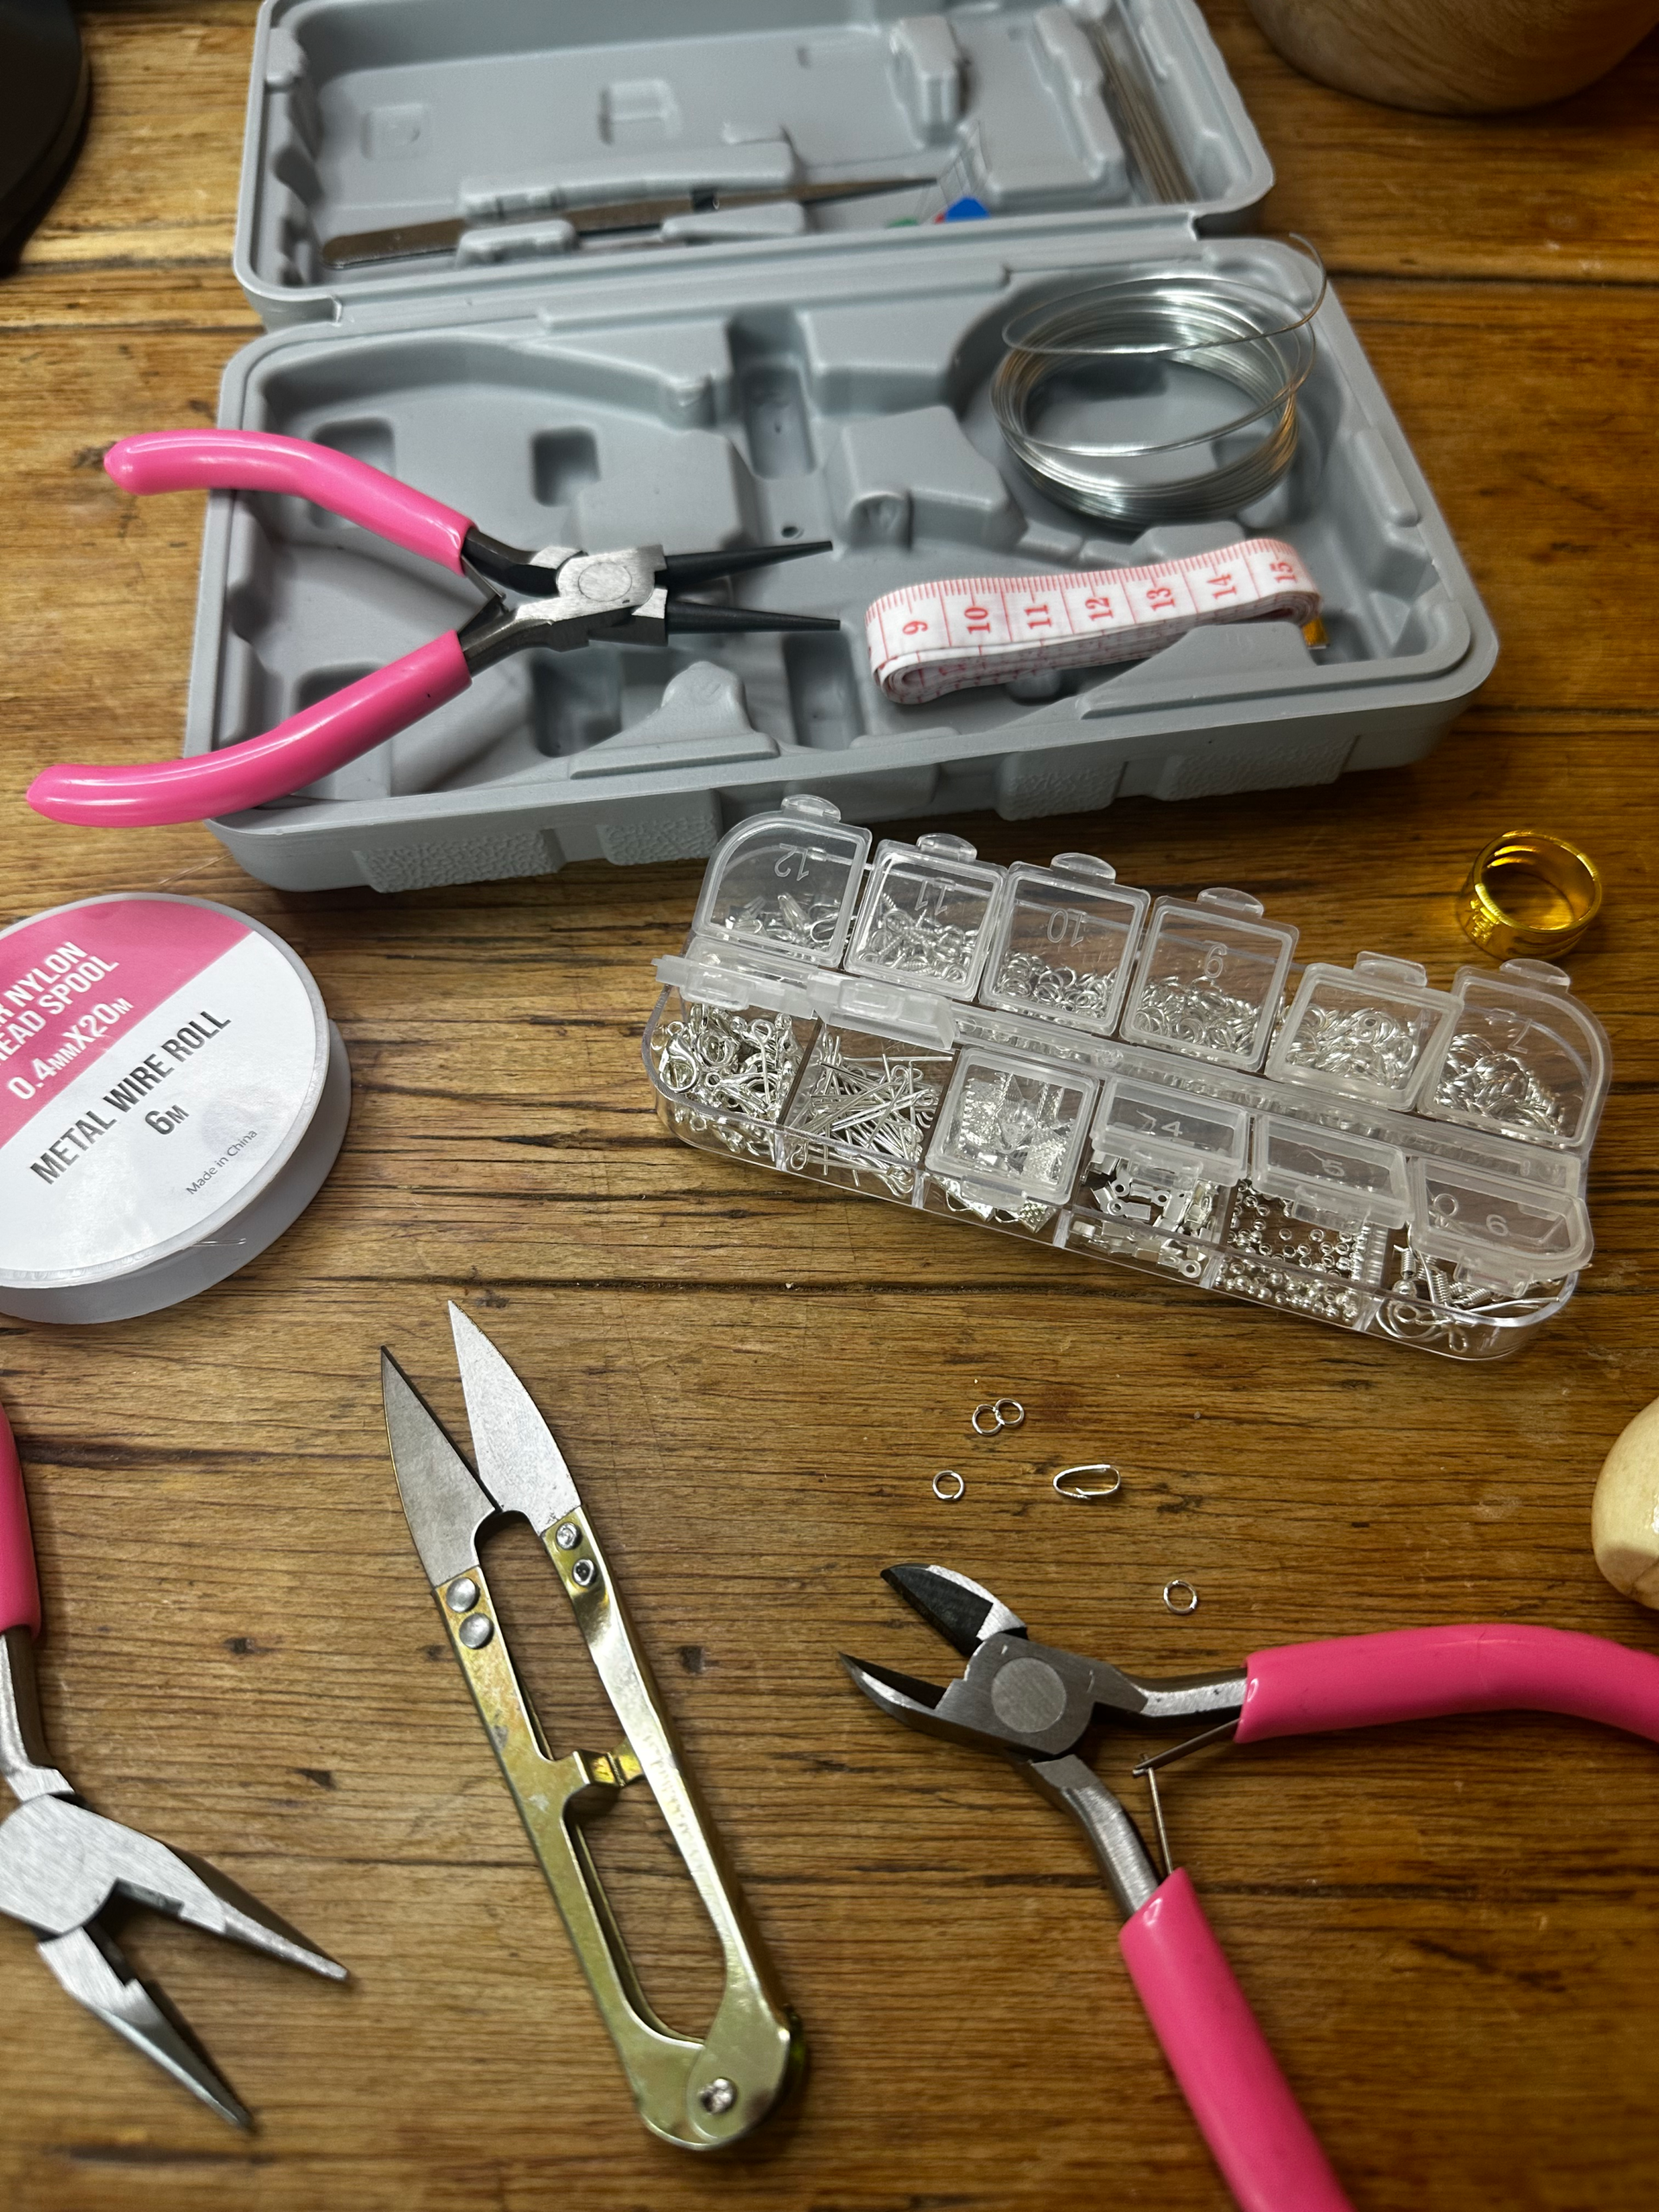
Tools
Heads up! – I’ve included Amazon affiliate links in this post. Please read Affiliate Disclosure for more information.
Steps
1
Measure your wrist – Wrap a thin strip of paper around your wrist and measure your wrist for size, then add a couple of extra centimetres so you’ve got room to roll on and off. I sell three sizes of stretch bracelets at www.OhSoCherished.co.uk, a small 17cm, a standard at 19cm and a large at 21cm just to give you an idea.
2
The number one reason stretch bracelets snap is due to low quality, cheap elastic 😬 sorry, but it’s true!
When someone buys one of my pieces on my website, I just need it to last, not just look pretty for one day. Long-term success depends on durability. Reliable construction means fewer breakages and happier customers if you make for a living. After years of testing many, many brands, I now only ever use Beadalon Elasticity Elastic, the best elastic cord for bracelets – it’s super strong, stretchy, and feels like a rubber band.
My go-to size is 1mm thick (depending on the bead hole size of course). I cut a length of elastic of around 25cm per bracelet, leaving that extra bit for a neat, secure knot.
👉 Here’s the Beadalon Elasticity I use. You can pick this up at most good craft stores or on Amazon, why not give it a try for yourself with this small 5 metre roll, you’ll really notice a difference.
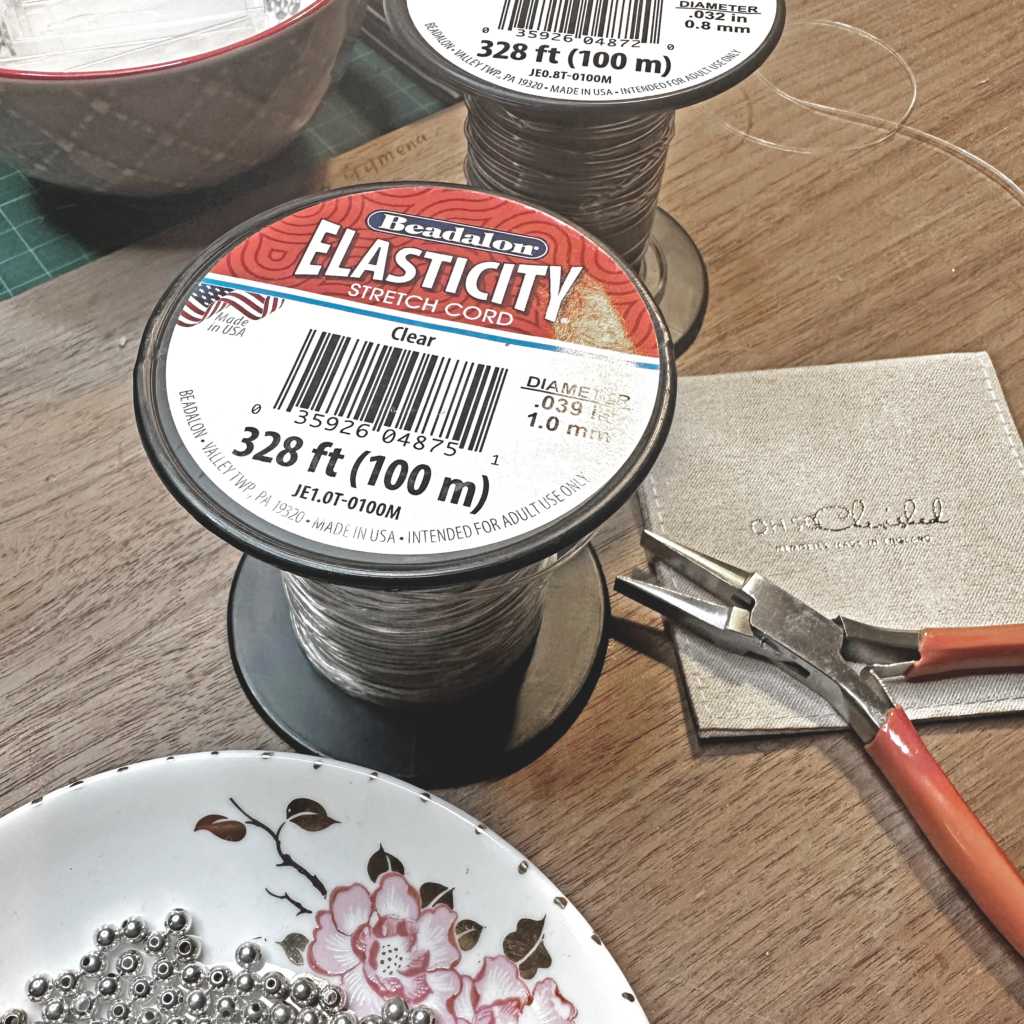
REMEMBER: Elastic doesn’t last forever. After a bit of wear, it starts to relax, or loses its bounce, and that once-snug fit becomes a bit…floppy.
One of the best little tricks I’ve learned over the years is to pre-stretch your elastic before you start beading. Just hold each end of the cord and give it a good firm tug a few times – three or four usually does the trick. It helps take out that initial ‘give’ so your bracelet keeps its shape better. A teeny habit that makes a big difference 😅.
3
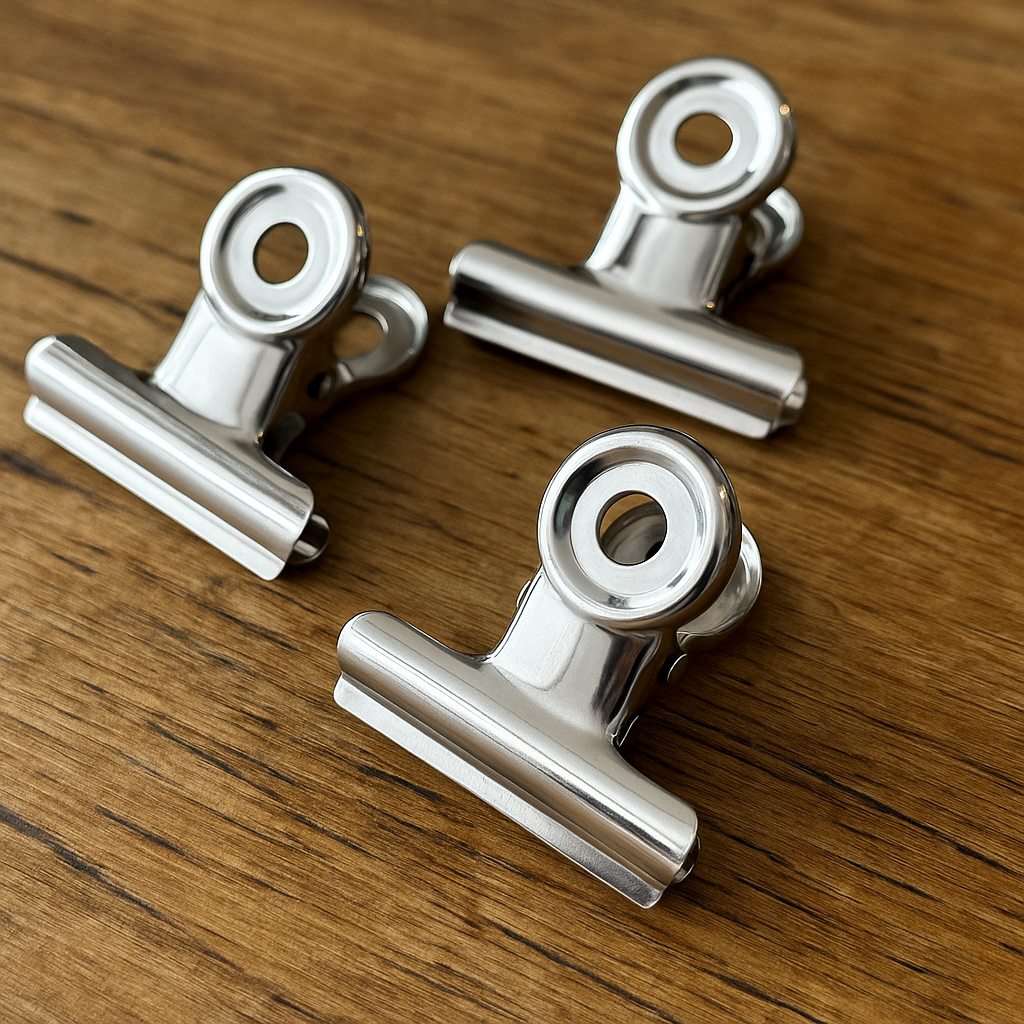
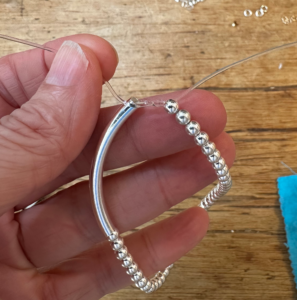
String your 4mm sterling silver beads onto your elastic – I use my trusty old mini bulldog clips to hold the beads onto my elastic…love em!
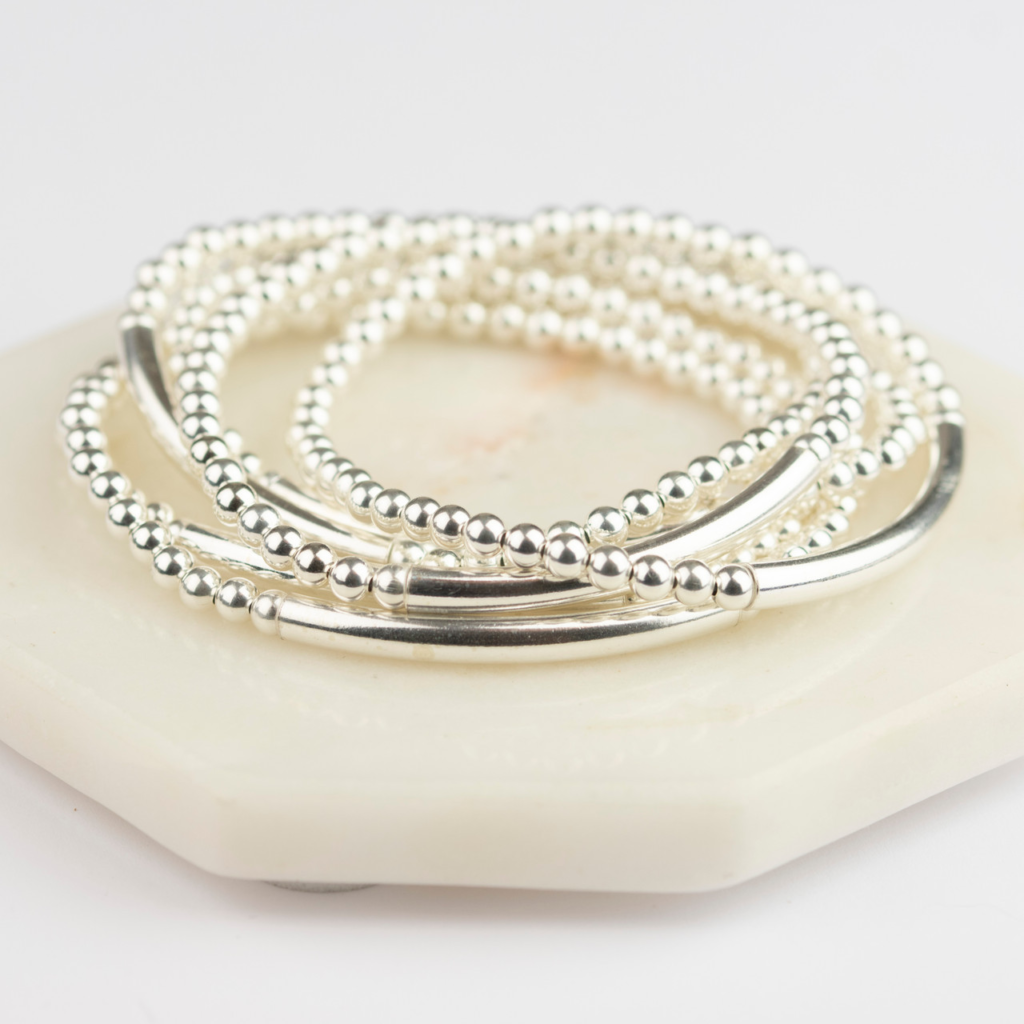
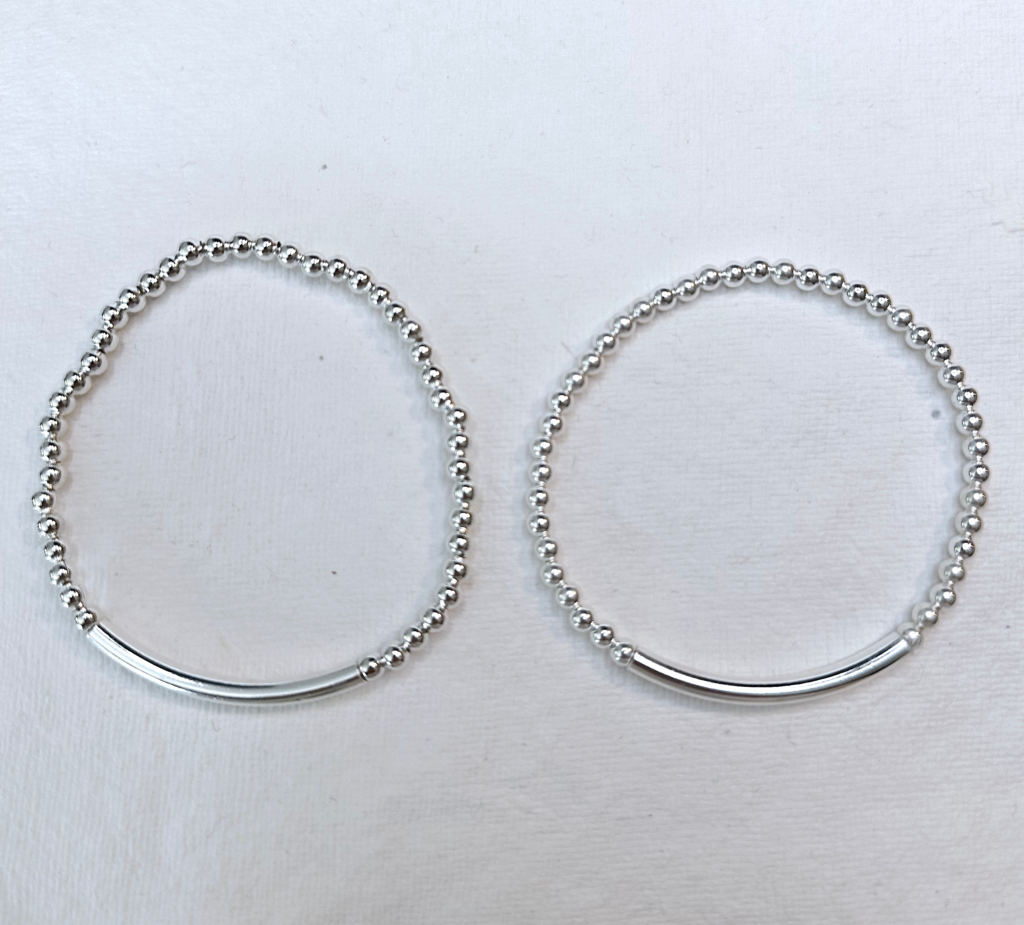
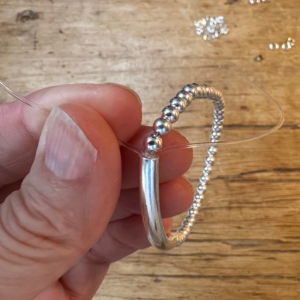
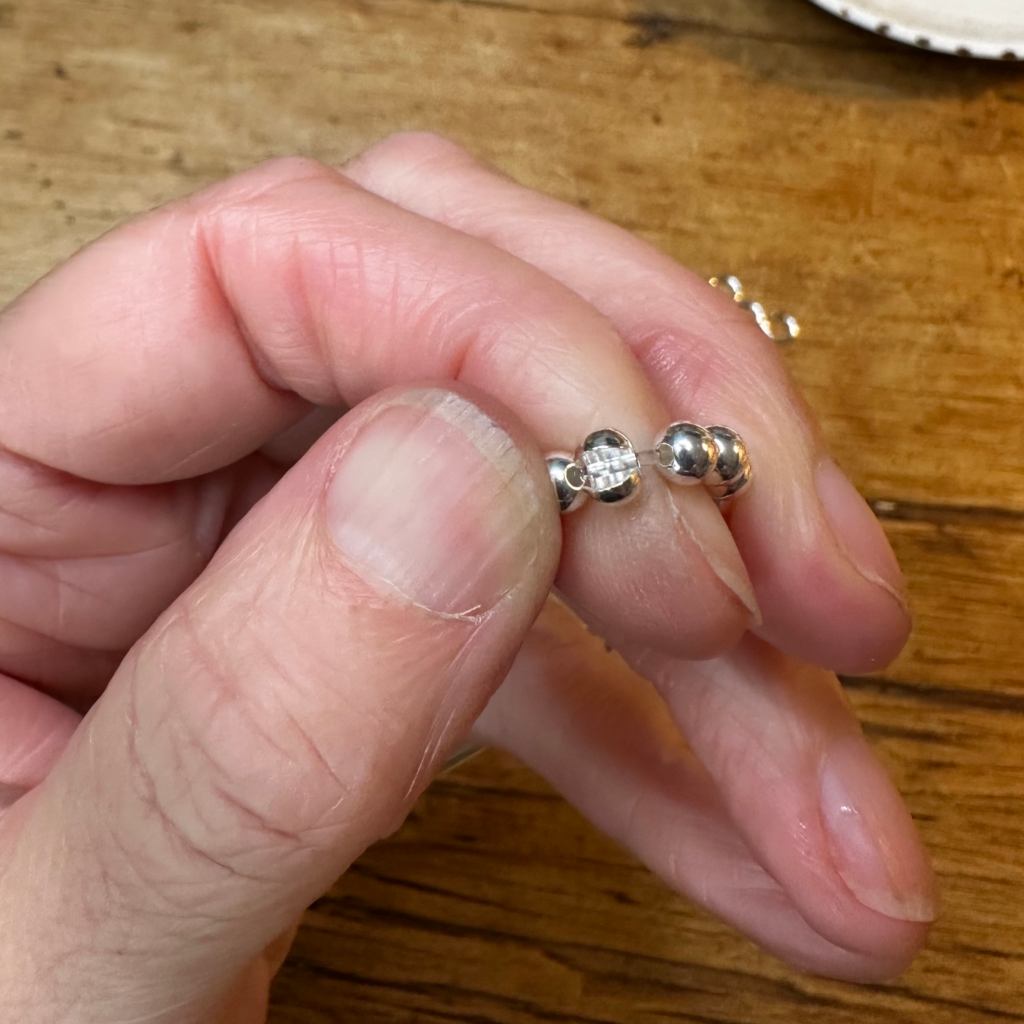
I normally use heavier weight beads, many beads you buy online have large holes like 1.5 – 2mm+, this means less sterling content, lighter in weight and cheaper, but I don’t ever want to compromise on quality when sending to a customer. It also means if you have a larger hole bead the bracelet can look almost bunched together (see the image below), it’s not beautifully round like the bracelet on the right, so be careful of this as it tends to make the bracelet look less refined. I like to get the best quality weightier beads with a small 1mm hole so giving you a great overall feel. Slide on your beads and finish with your tube bead.
4
Test the fit – Before tying, wrap it around your wrist to check it’s the right size for you – not too tight, not too loose.
5
Tie your knots – A good old fashioned simple knot x2 is what I do. Give it a gentle pull to make sure it’s secure, not pulling to tight that it snaps!
 Two regular knots
 Tighten the knot
6
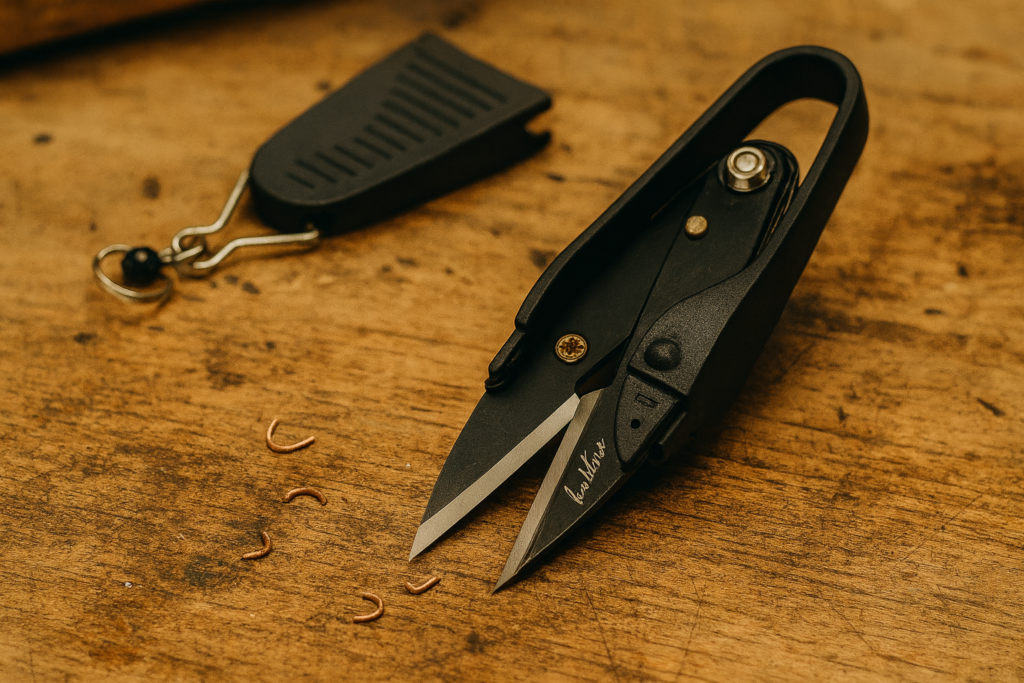
Trim & tuck – Trim any excess elastic, leaving around 1.5cm, slide the knot and excess elastic into a end of the tube bead so it’s all hidden away.
- Snip your elastic
- Pop the ends and the knot down the tube


7
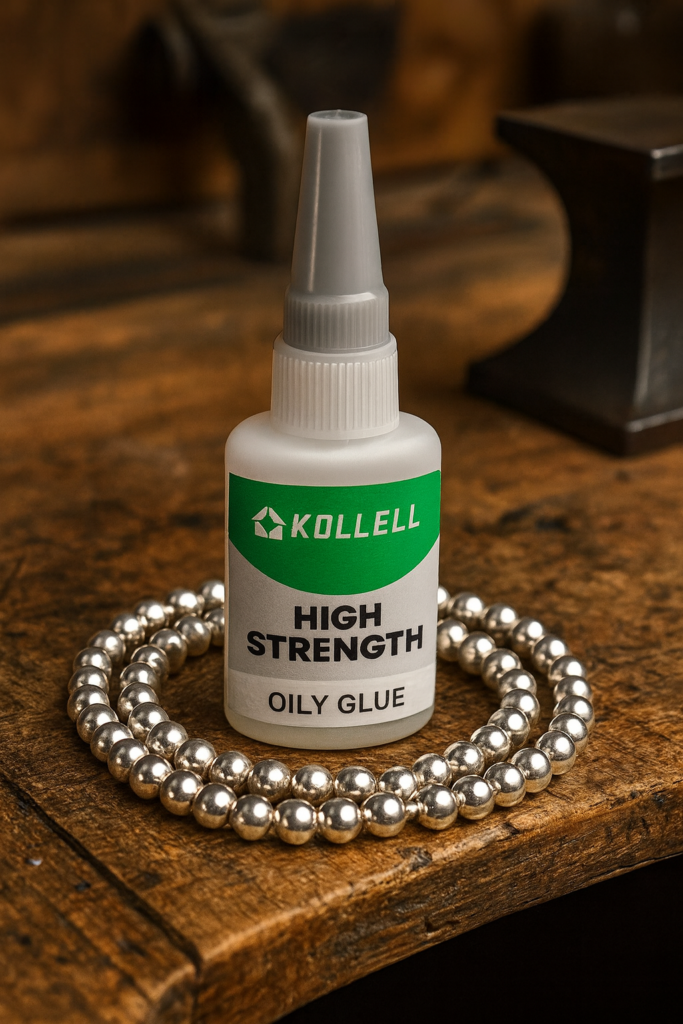
Dot of glue down each end of your tube – Pop a very tiny bit of metal jewelry glue for extra security and so the elastic doesn’t pop out – it also secures the knot. I’ve tried many jewellery glues over the years, but now only use High Strength Oily Glue. I just don’t want my glue to fail on customer orders and for me this is the best I’ve found. Always let your jewelry glue dry overnight and be super strict with this, I don’t send orders out unless they have had a full night drying. I hang mine to dry off my super handy brass jewelry stand.
8
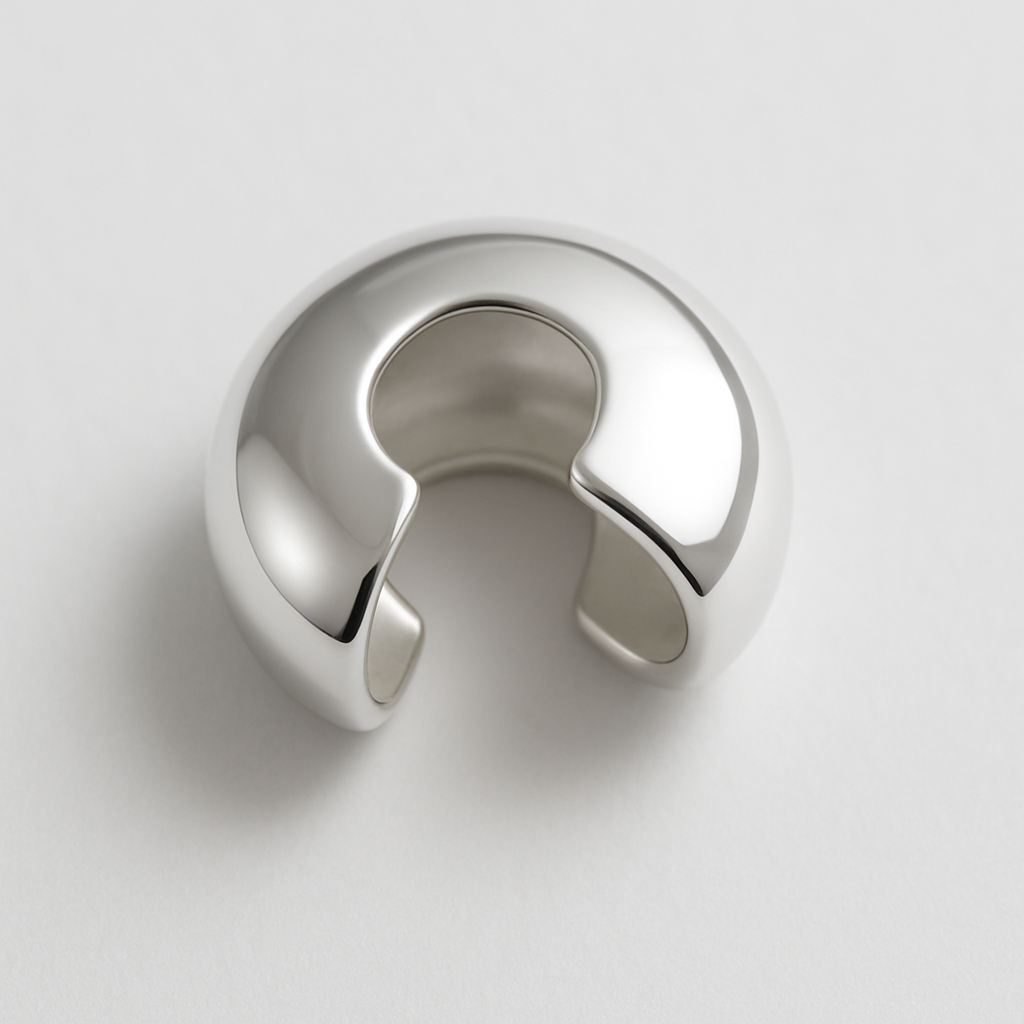
Little Tip! – Once the glue’s dry, add a 4mm sterling silver crimp bead cover to the bracelet – slot it in and close together, anywhere along the bracelet if fine just to tighten it up so it doesn’t feel baggy. Once closed you’ll not notice it at all and the bracelet feels tighter.
9
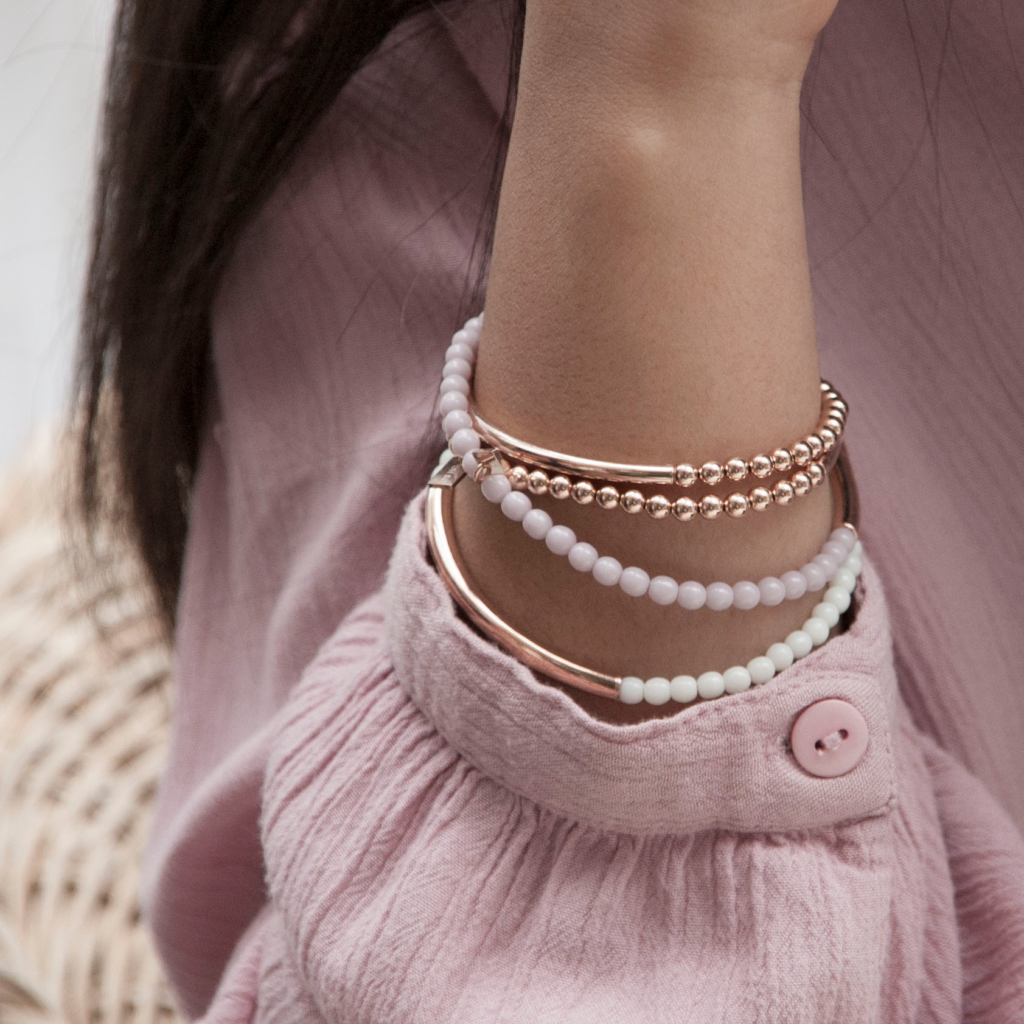
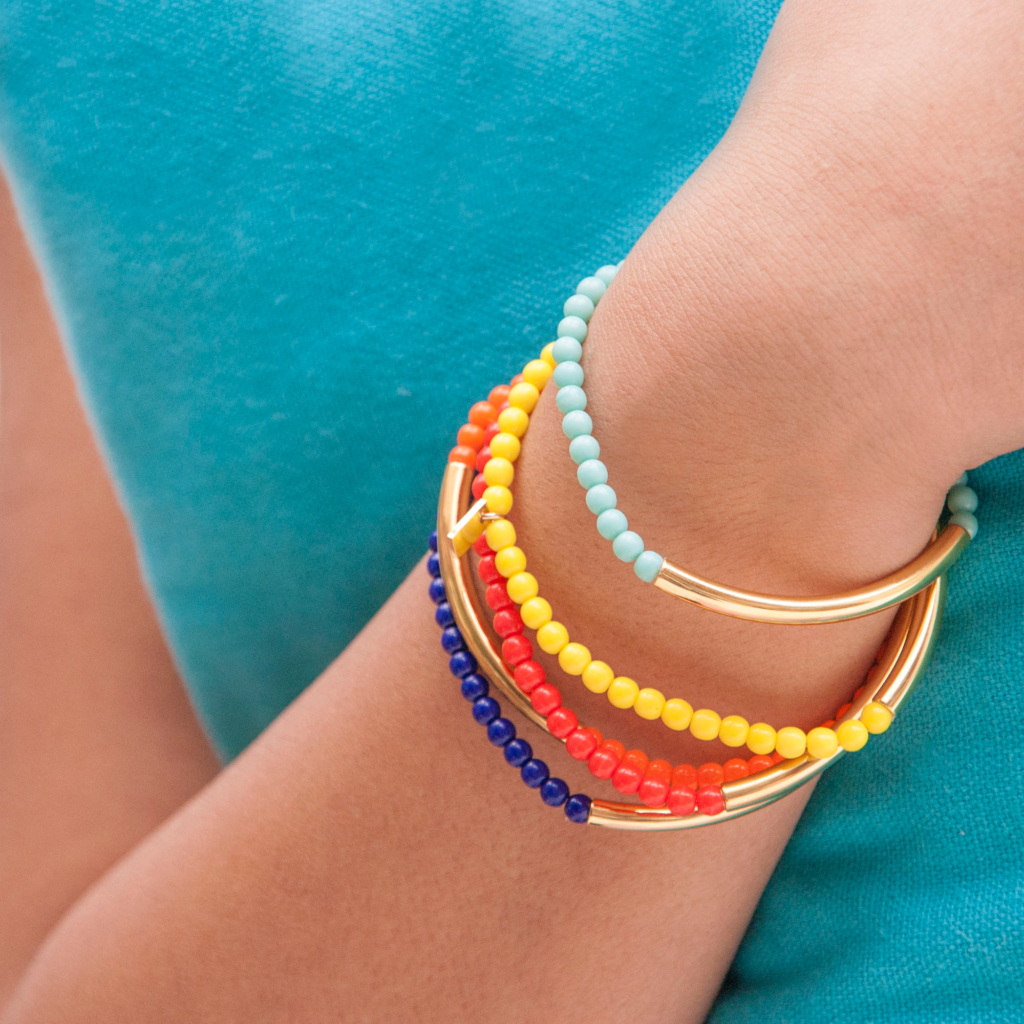
Once you glue is dry, polish, stack and admire – One down… now make a few more and layer them up!
Once you’ve mastered the technique, you can go wild with lovely colours, bead sizes and materials from glass to wood to crystal!

Enjoy making!

RELATED READS
Beaded jewelry for beginners
Jewelry Elastic Troubleshooting
Tiny Tips – lots of small bite-sized jewelry tips
Beading essentials I wish I had from day one
If you’re about to make your first stacking bracelets, these 10 tips will save you a whole lot of snapped elastic and frustration…